Home | Photos | Links | Pocket PC | Vintage computing | Contact
Sharp PC-5000 - RTC Power Source
Introduction
As already mentioned, the computer booted and worked normally but date and time were forgotten after powering off and on again. The symptom fits to a defective realtime power source, which after 4 decades is no surprise. The questions were: where was the battery placed and what damage did it left there? Answering the first question would answer both.
Disassembling the PC-5000
In all documents I found online, I couldn't see enough of the PCBs or even locate the battery, so I just began disassembling the computer. Please follow these steps to do so but I also strongly suggest to take plenty of photos, so that you can refer to them later:
- Remove the EA-50B battery pack
- Remove the memory cartridges on the bottom
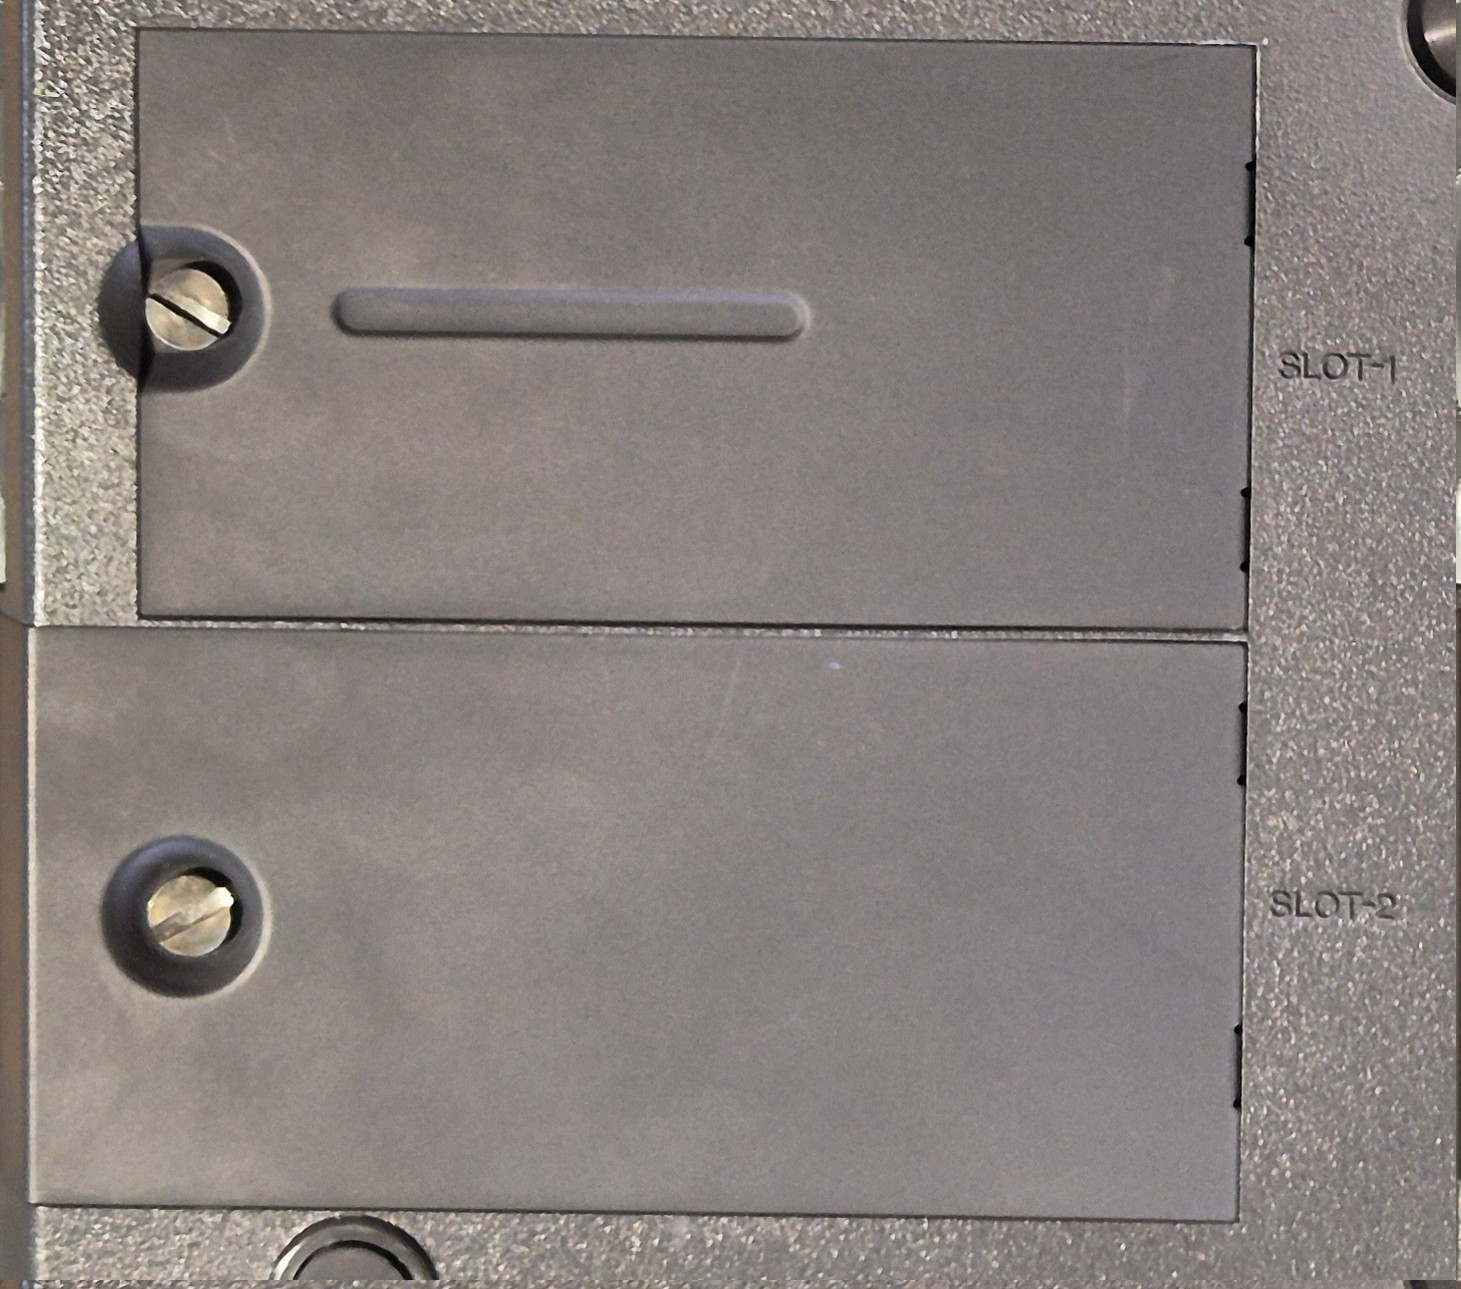
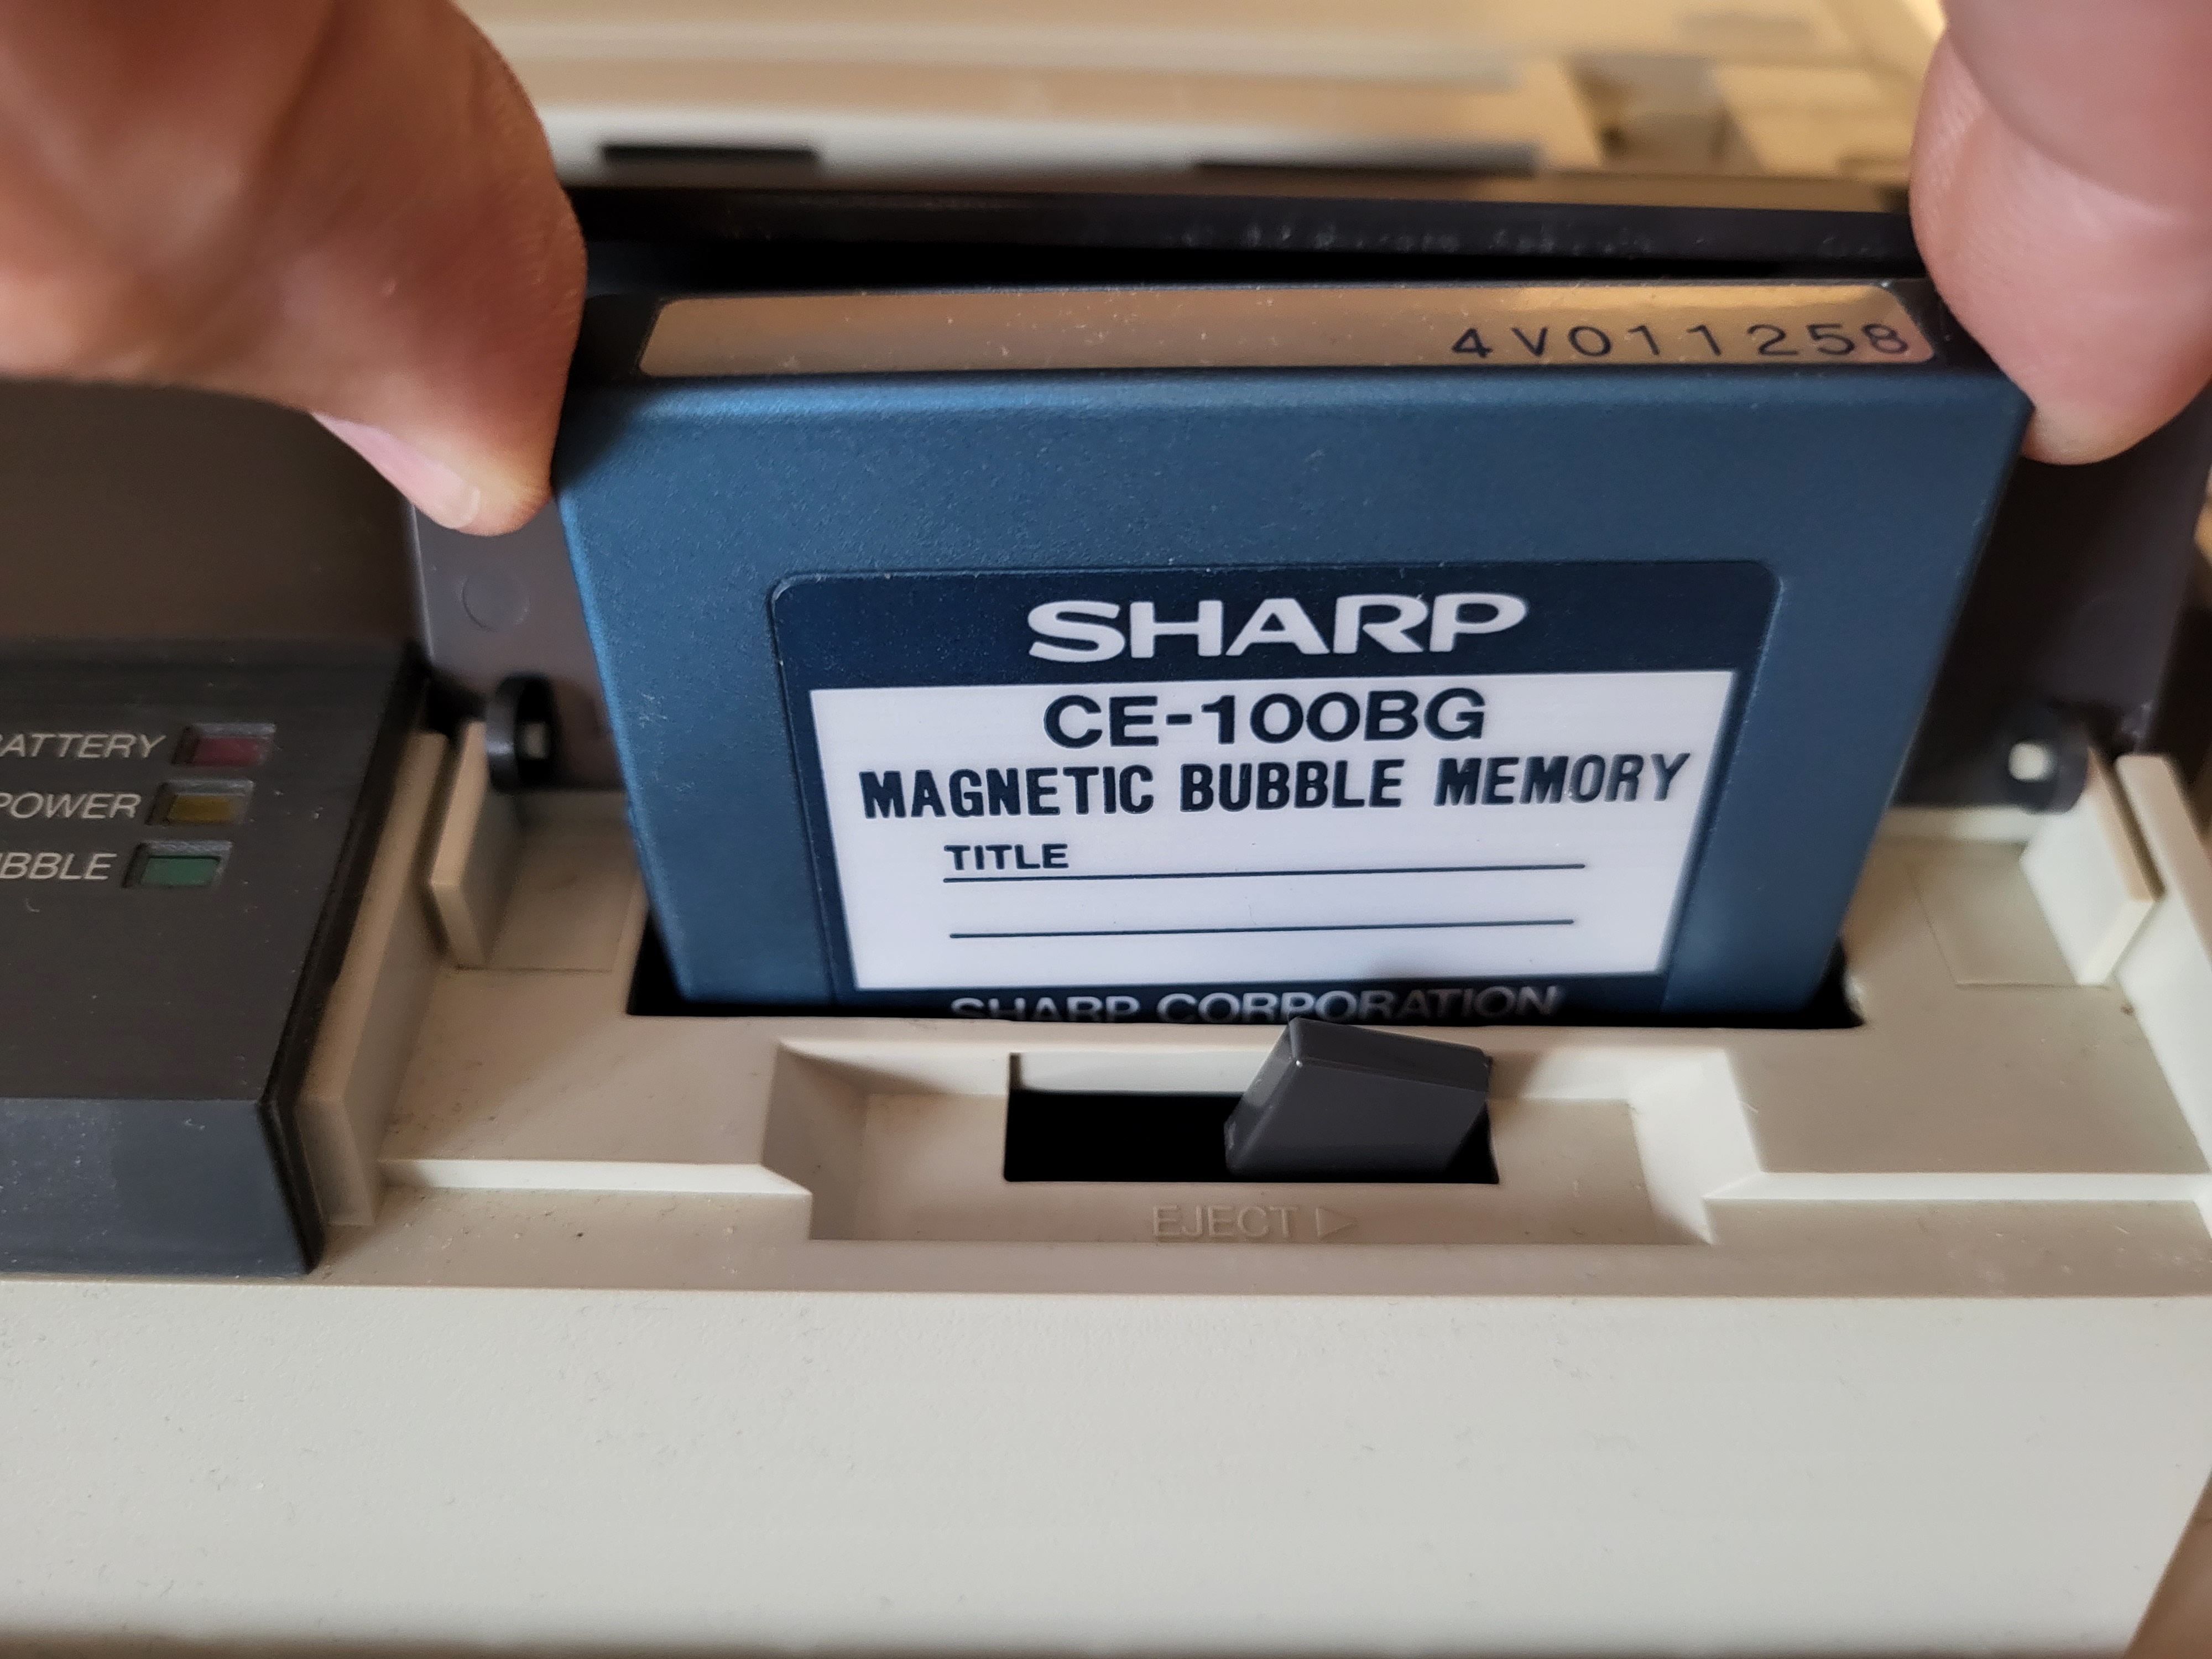
- Remove the bubble memory cartridge
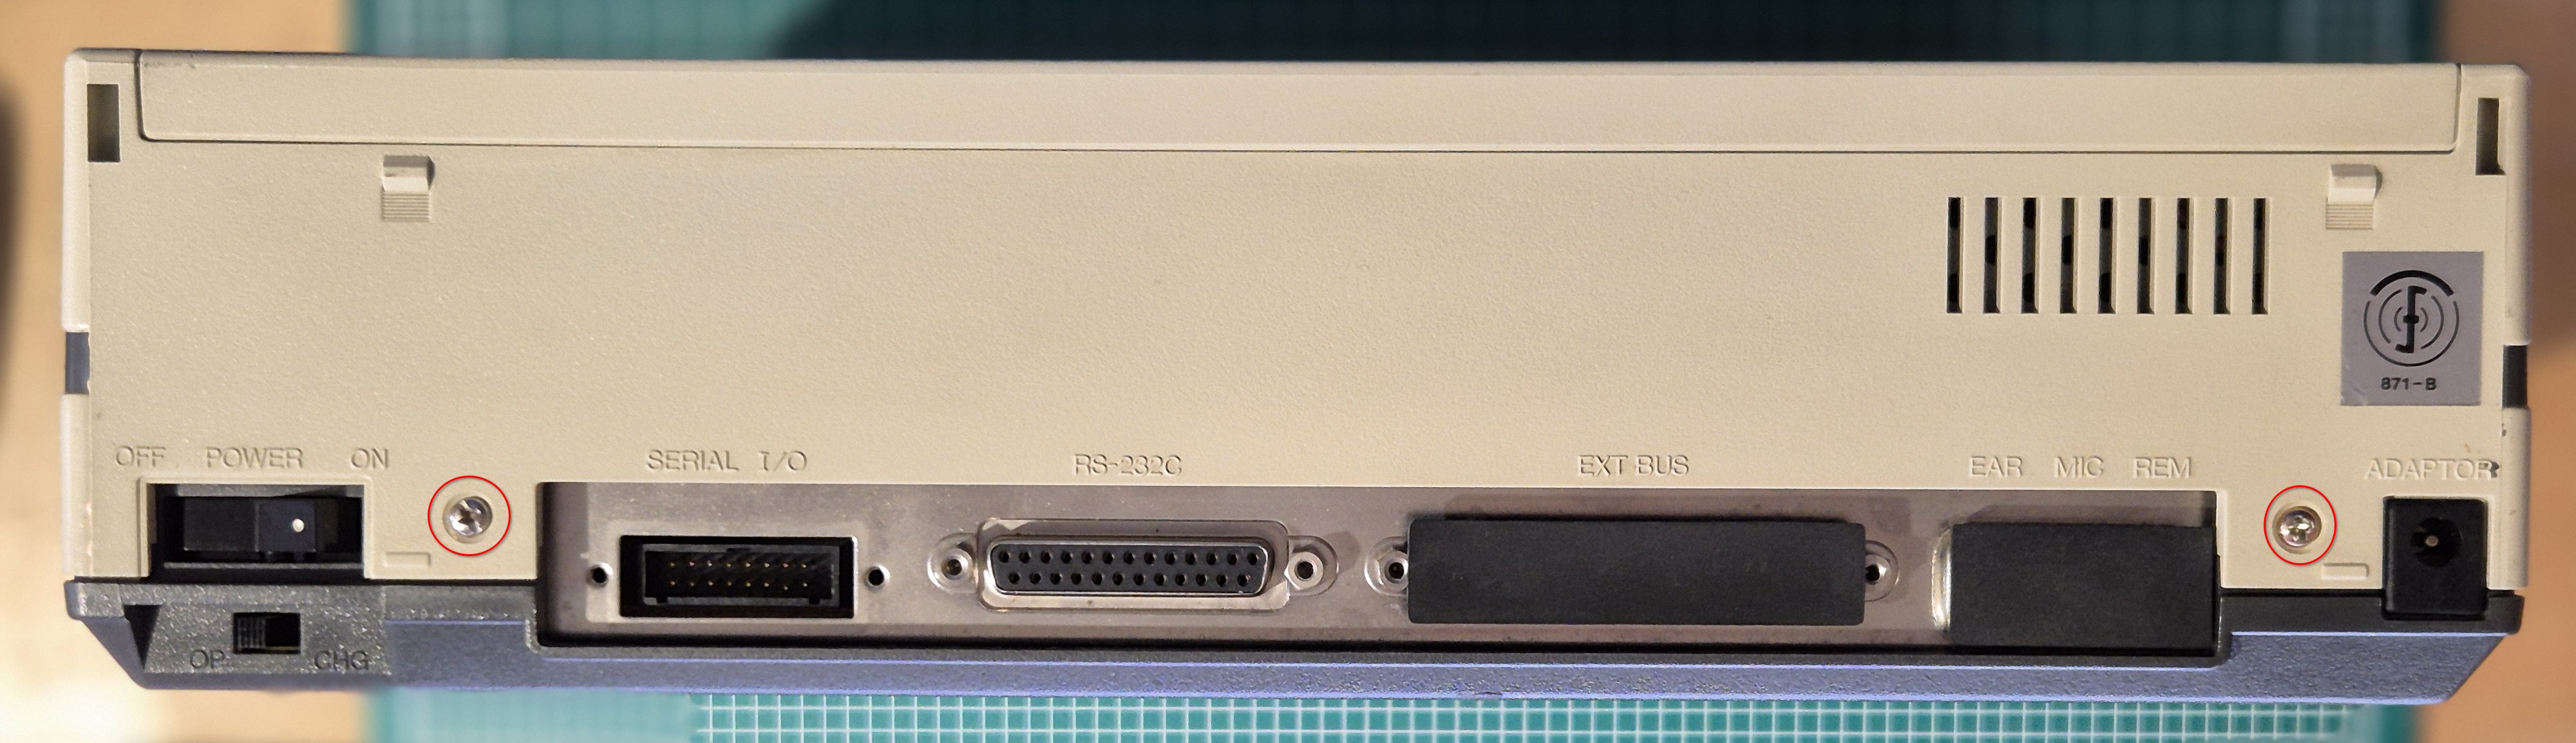
- Remove the printer following the instructions from back to forth:
"Installation guide of the printer" - Remove these 2 screws
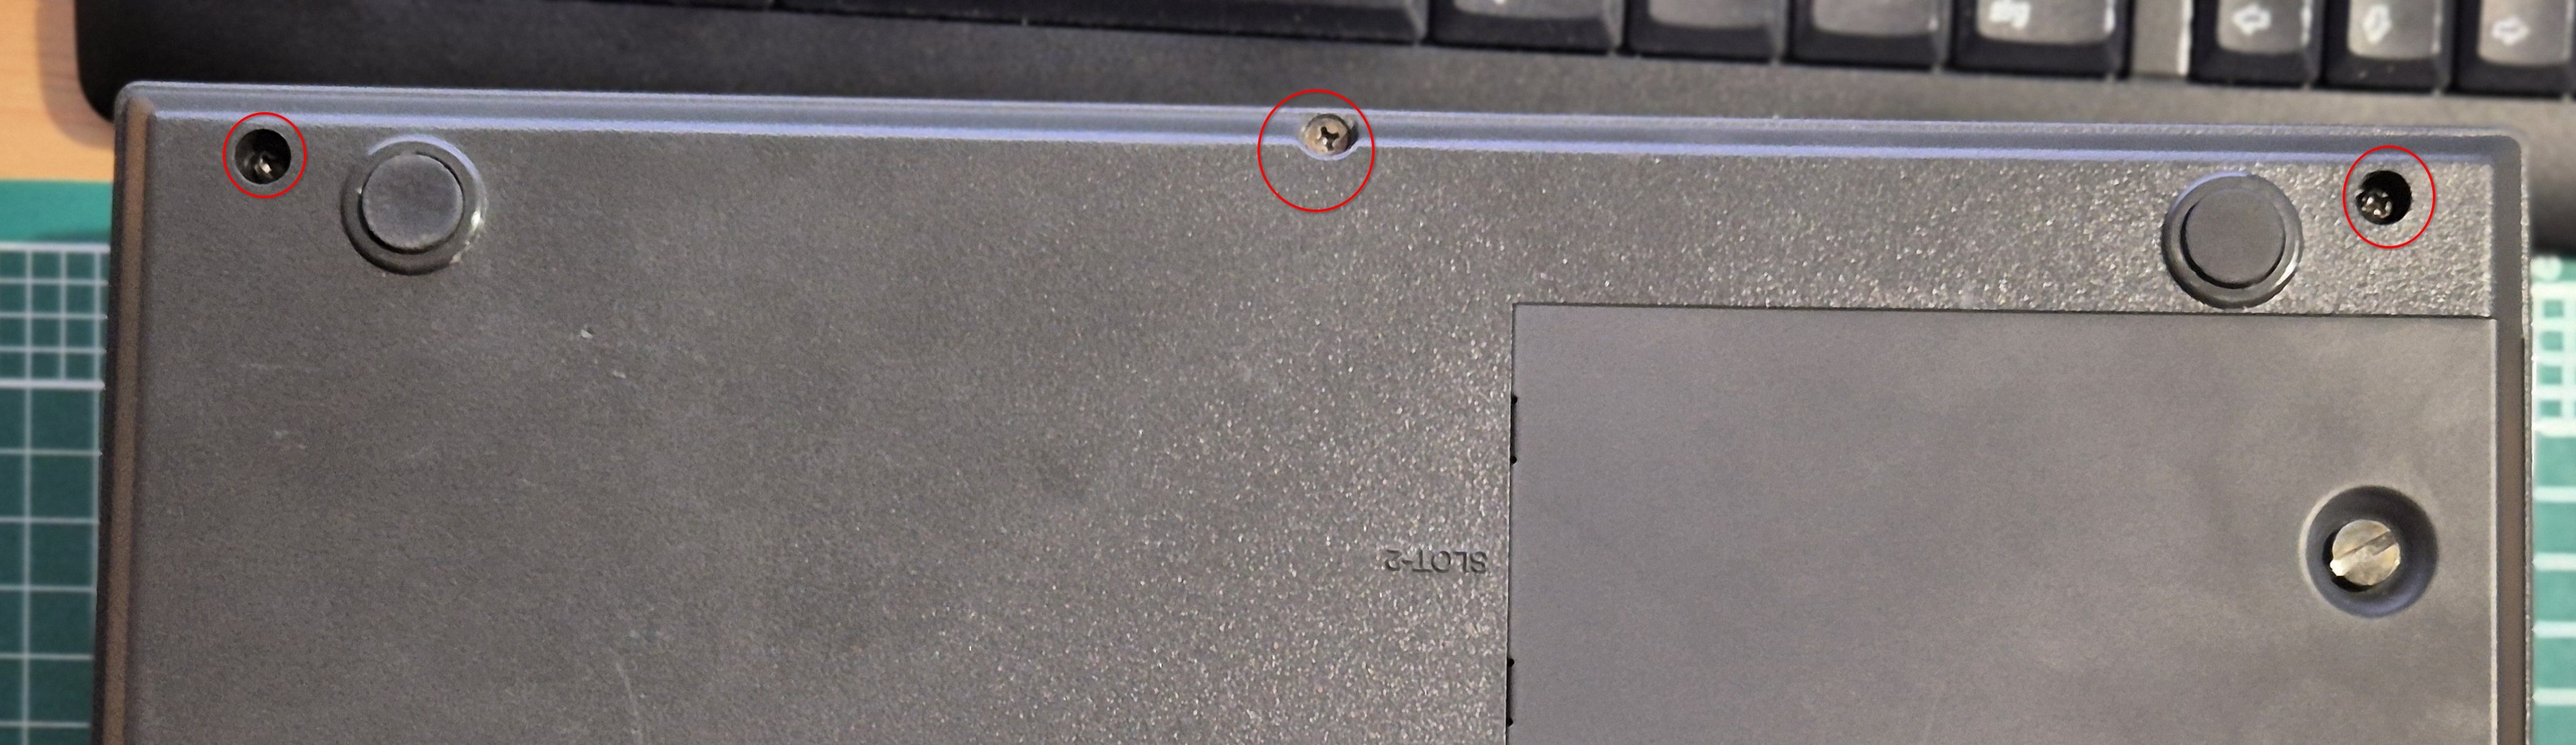
- Remove these 3 screws
- Unfasten but don't remove this screw (it hinders the power section to be moved out)
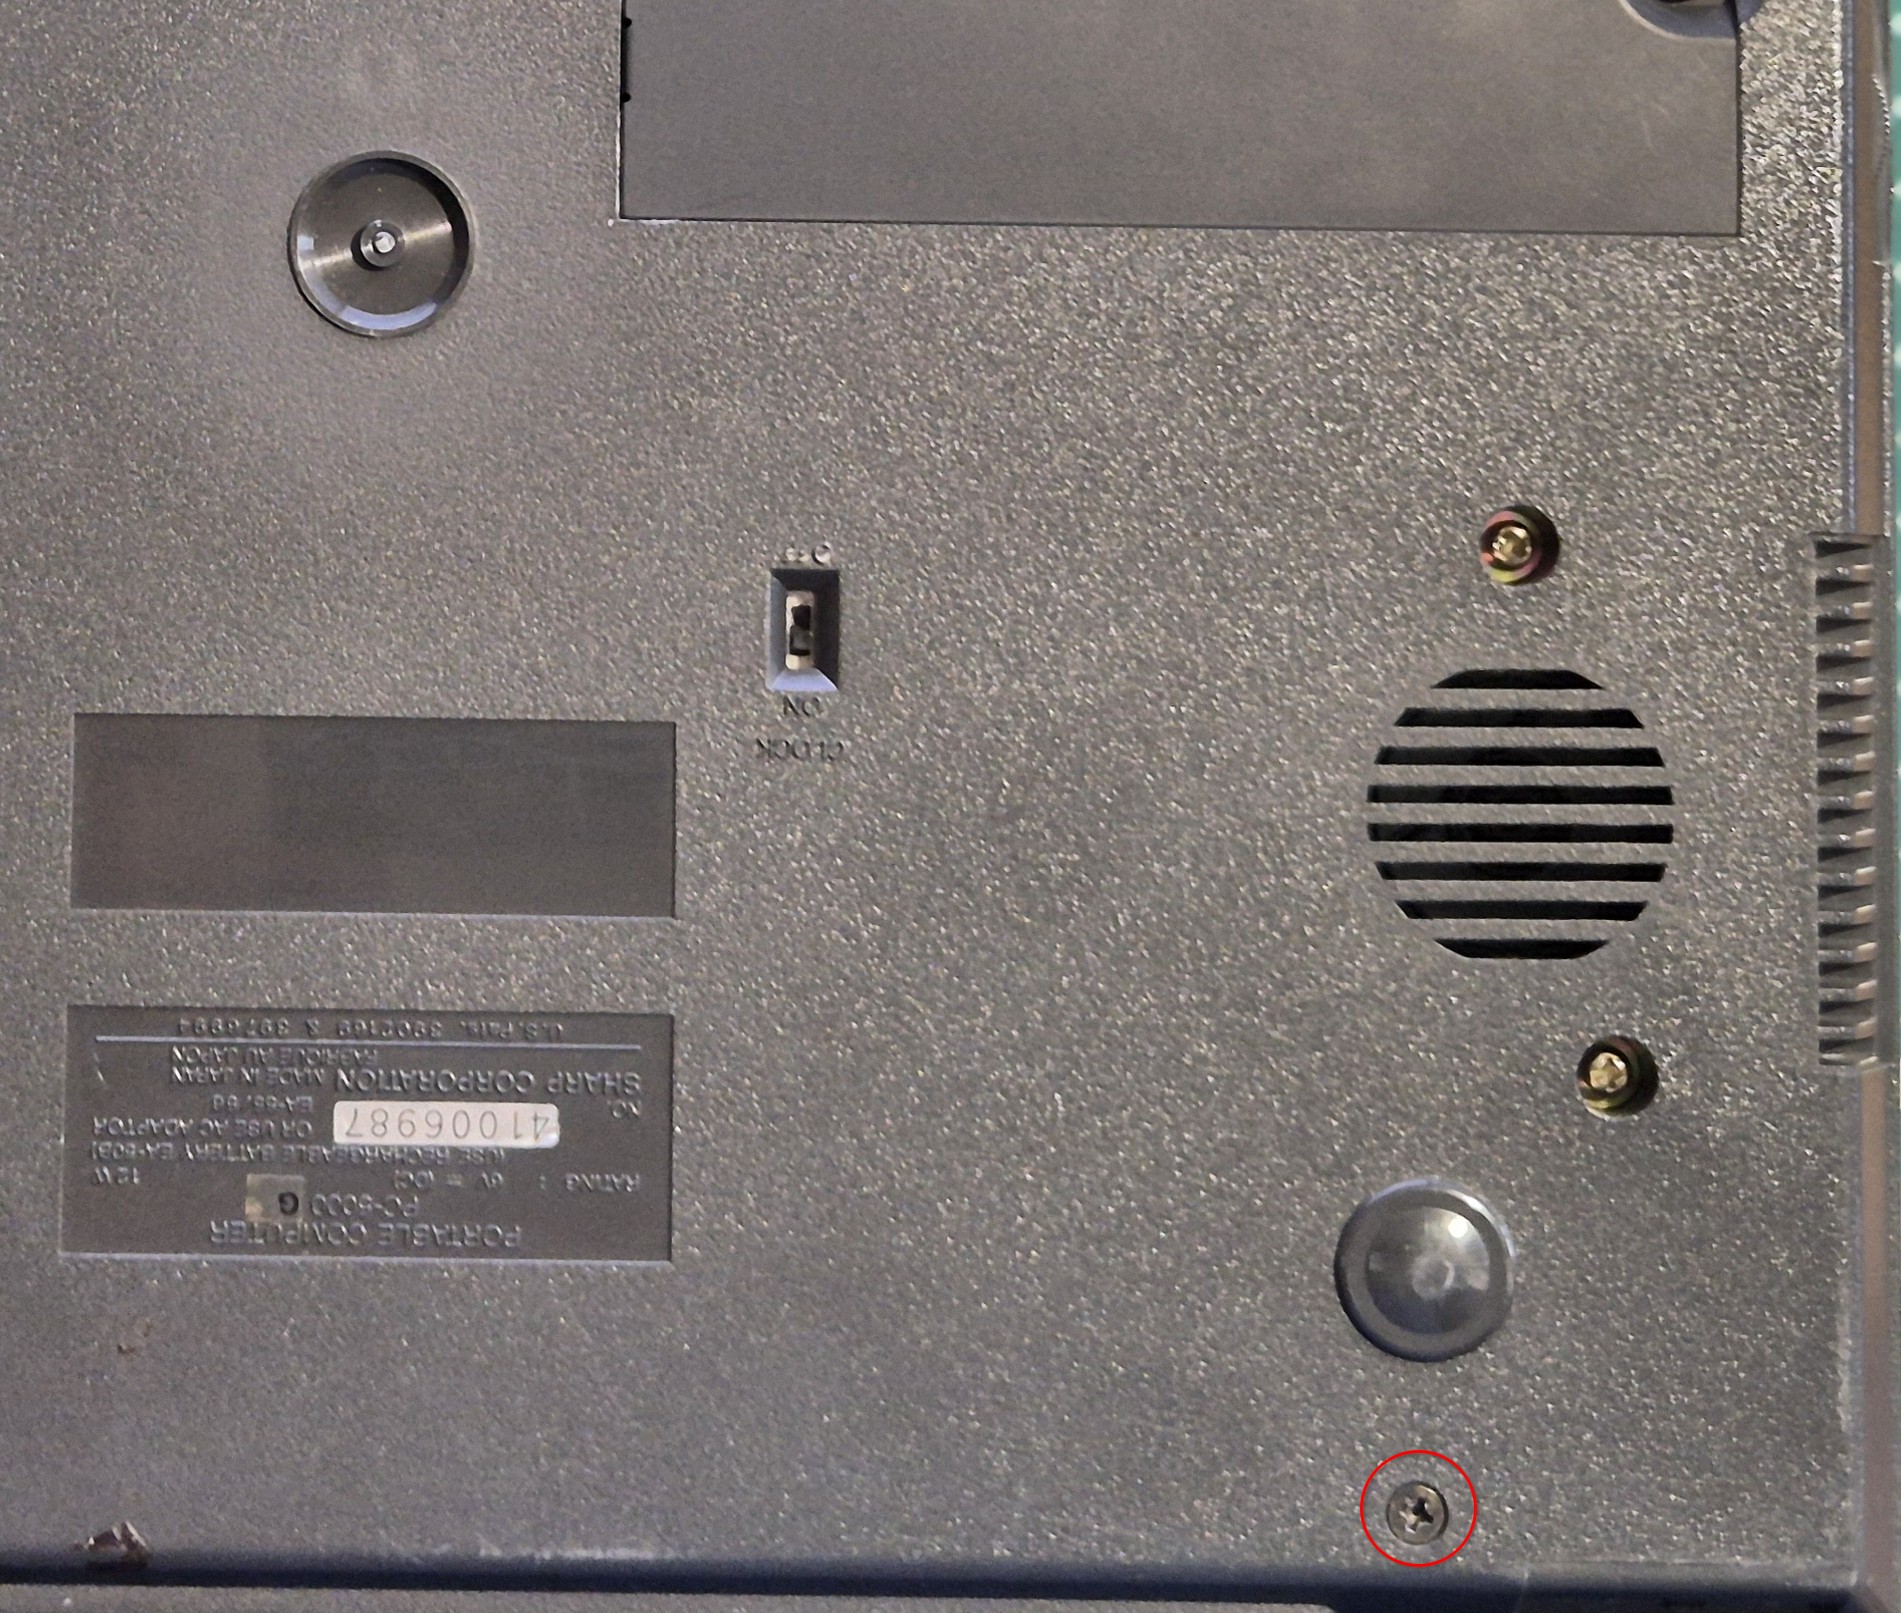
Now you can remove carefully the upper part of the computer case and move it to the left side. From this step I did far more disassembly than needed because I did not know where the battery was placed. If you can fix the upper case part, so that it won't move and destroy the flexible PCB that connects the display to the motherboard, then you can proceed removing the power section of the computer, as there is where the battery is hidden.
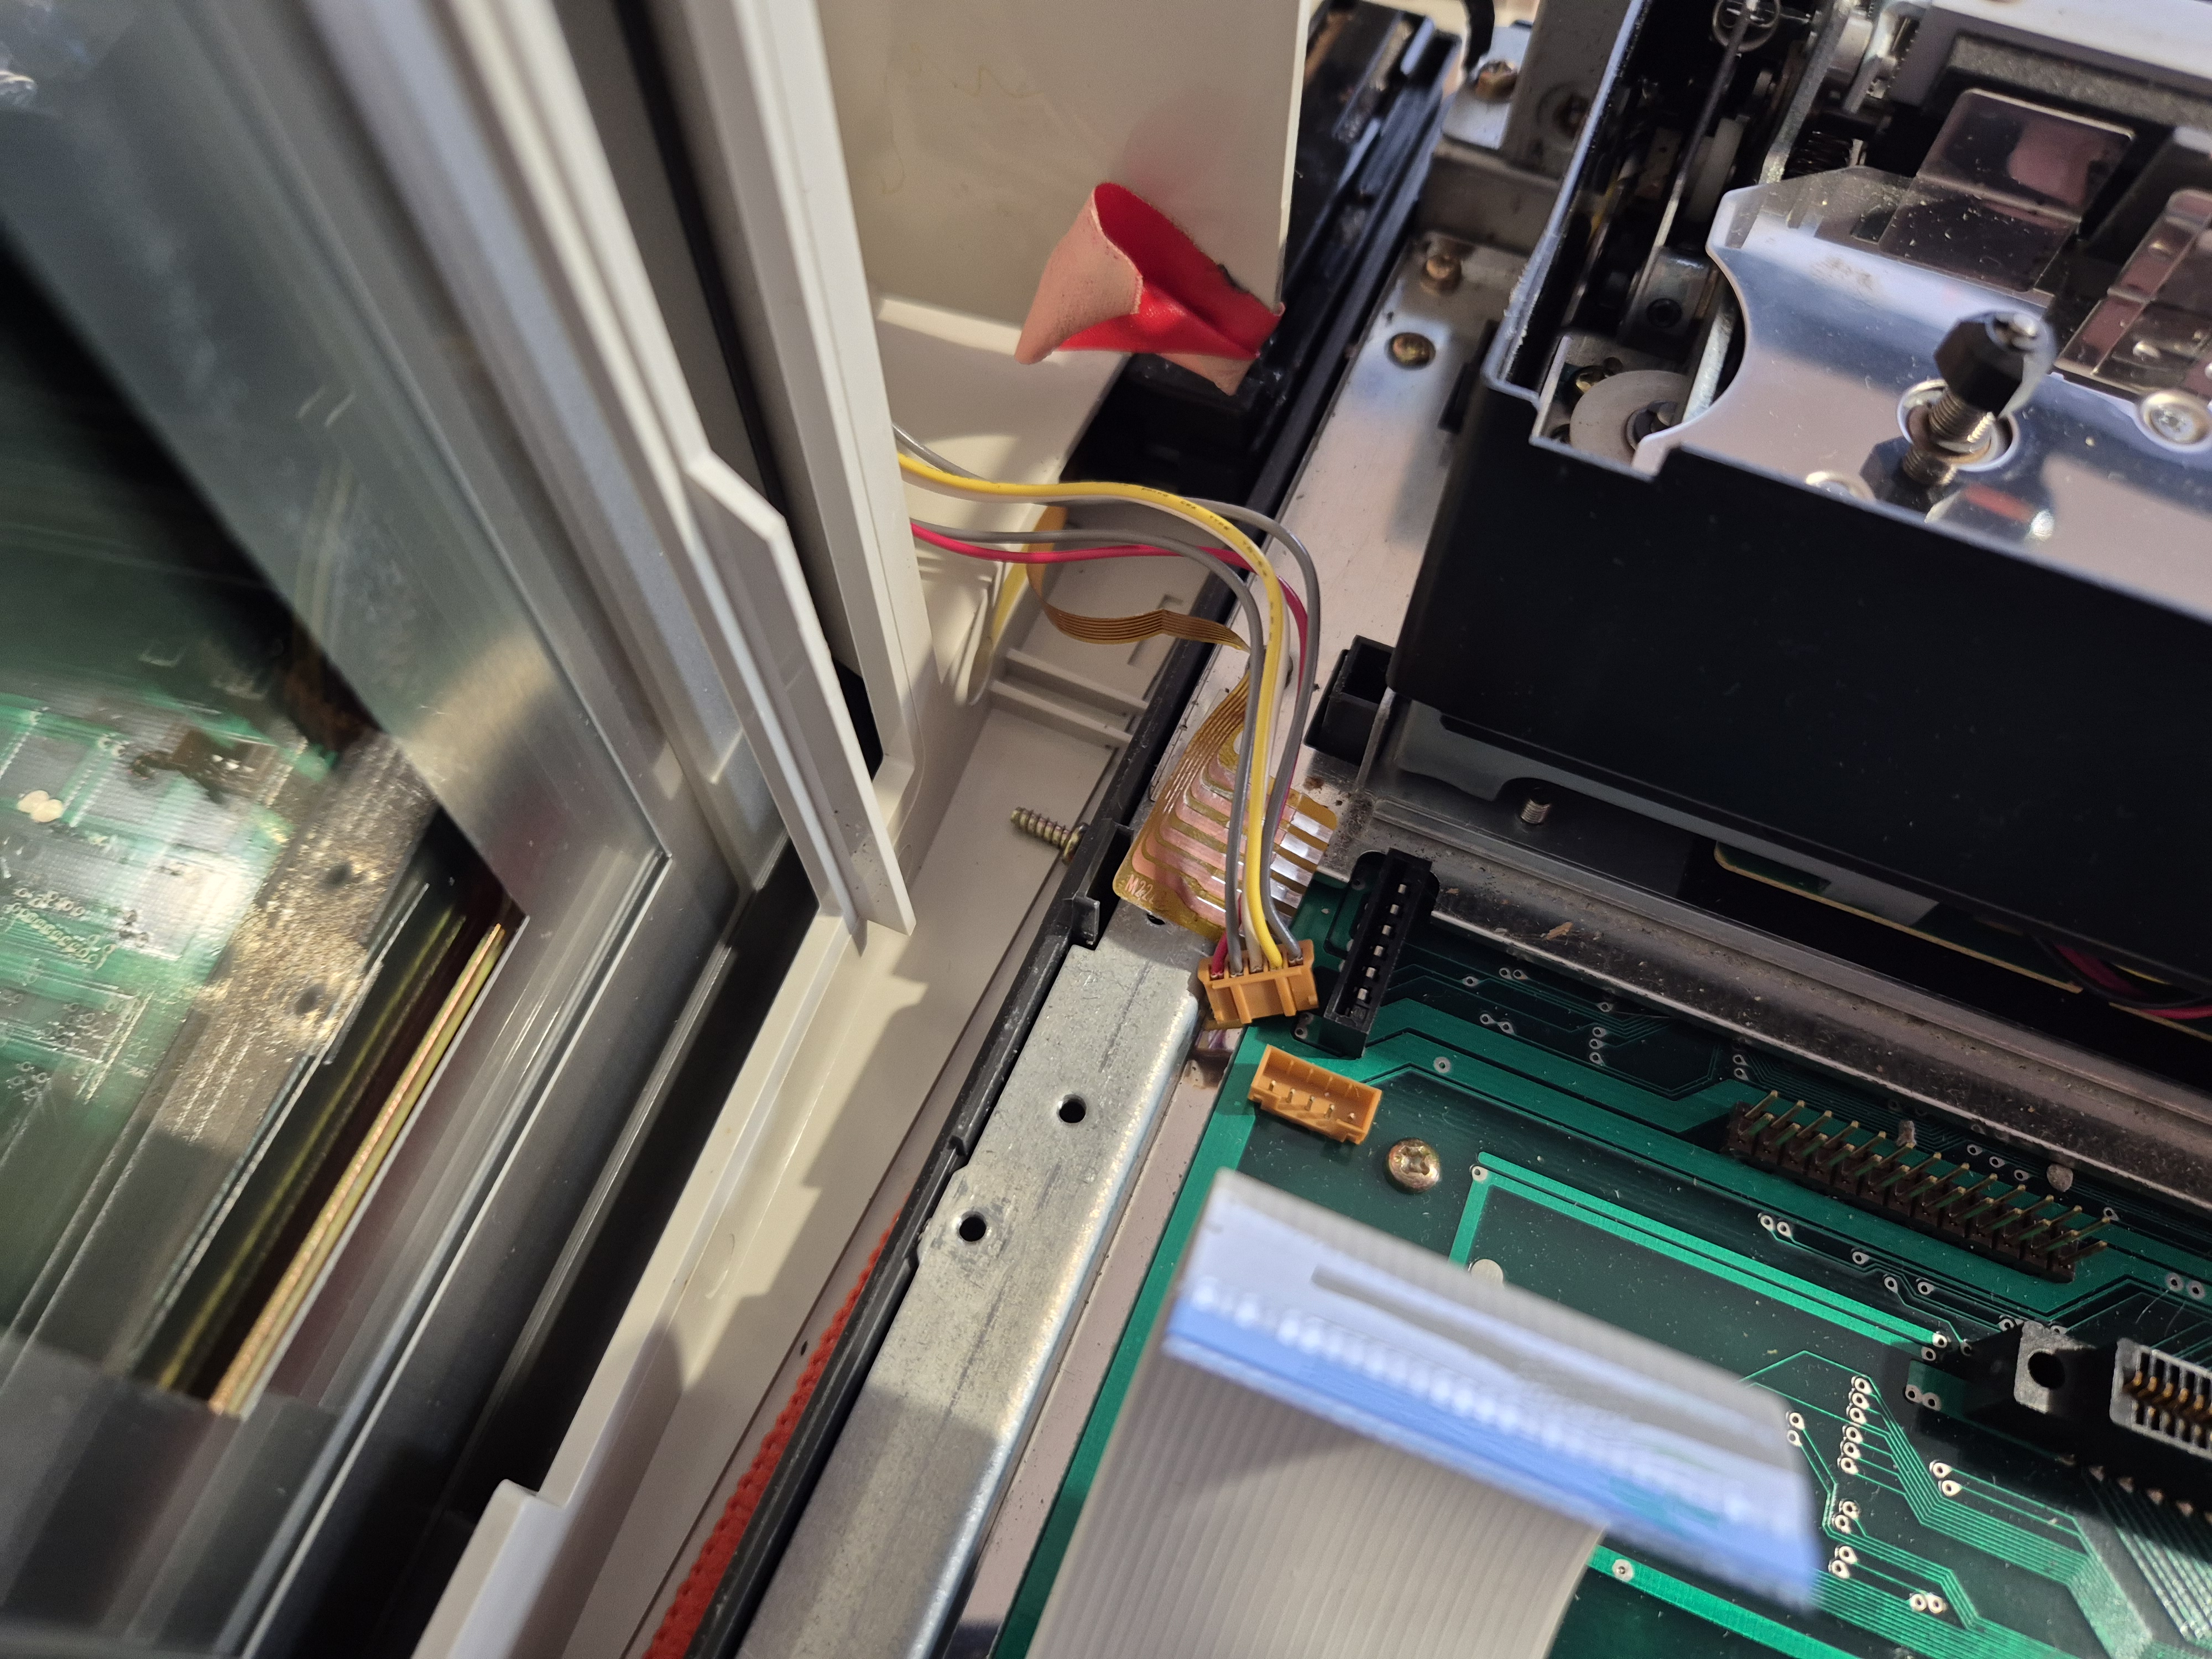
If you want to move the upper case part away, there are 2 connectors to remove near the keyboard, which I removed, as well as the bubble card interface to access them easier (be very careful with the keyboard cable, as its contacts may not stick to the flexible substrate anymore):
Display connectors
Now you can remove the outer 2 screws and take the power section out of the case. Be careful with its connector to the motherboard and gentle move it around until it is free.
Disassembling the power section
Taking the power section apart is easy and I won't describe it in detail. As soon as access to the PCB is given, the battery is visible and I hope that you will be presented with a non-leaking 3-51FT-A battery from YUASA.
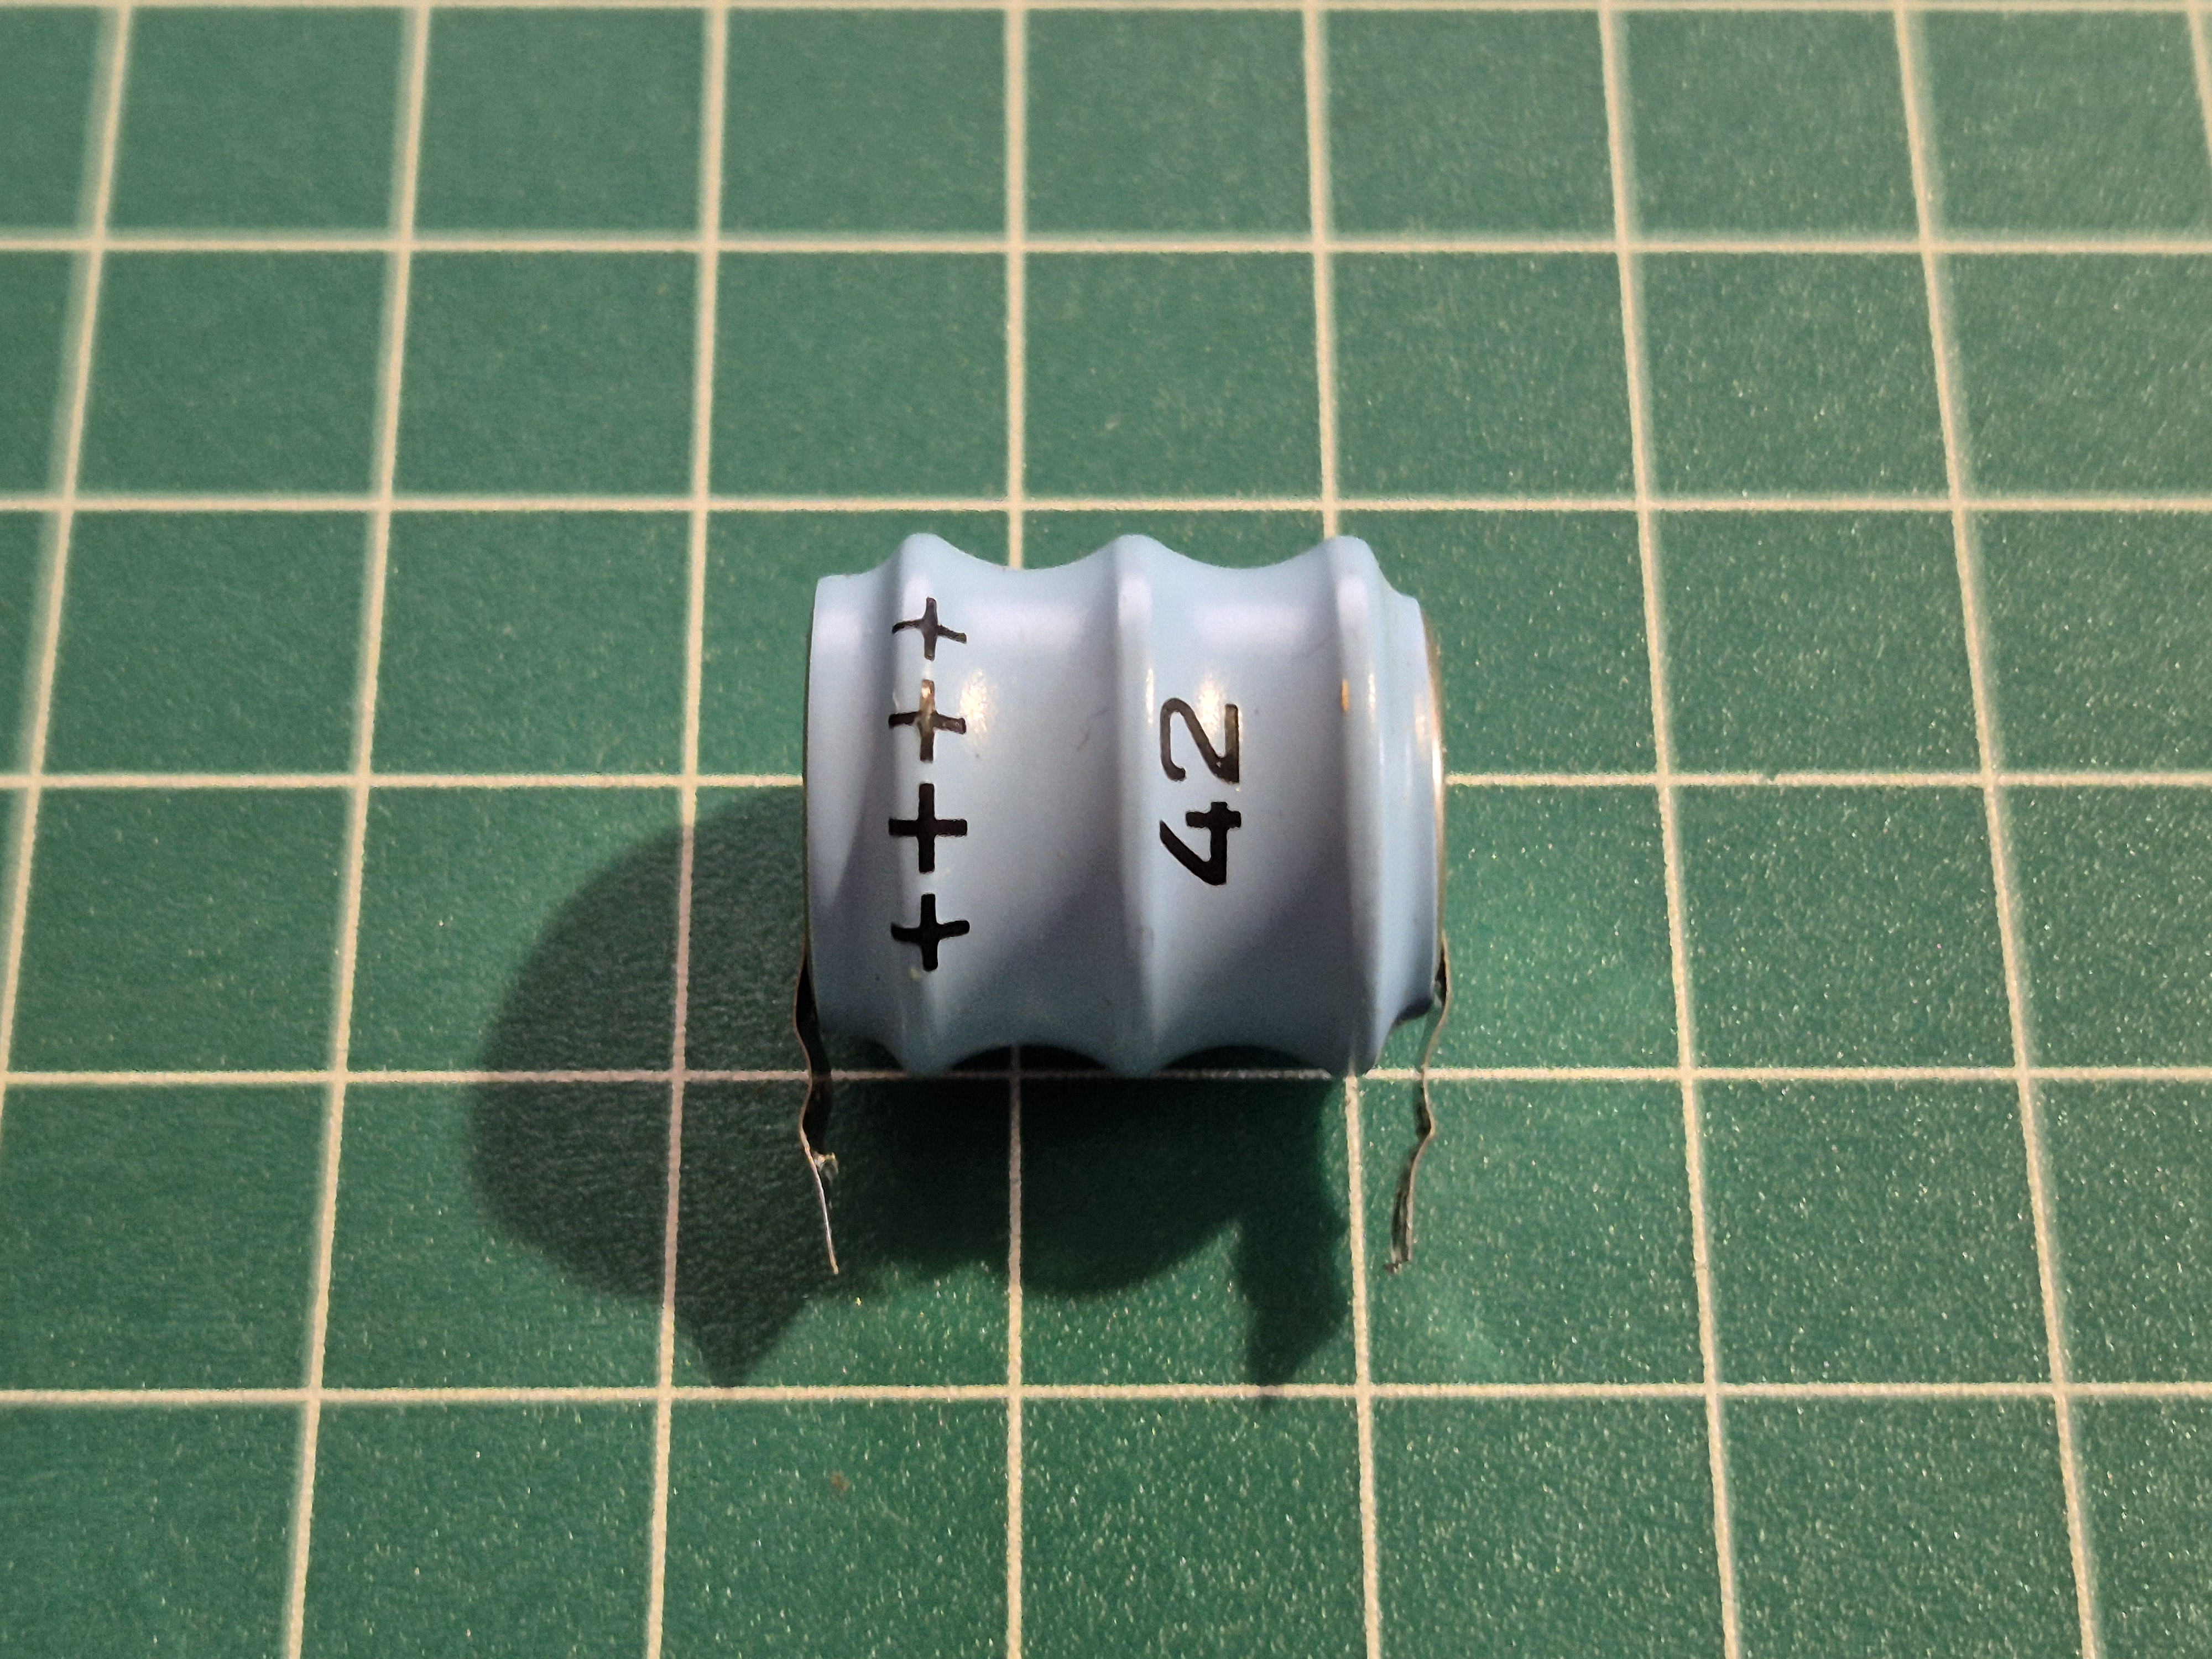
YUASA M3-51FT-A battery side view
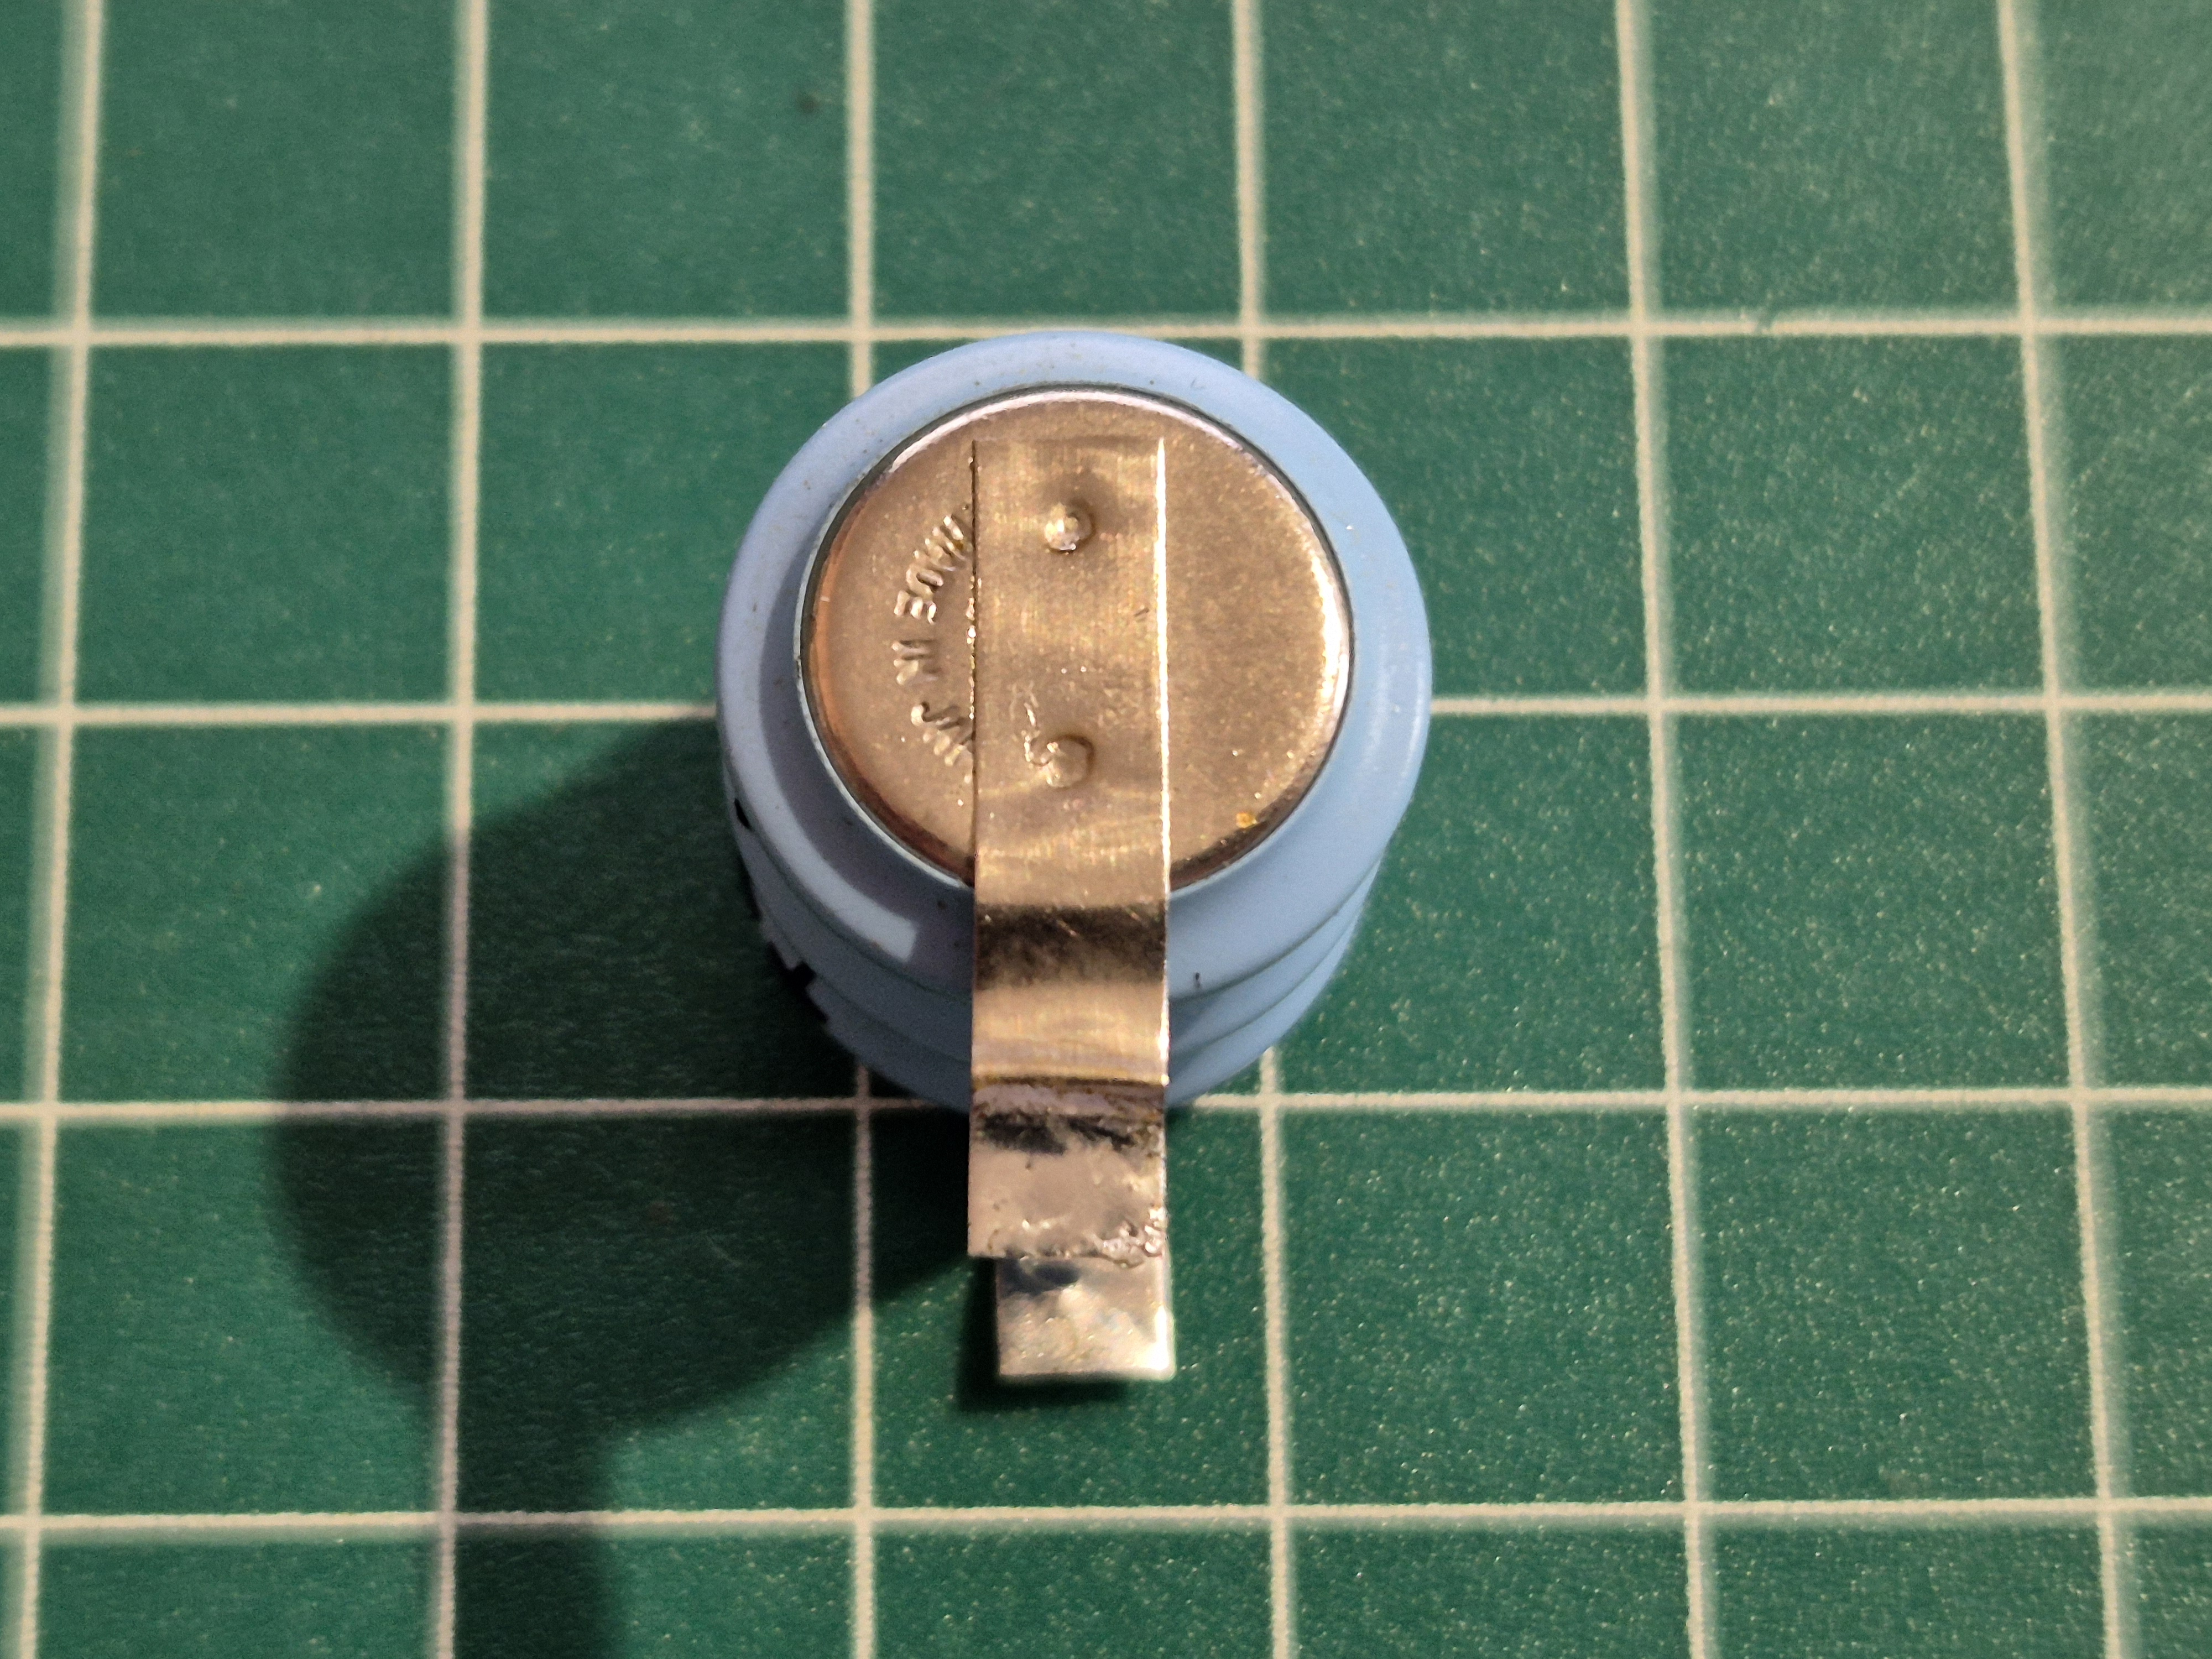
YUASA M3-51FT-A battery minus pole
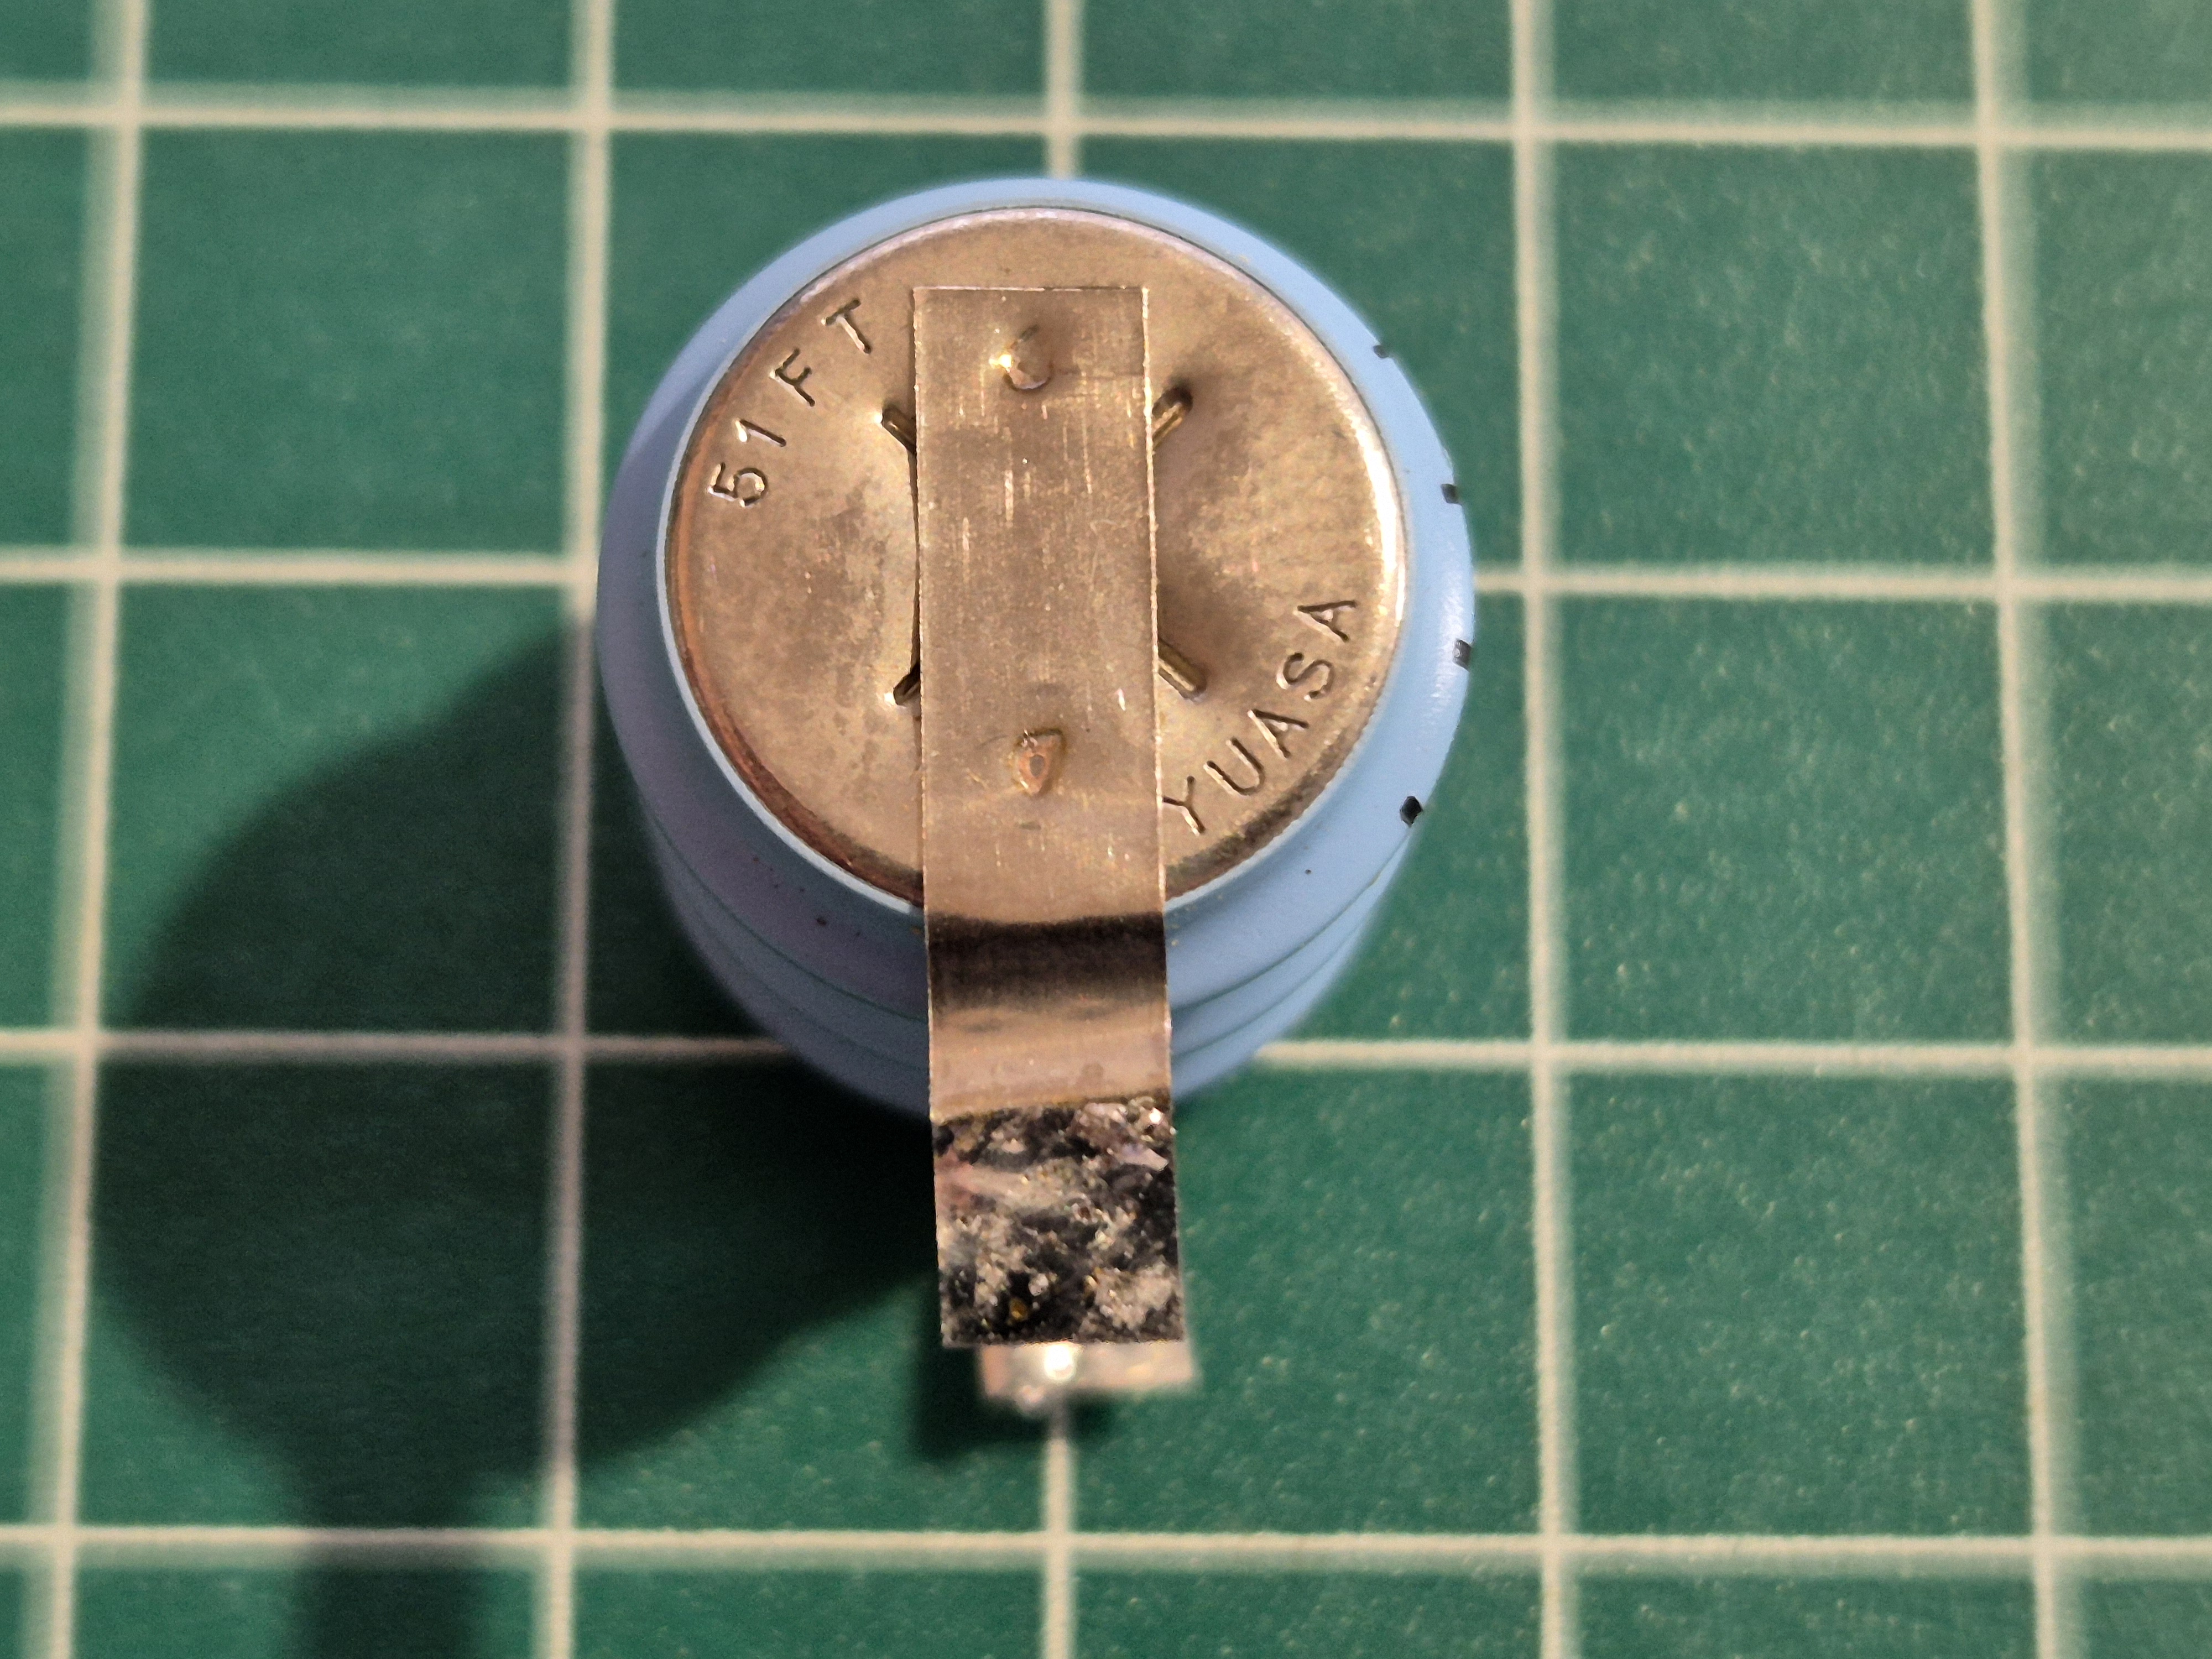
YUASA M3-51FT-A battery plus pole
Replacing the battery
As I couldn't find a direct replacement for the 3-51FT-A battery from YUASA, I used an original VARTA 3/V80H which has the same dimensions, comparable capacity and uses NiMH technology, in the hope that it will prove itself non-leaking.
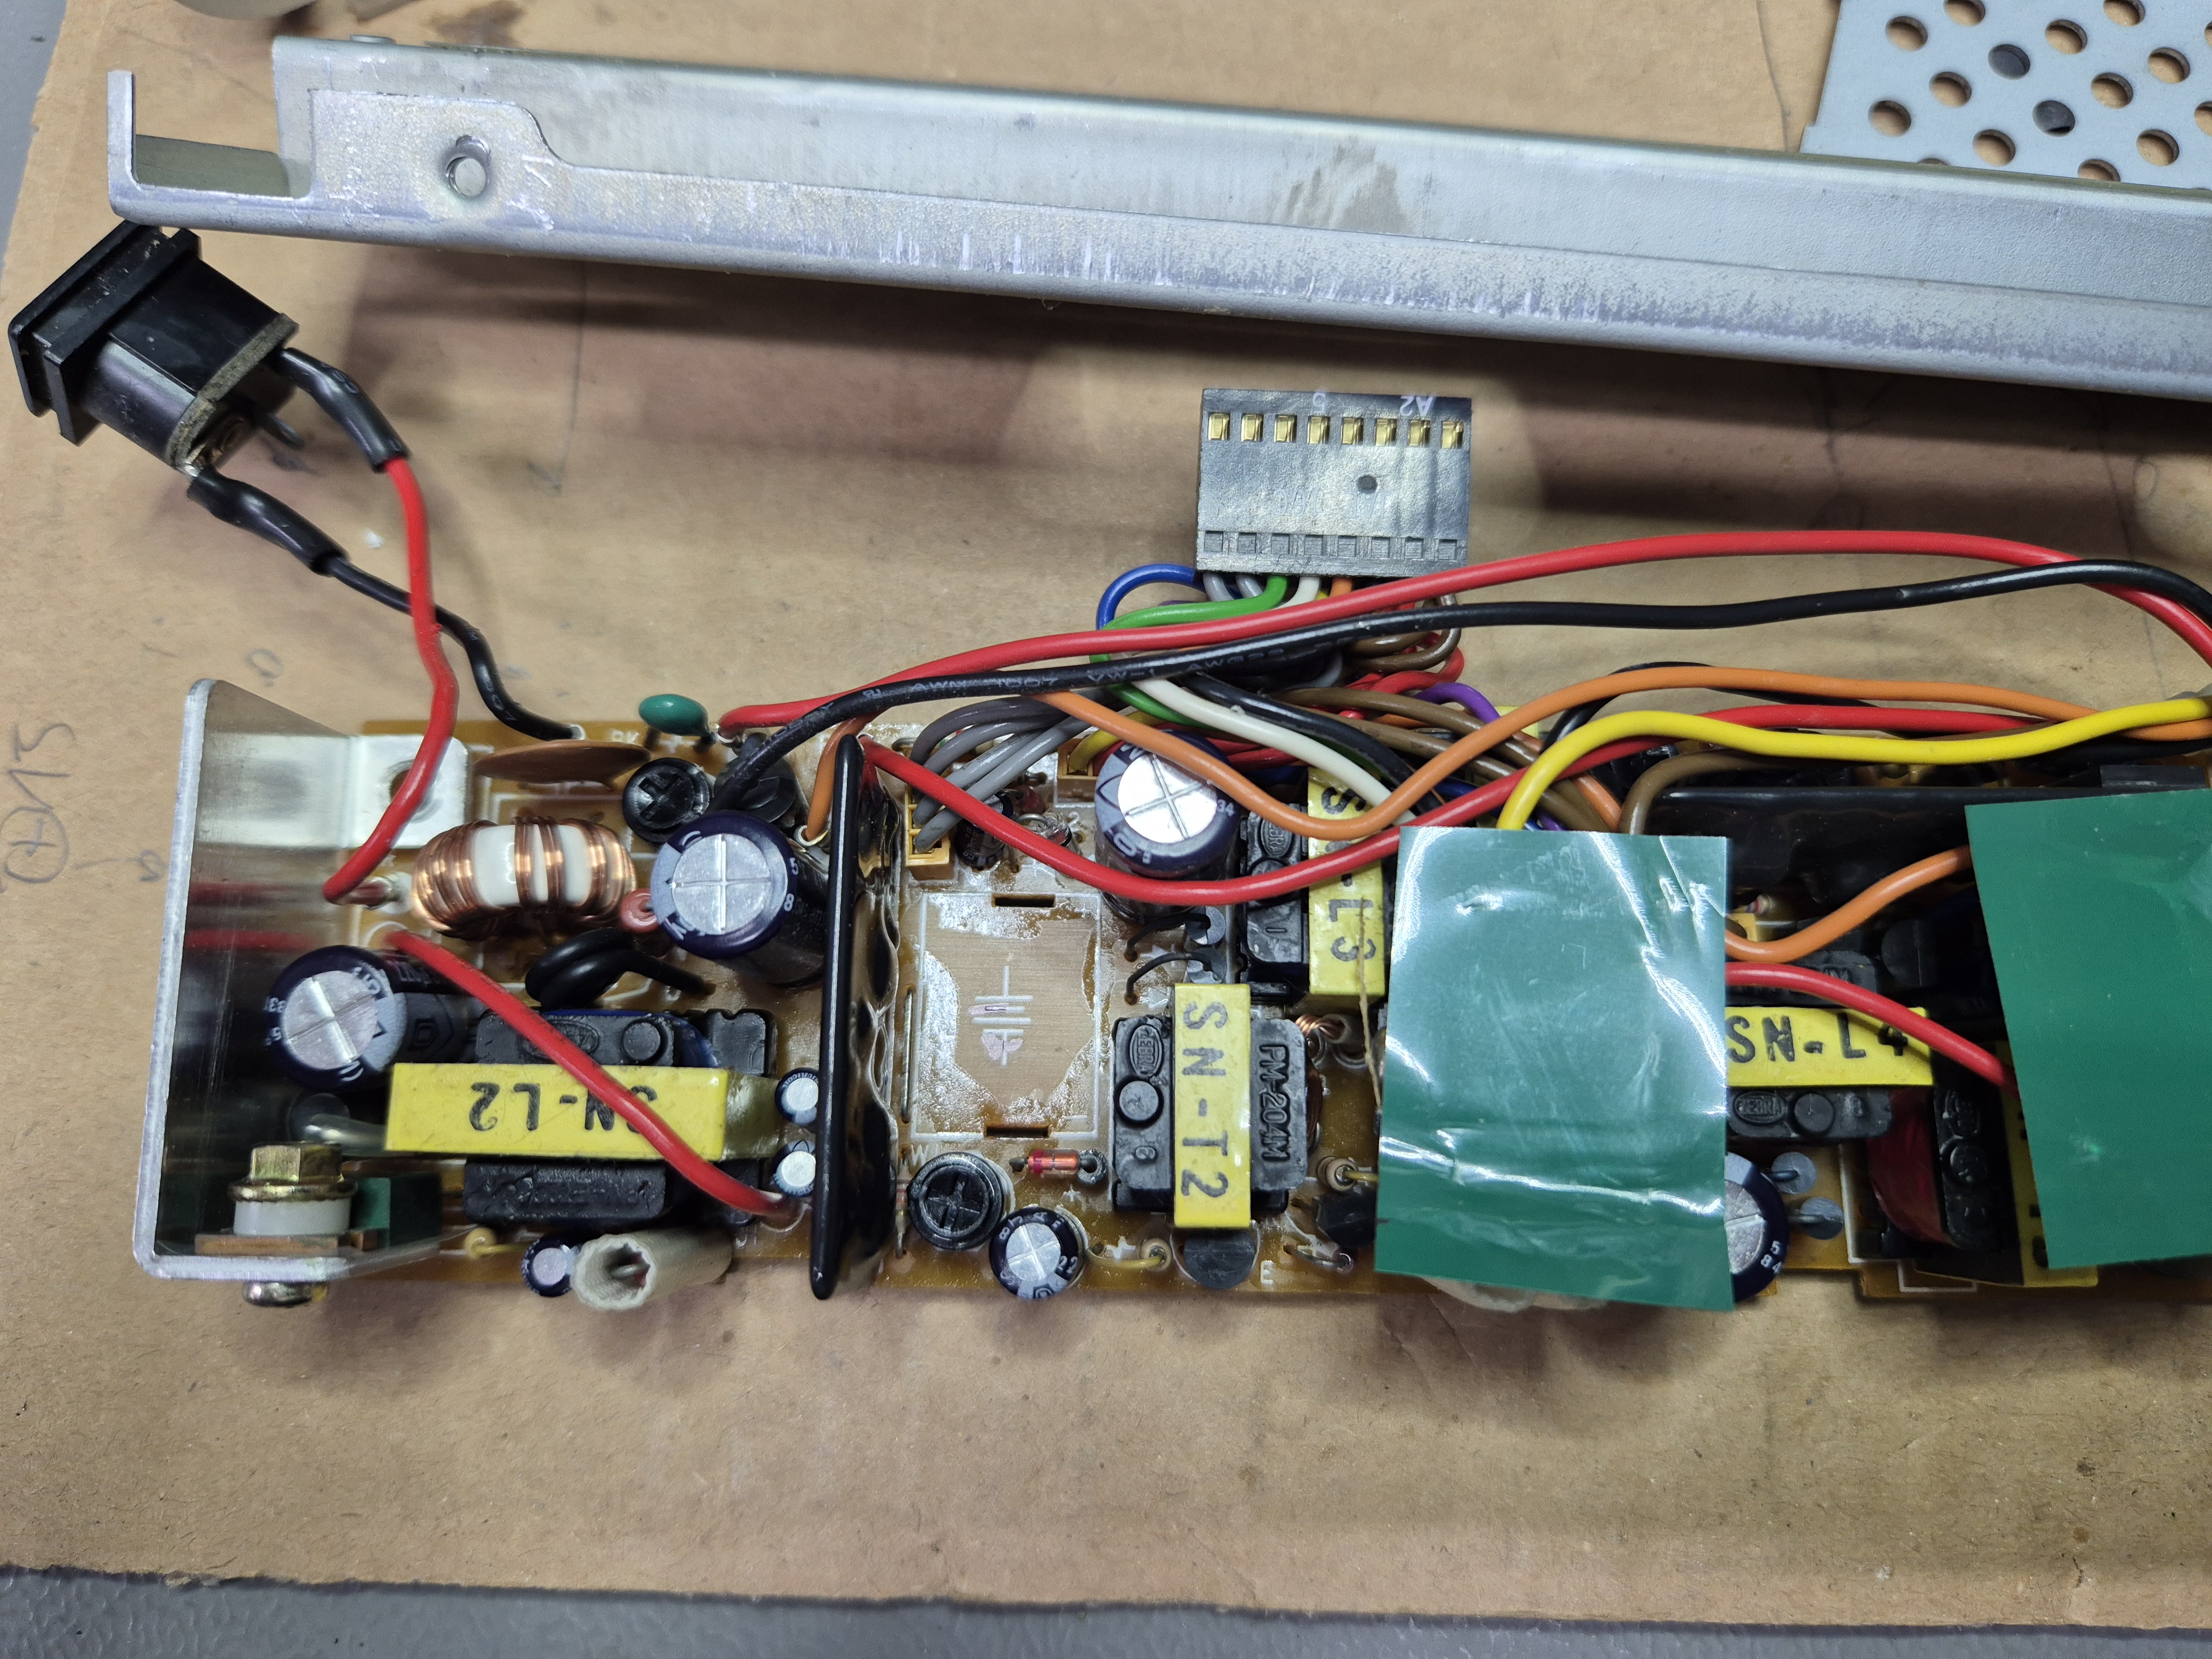
The PCB without the battery
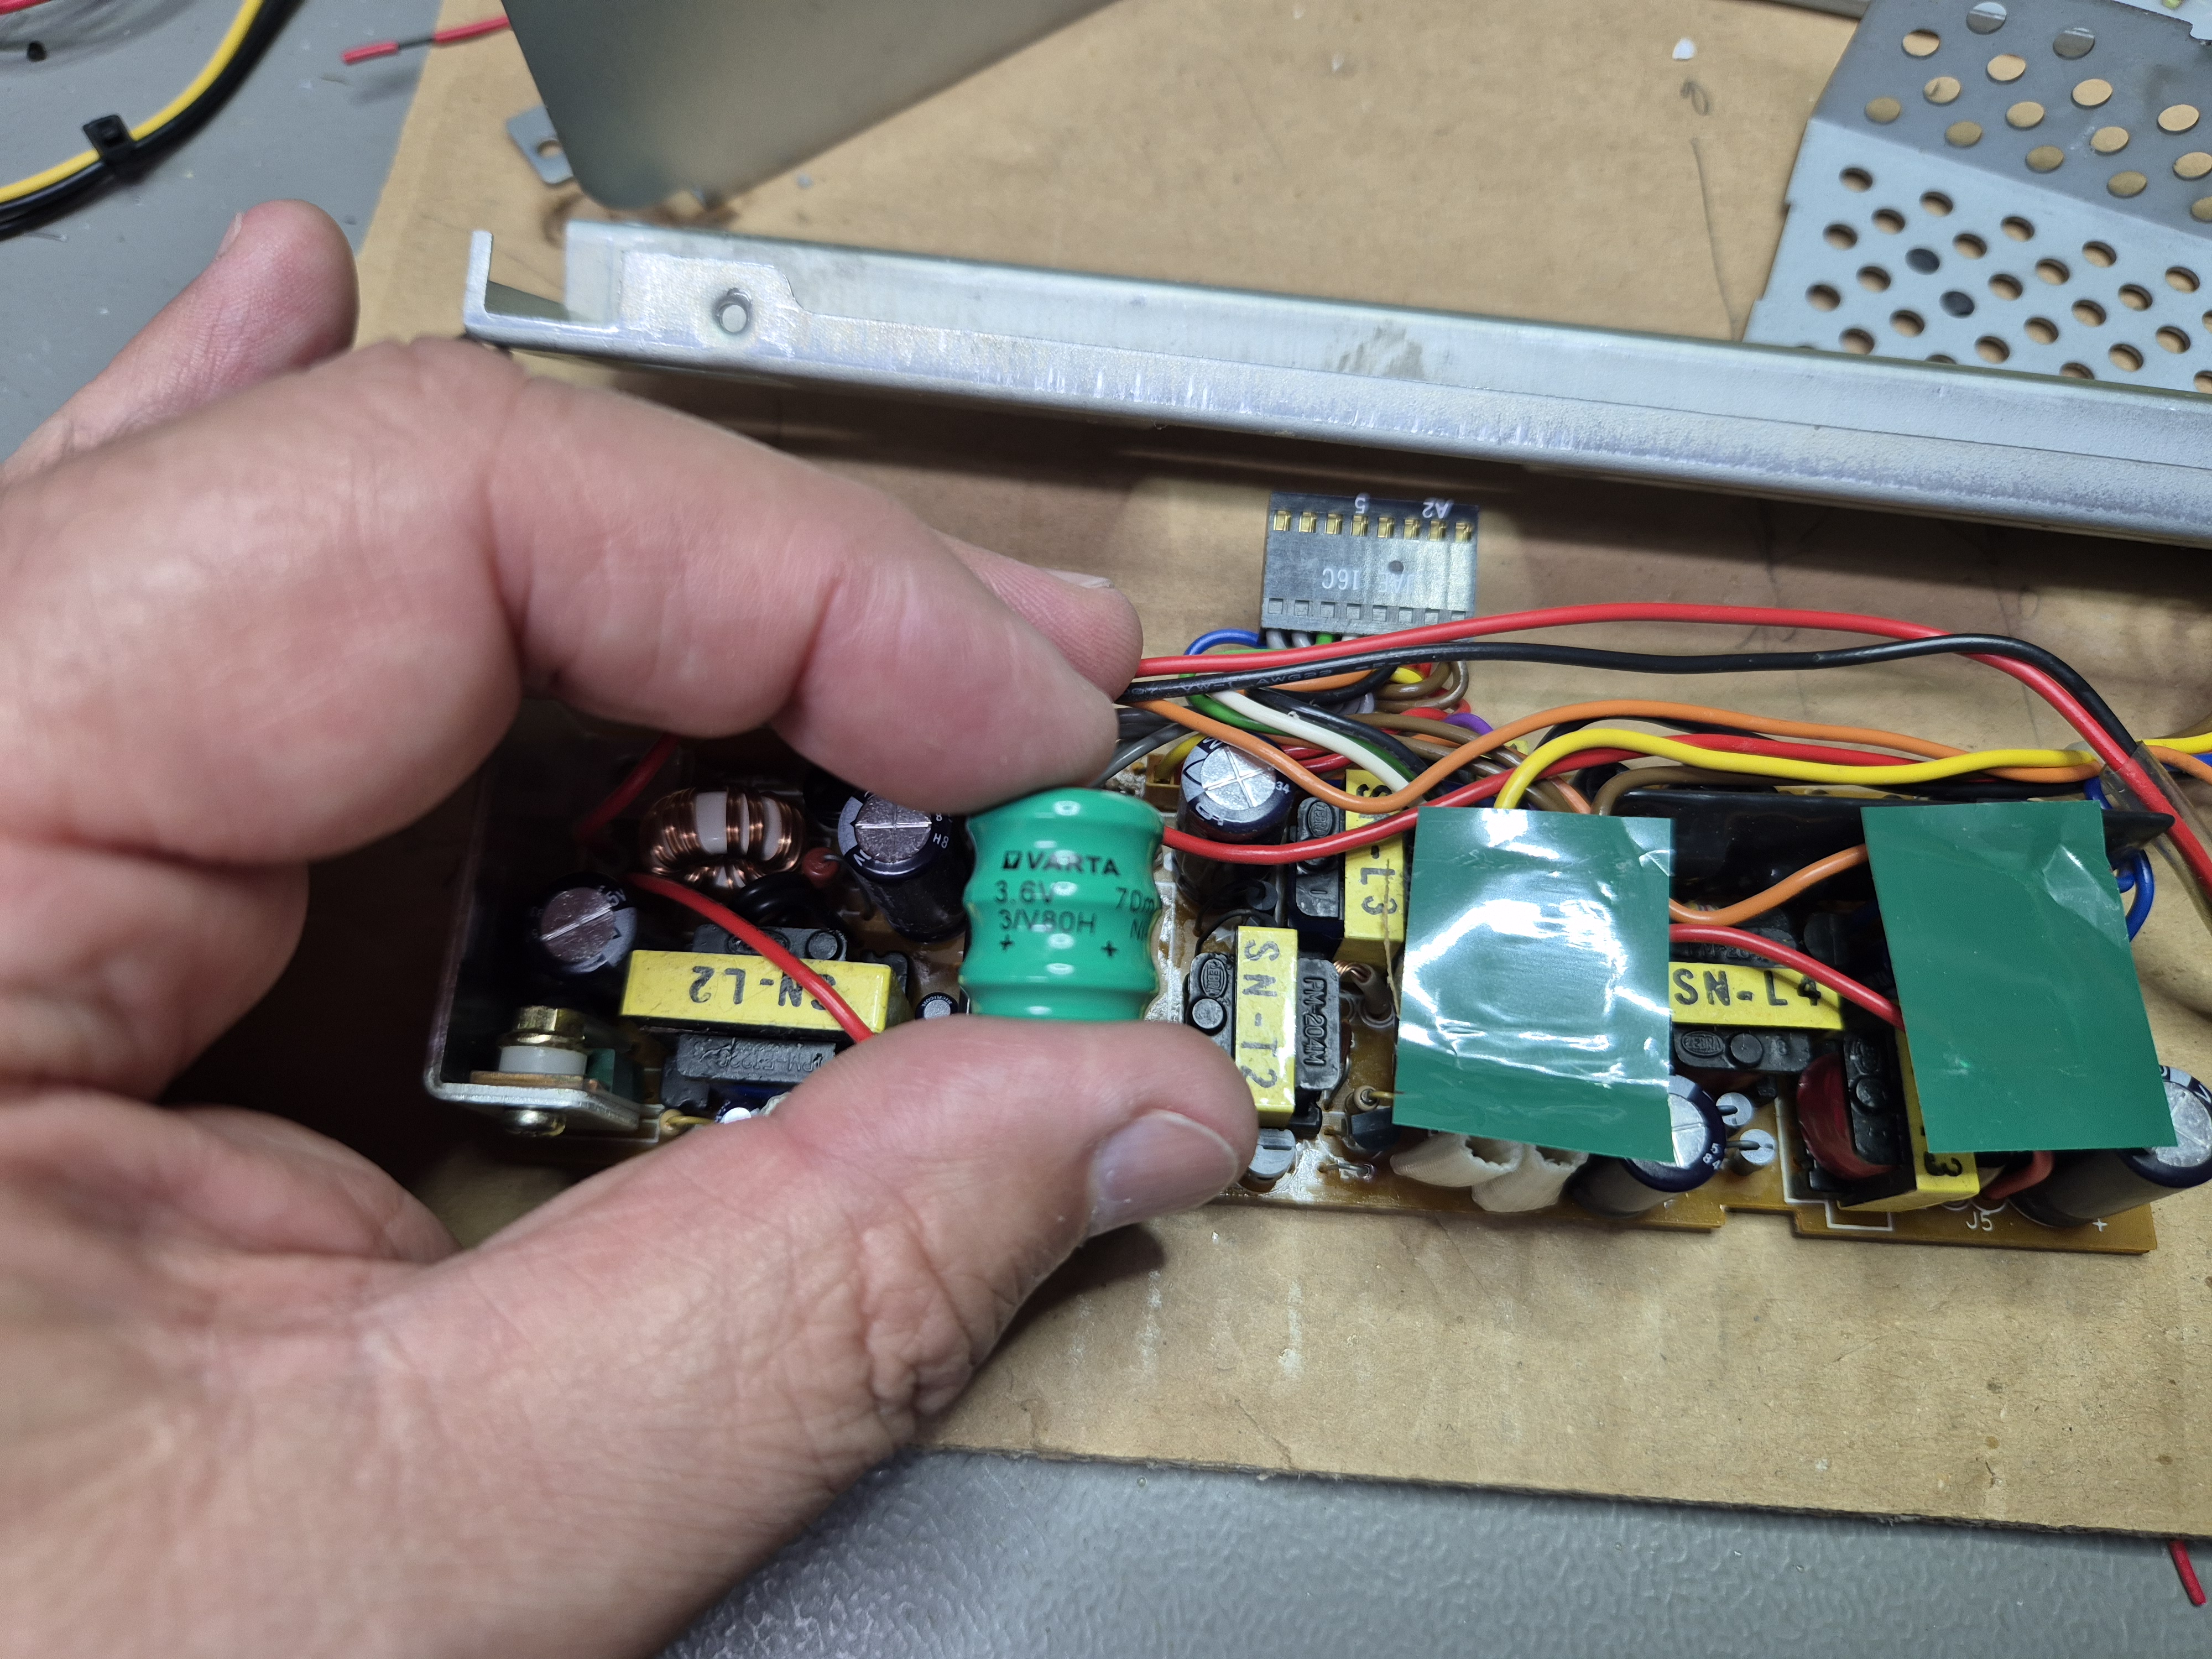
The VARTA 3/V80H battery
Wires secured with new tape
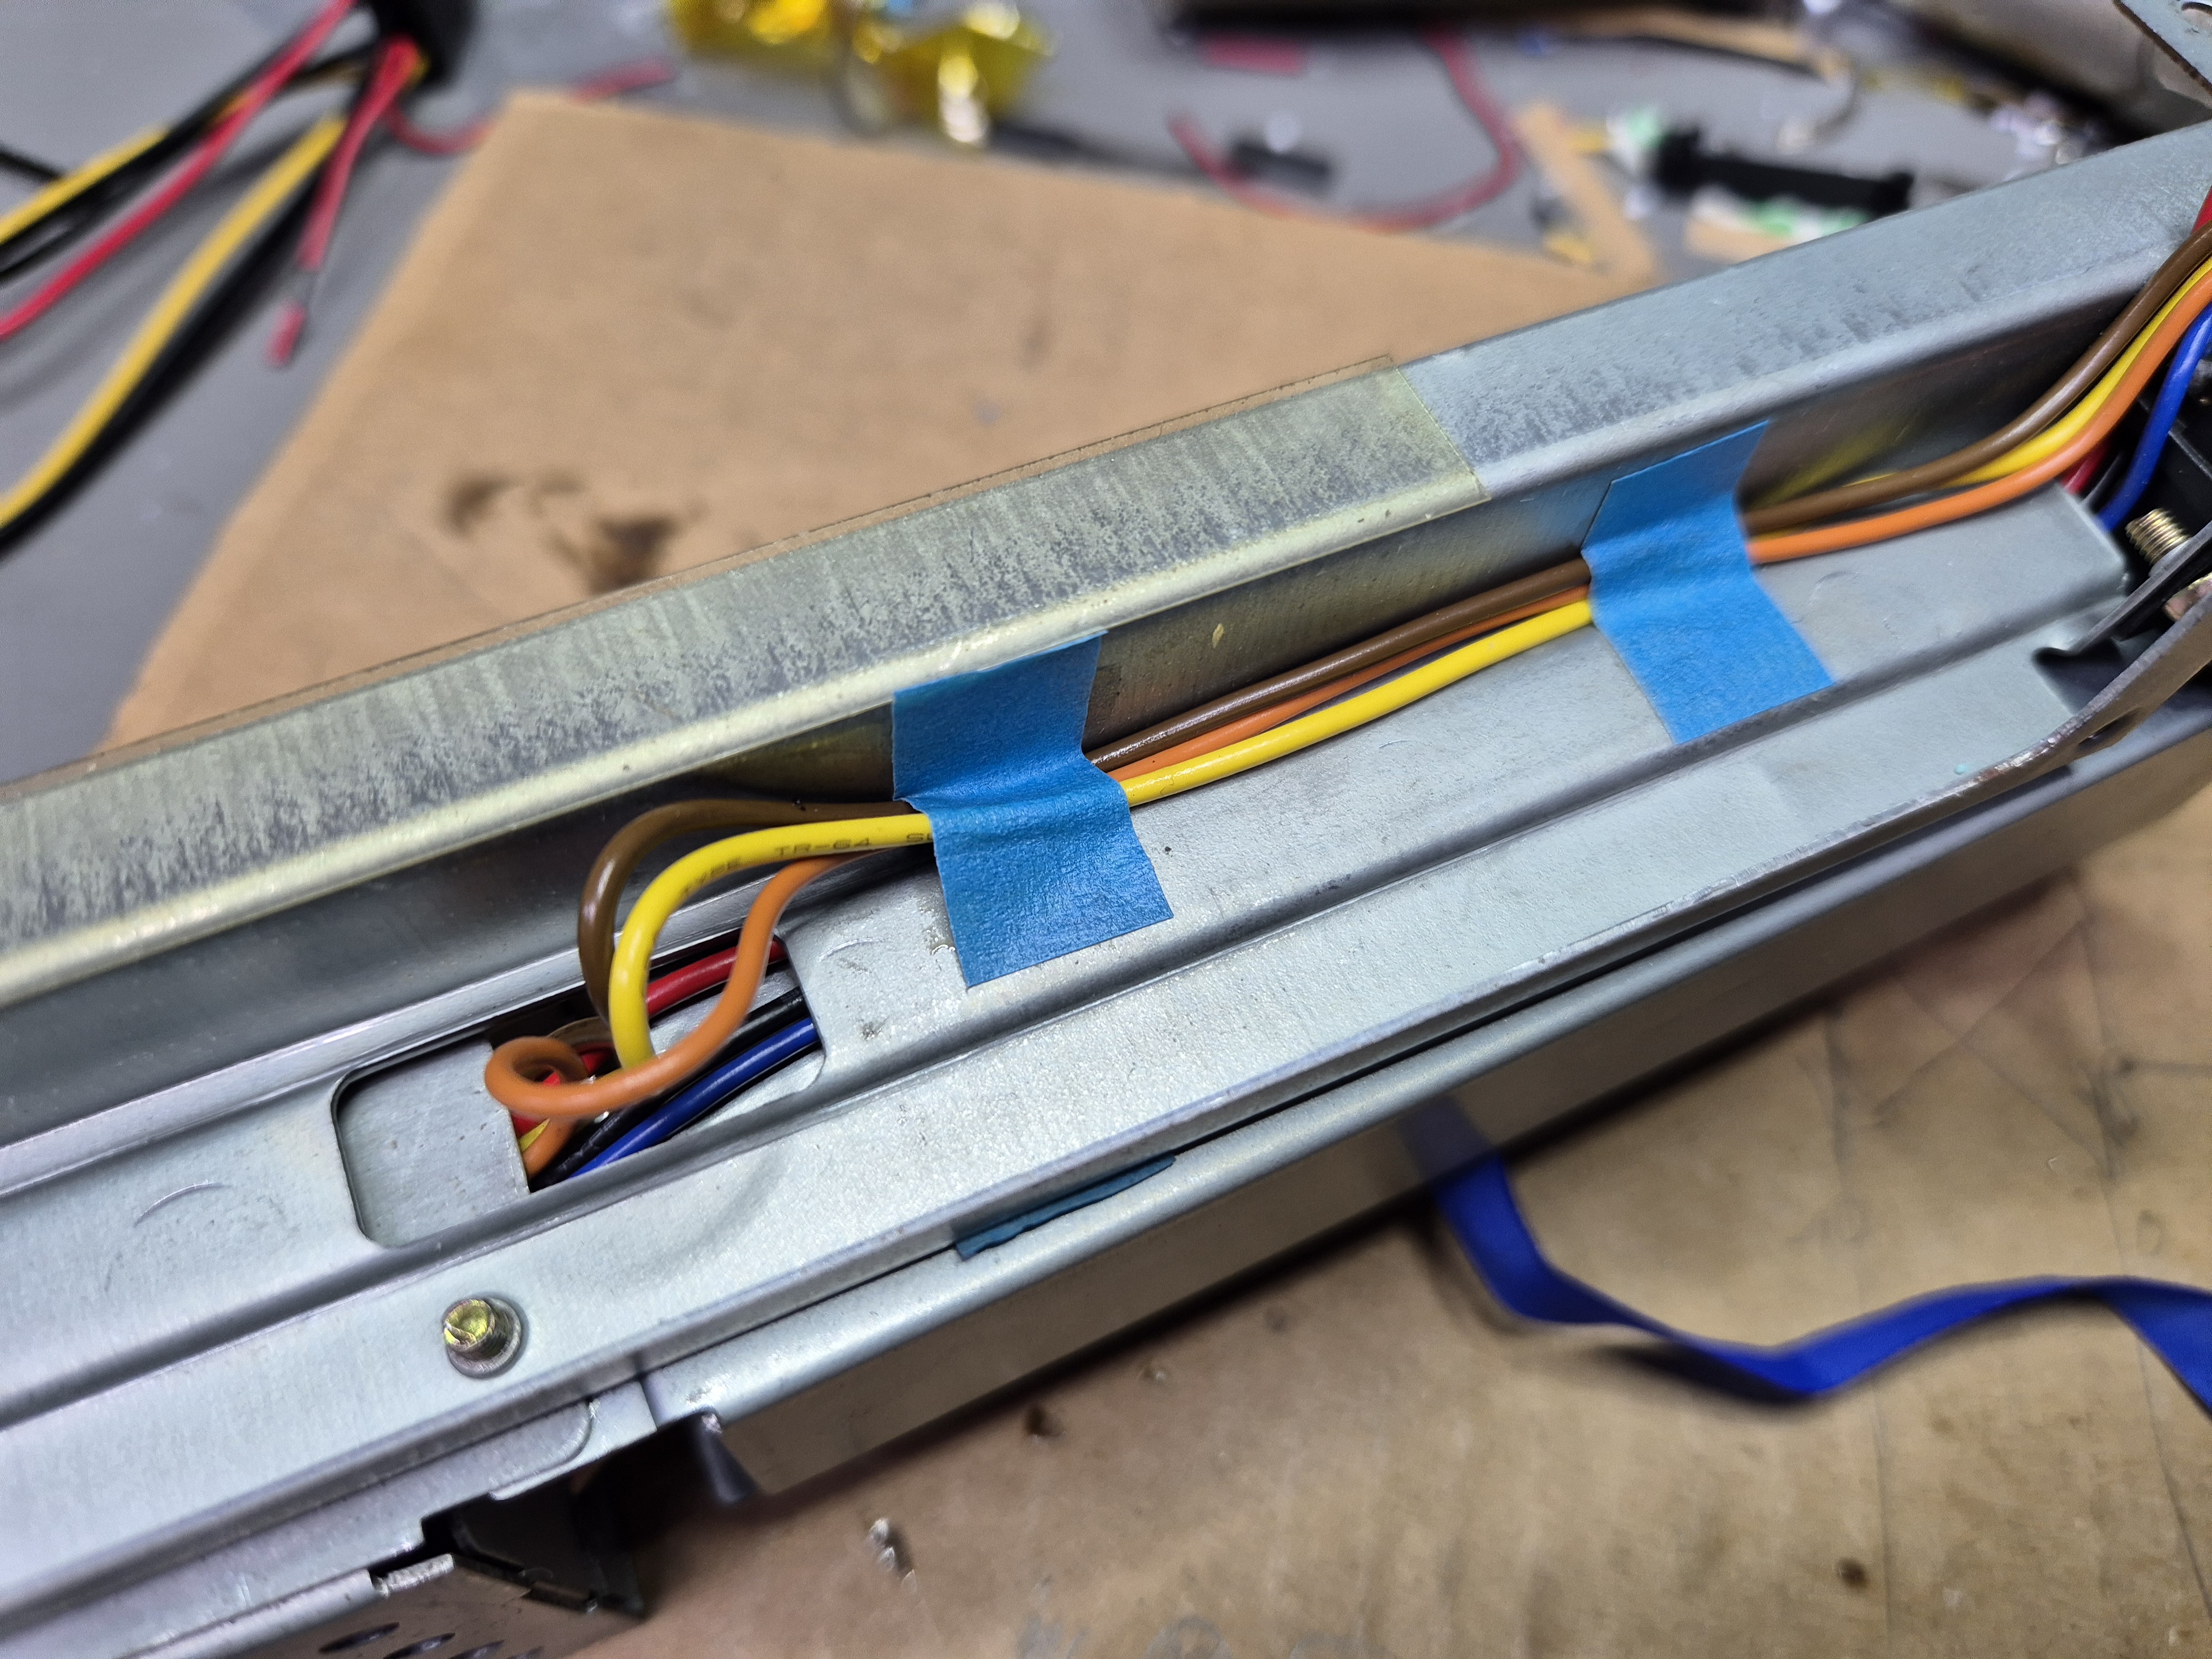
Wires secured with new tape
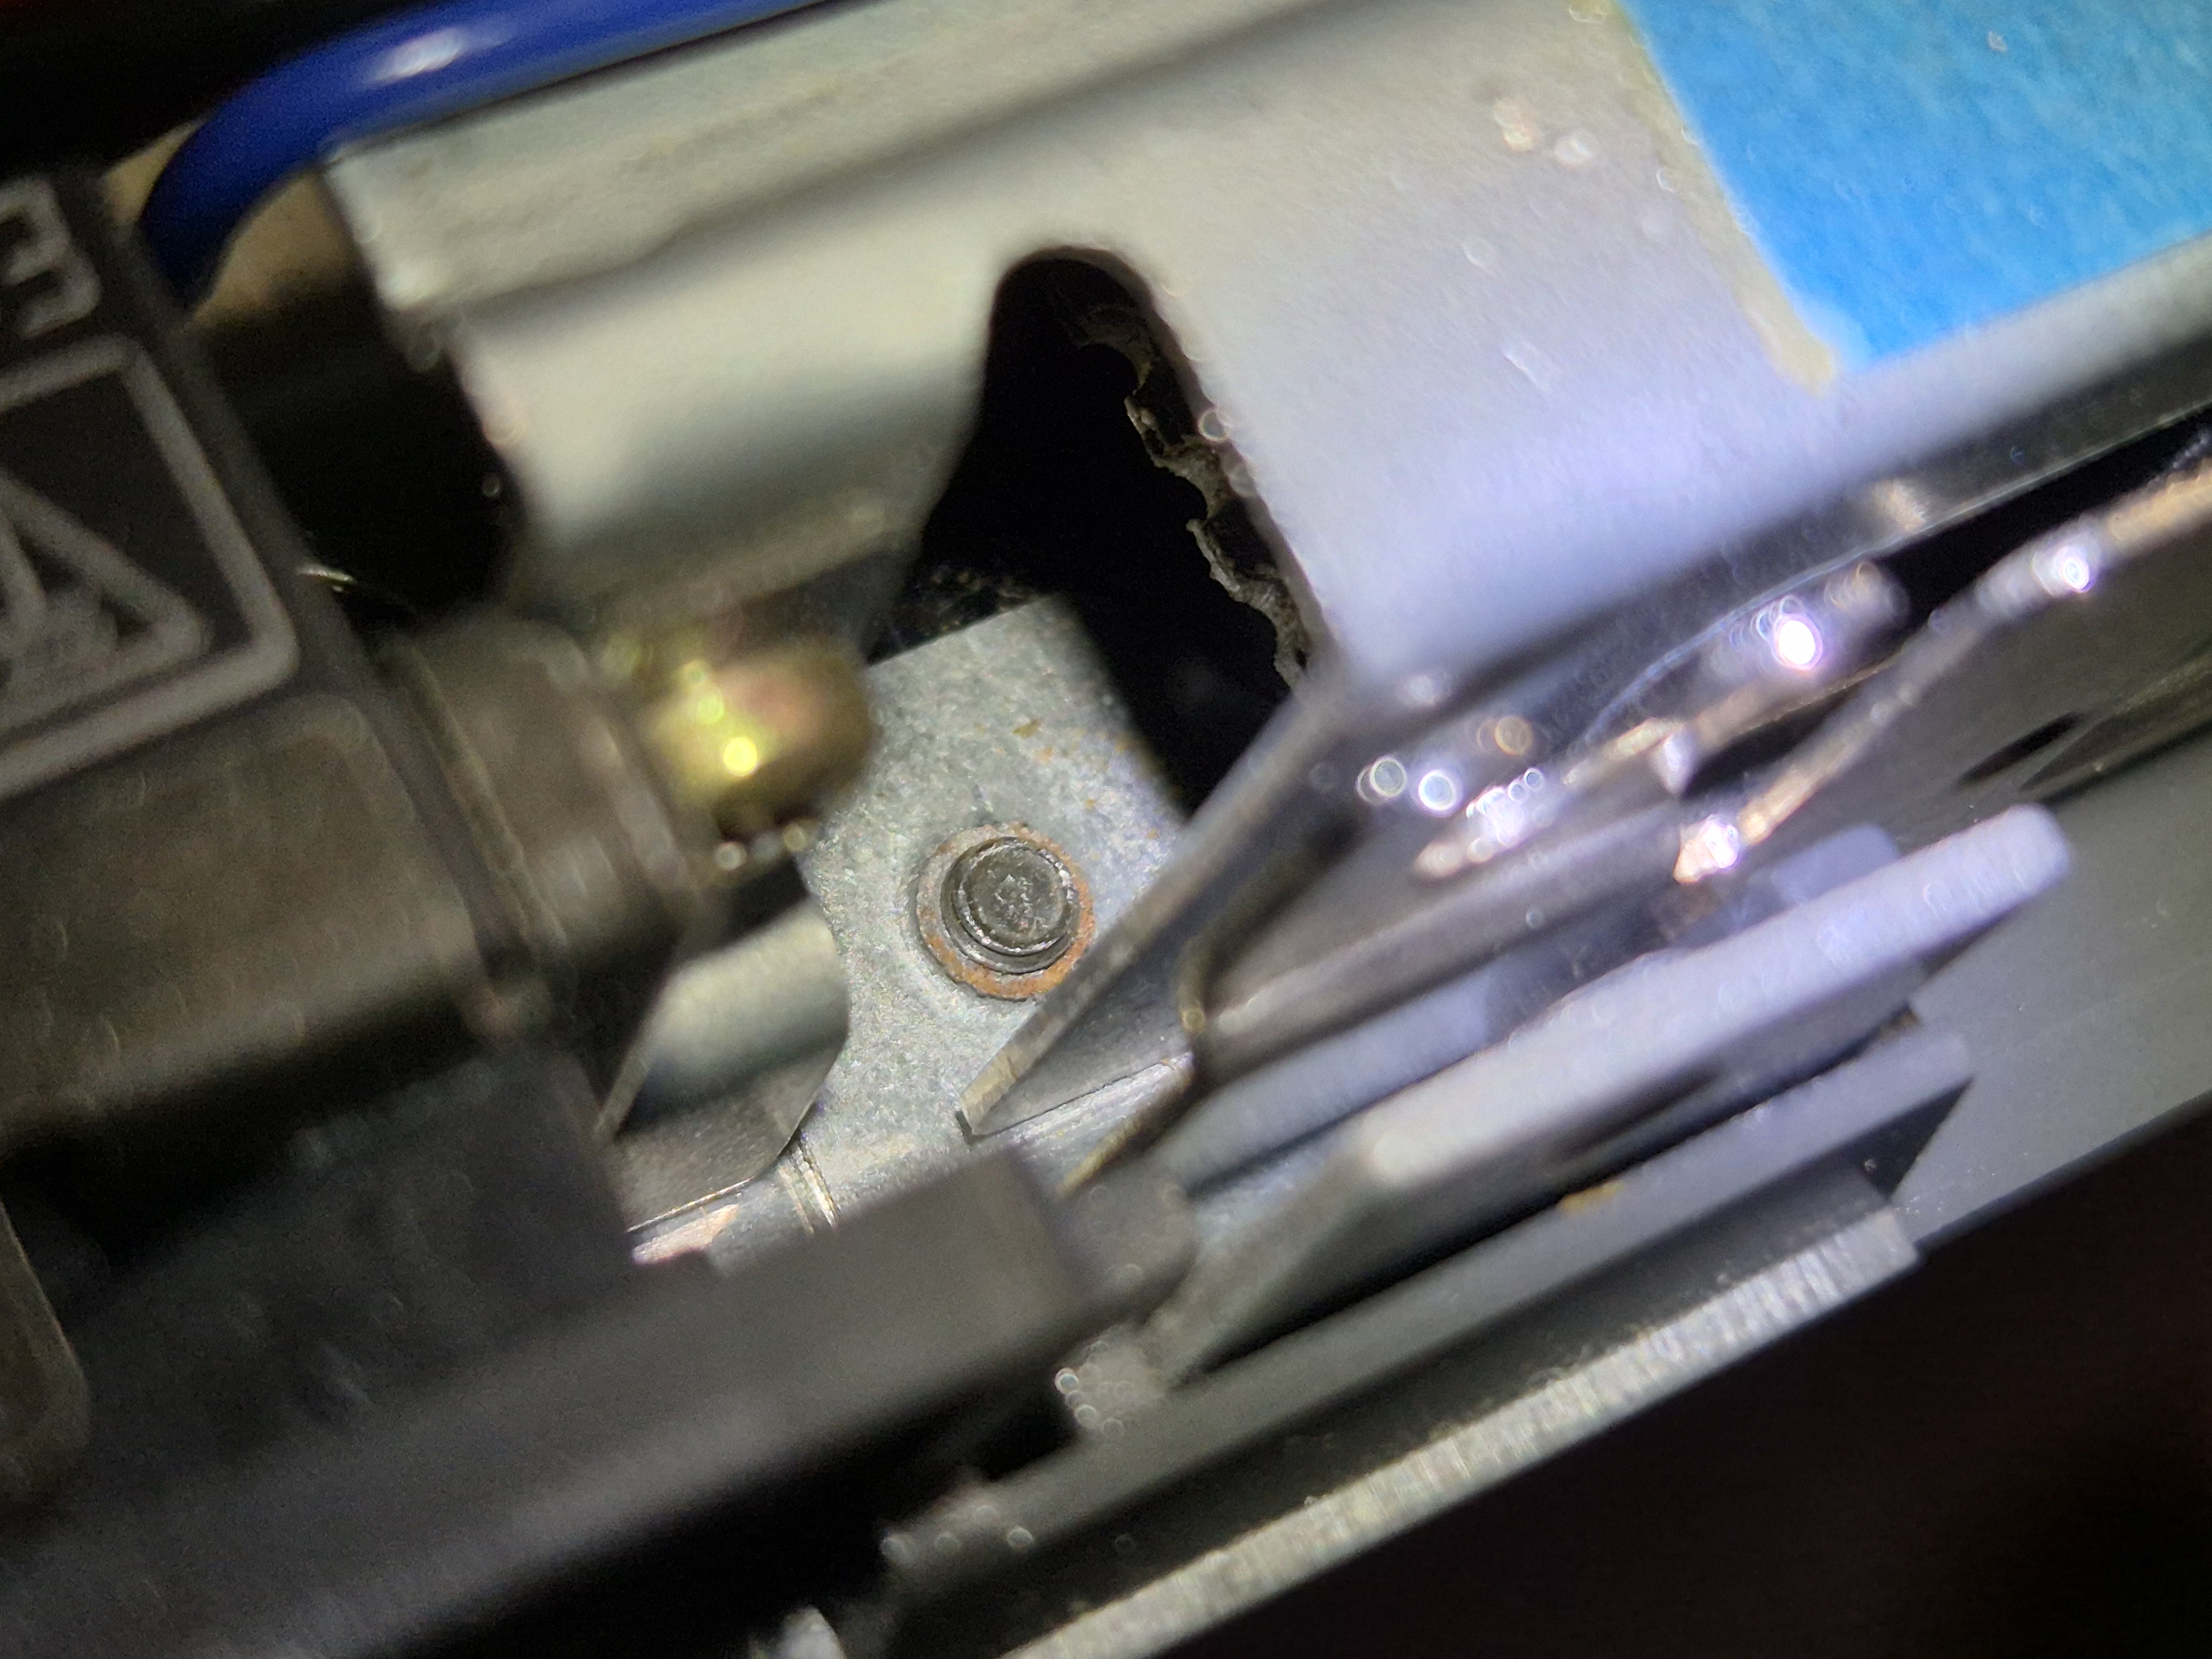
This is a view to the unfastened screw from within the computer
Replacing the power section
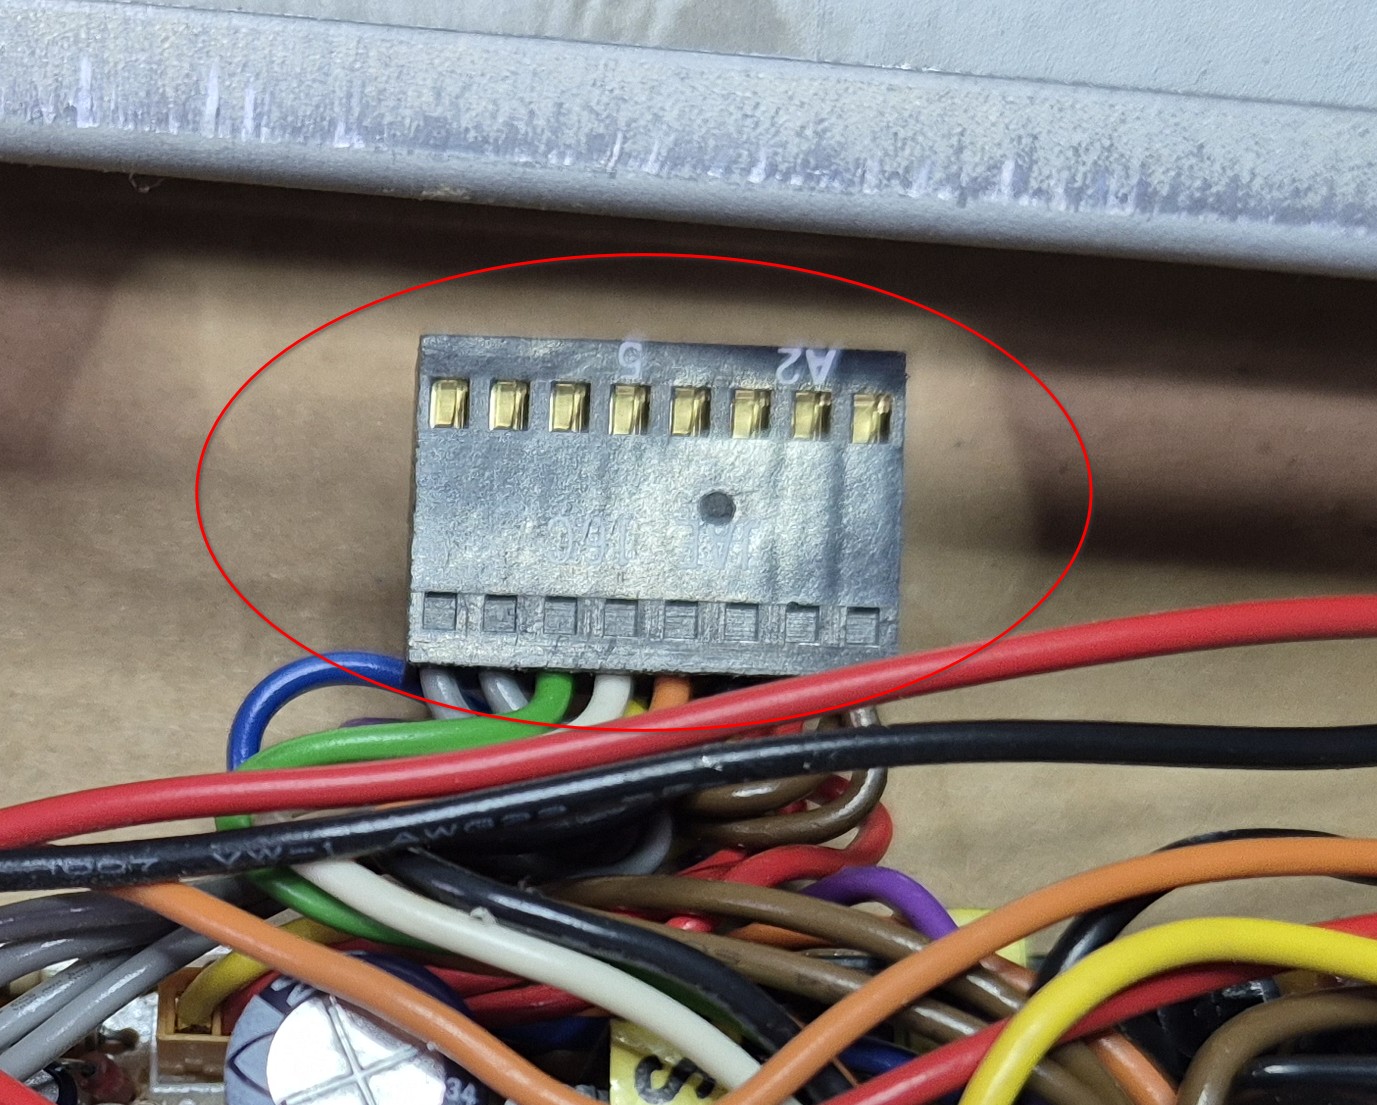
The work is easily done but be careful when placing the connector on the motherboard. I used tweezzers to get it where it belongs:
This is a view to the unfastened screw from within the computer
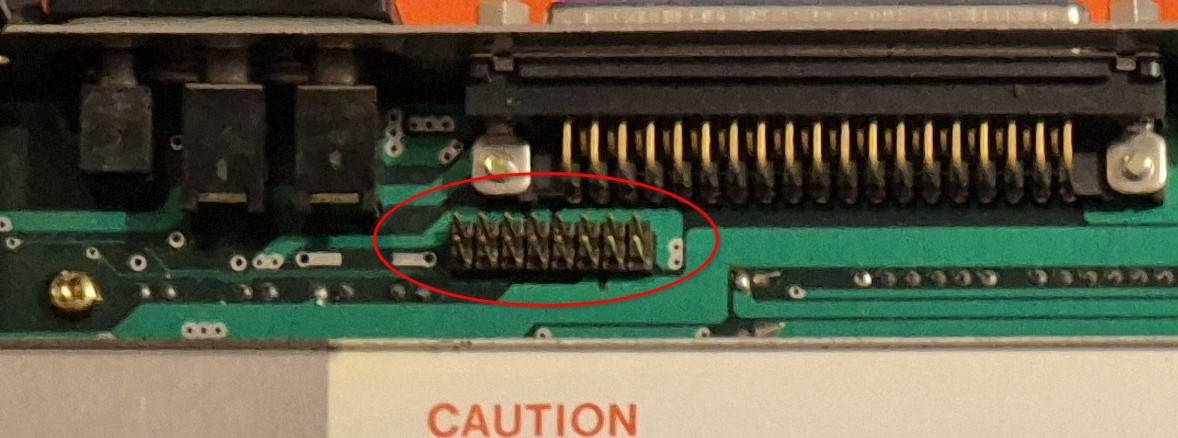
The marked pins on the left are where the connector goes
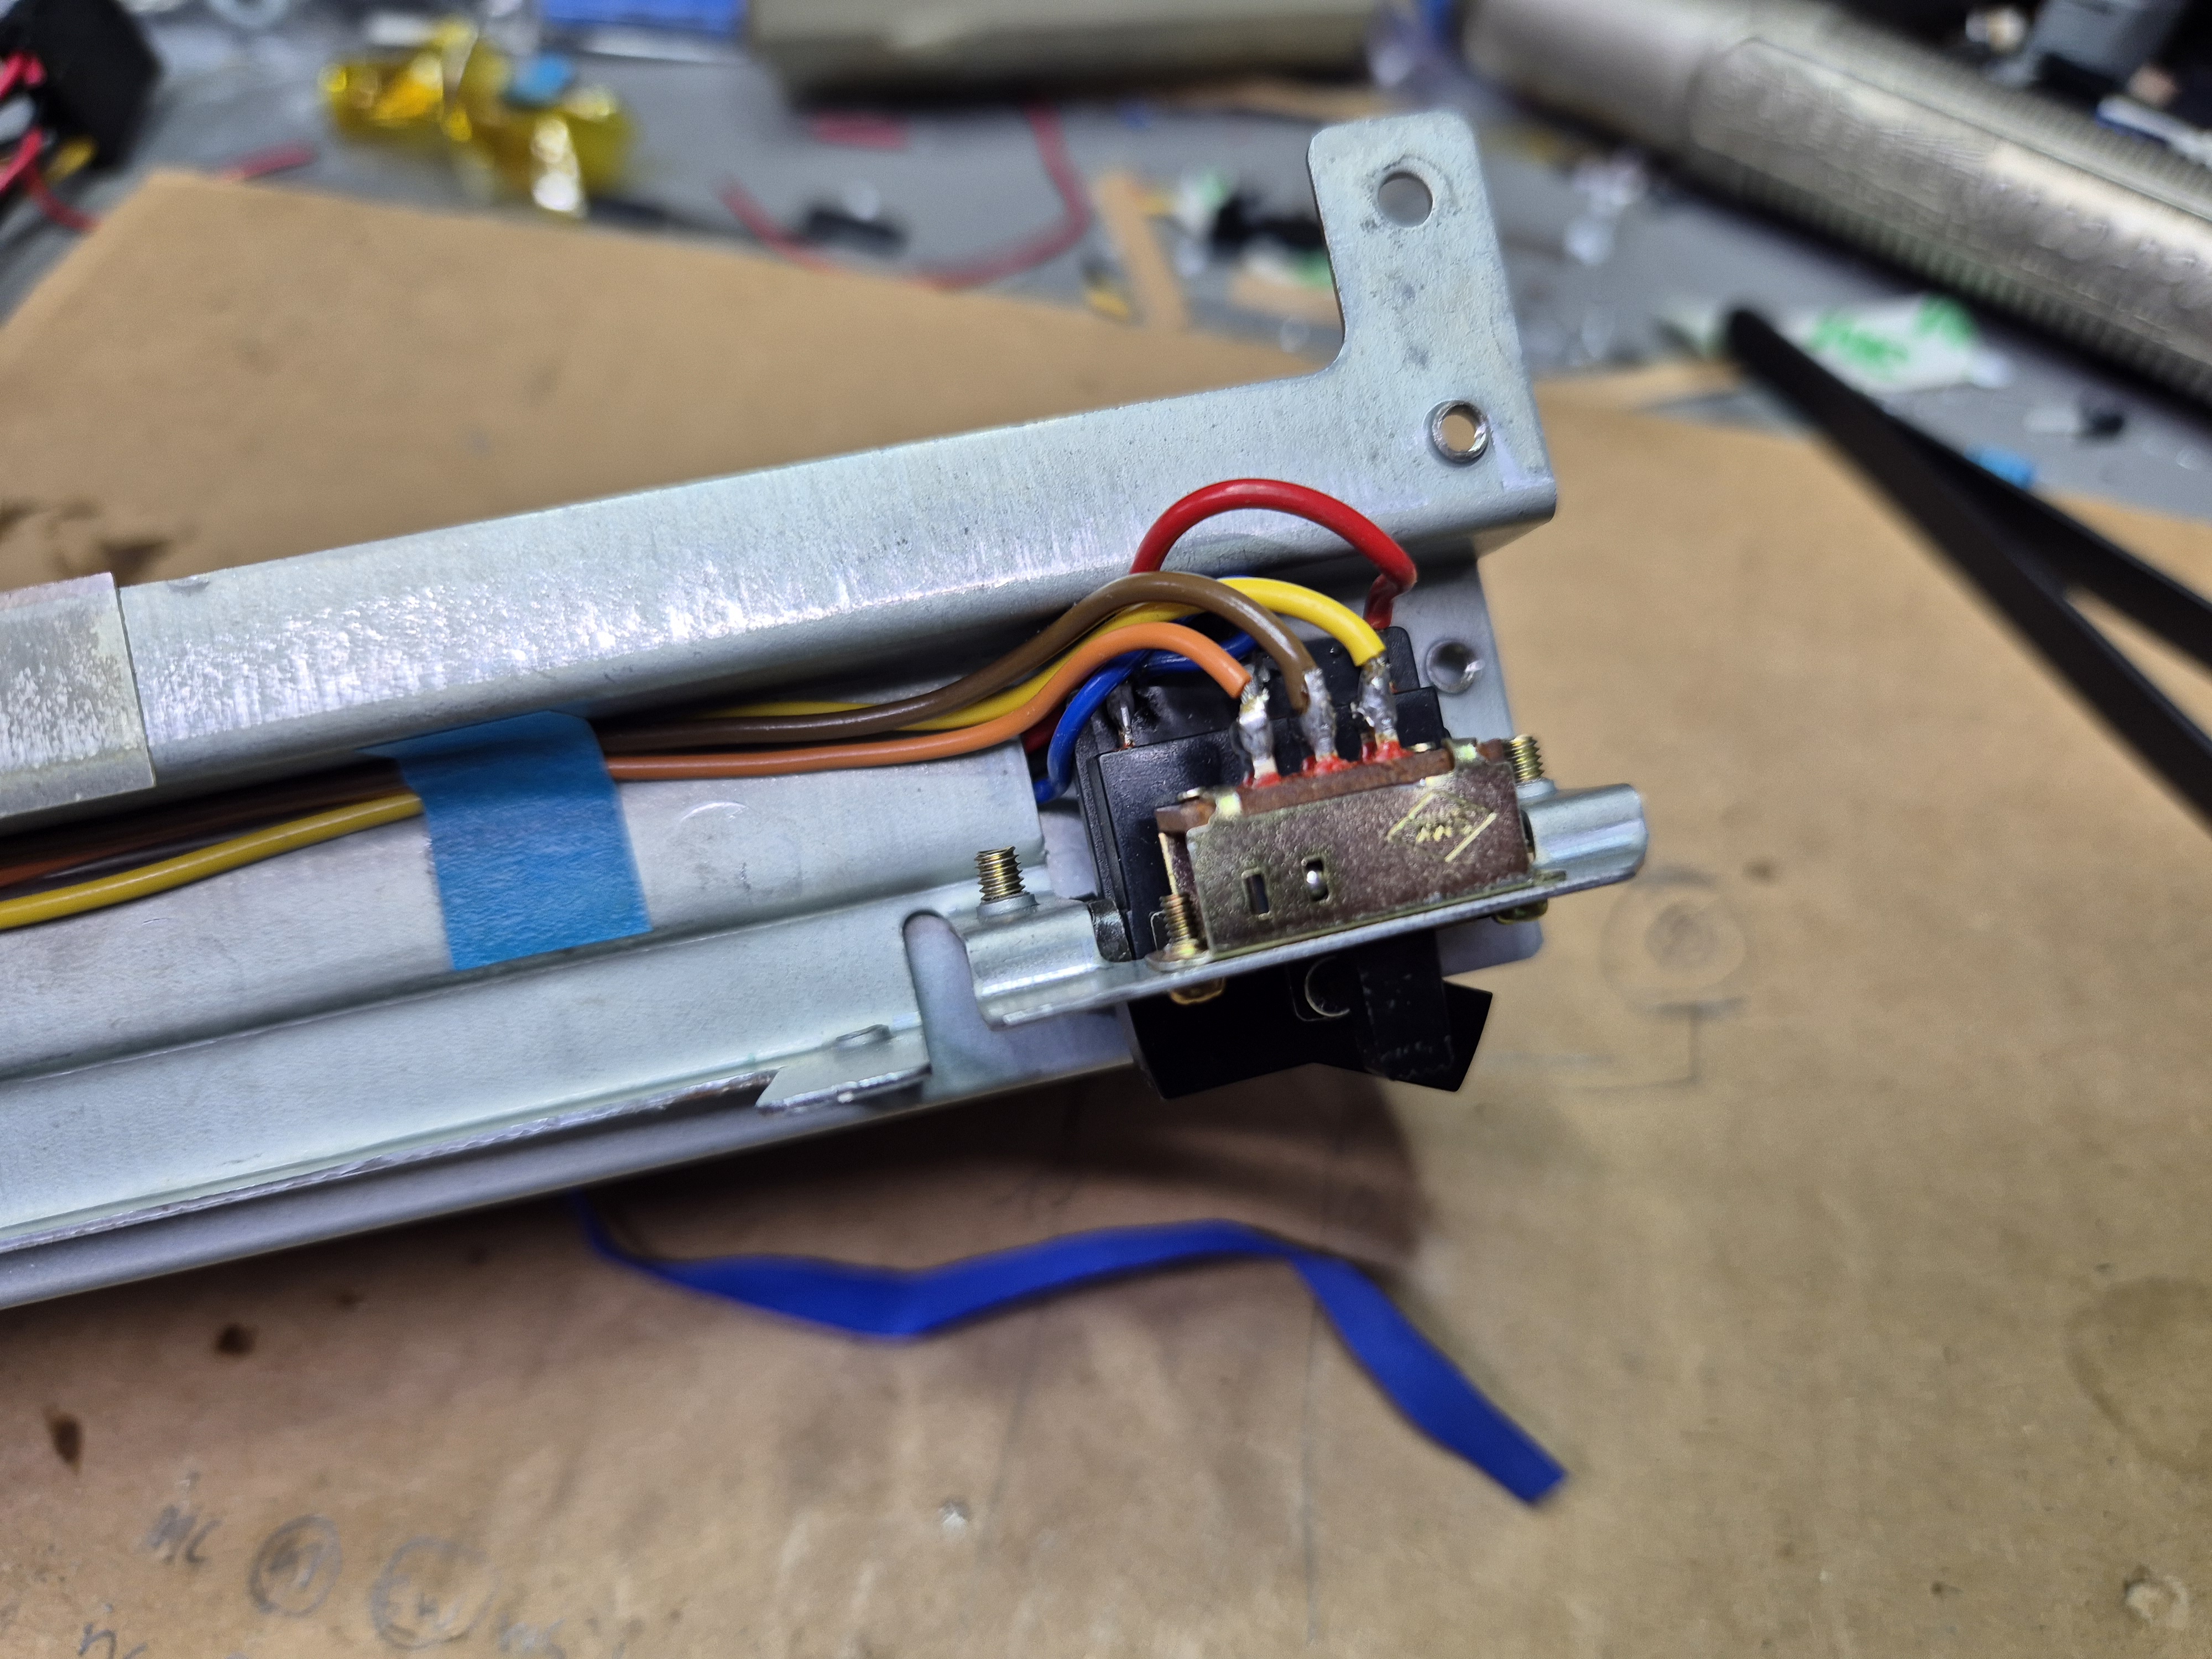
Repairing the OP/CHA switch
When I had removed the power section I immediately saw that the switch that selects between operating and charging was mechanical damaged but not as bad that it couldn't be repaired:
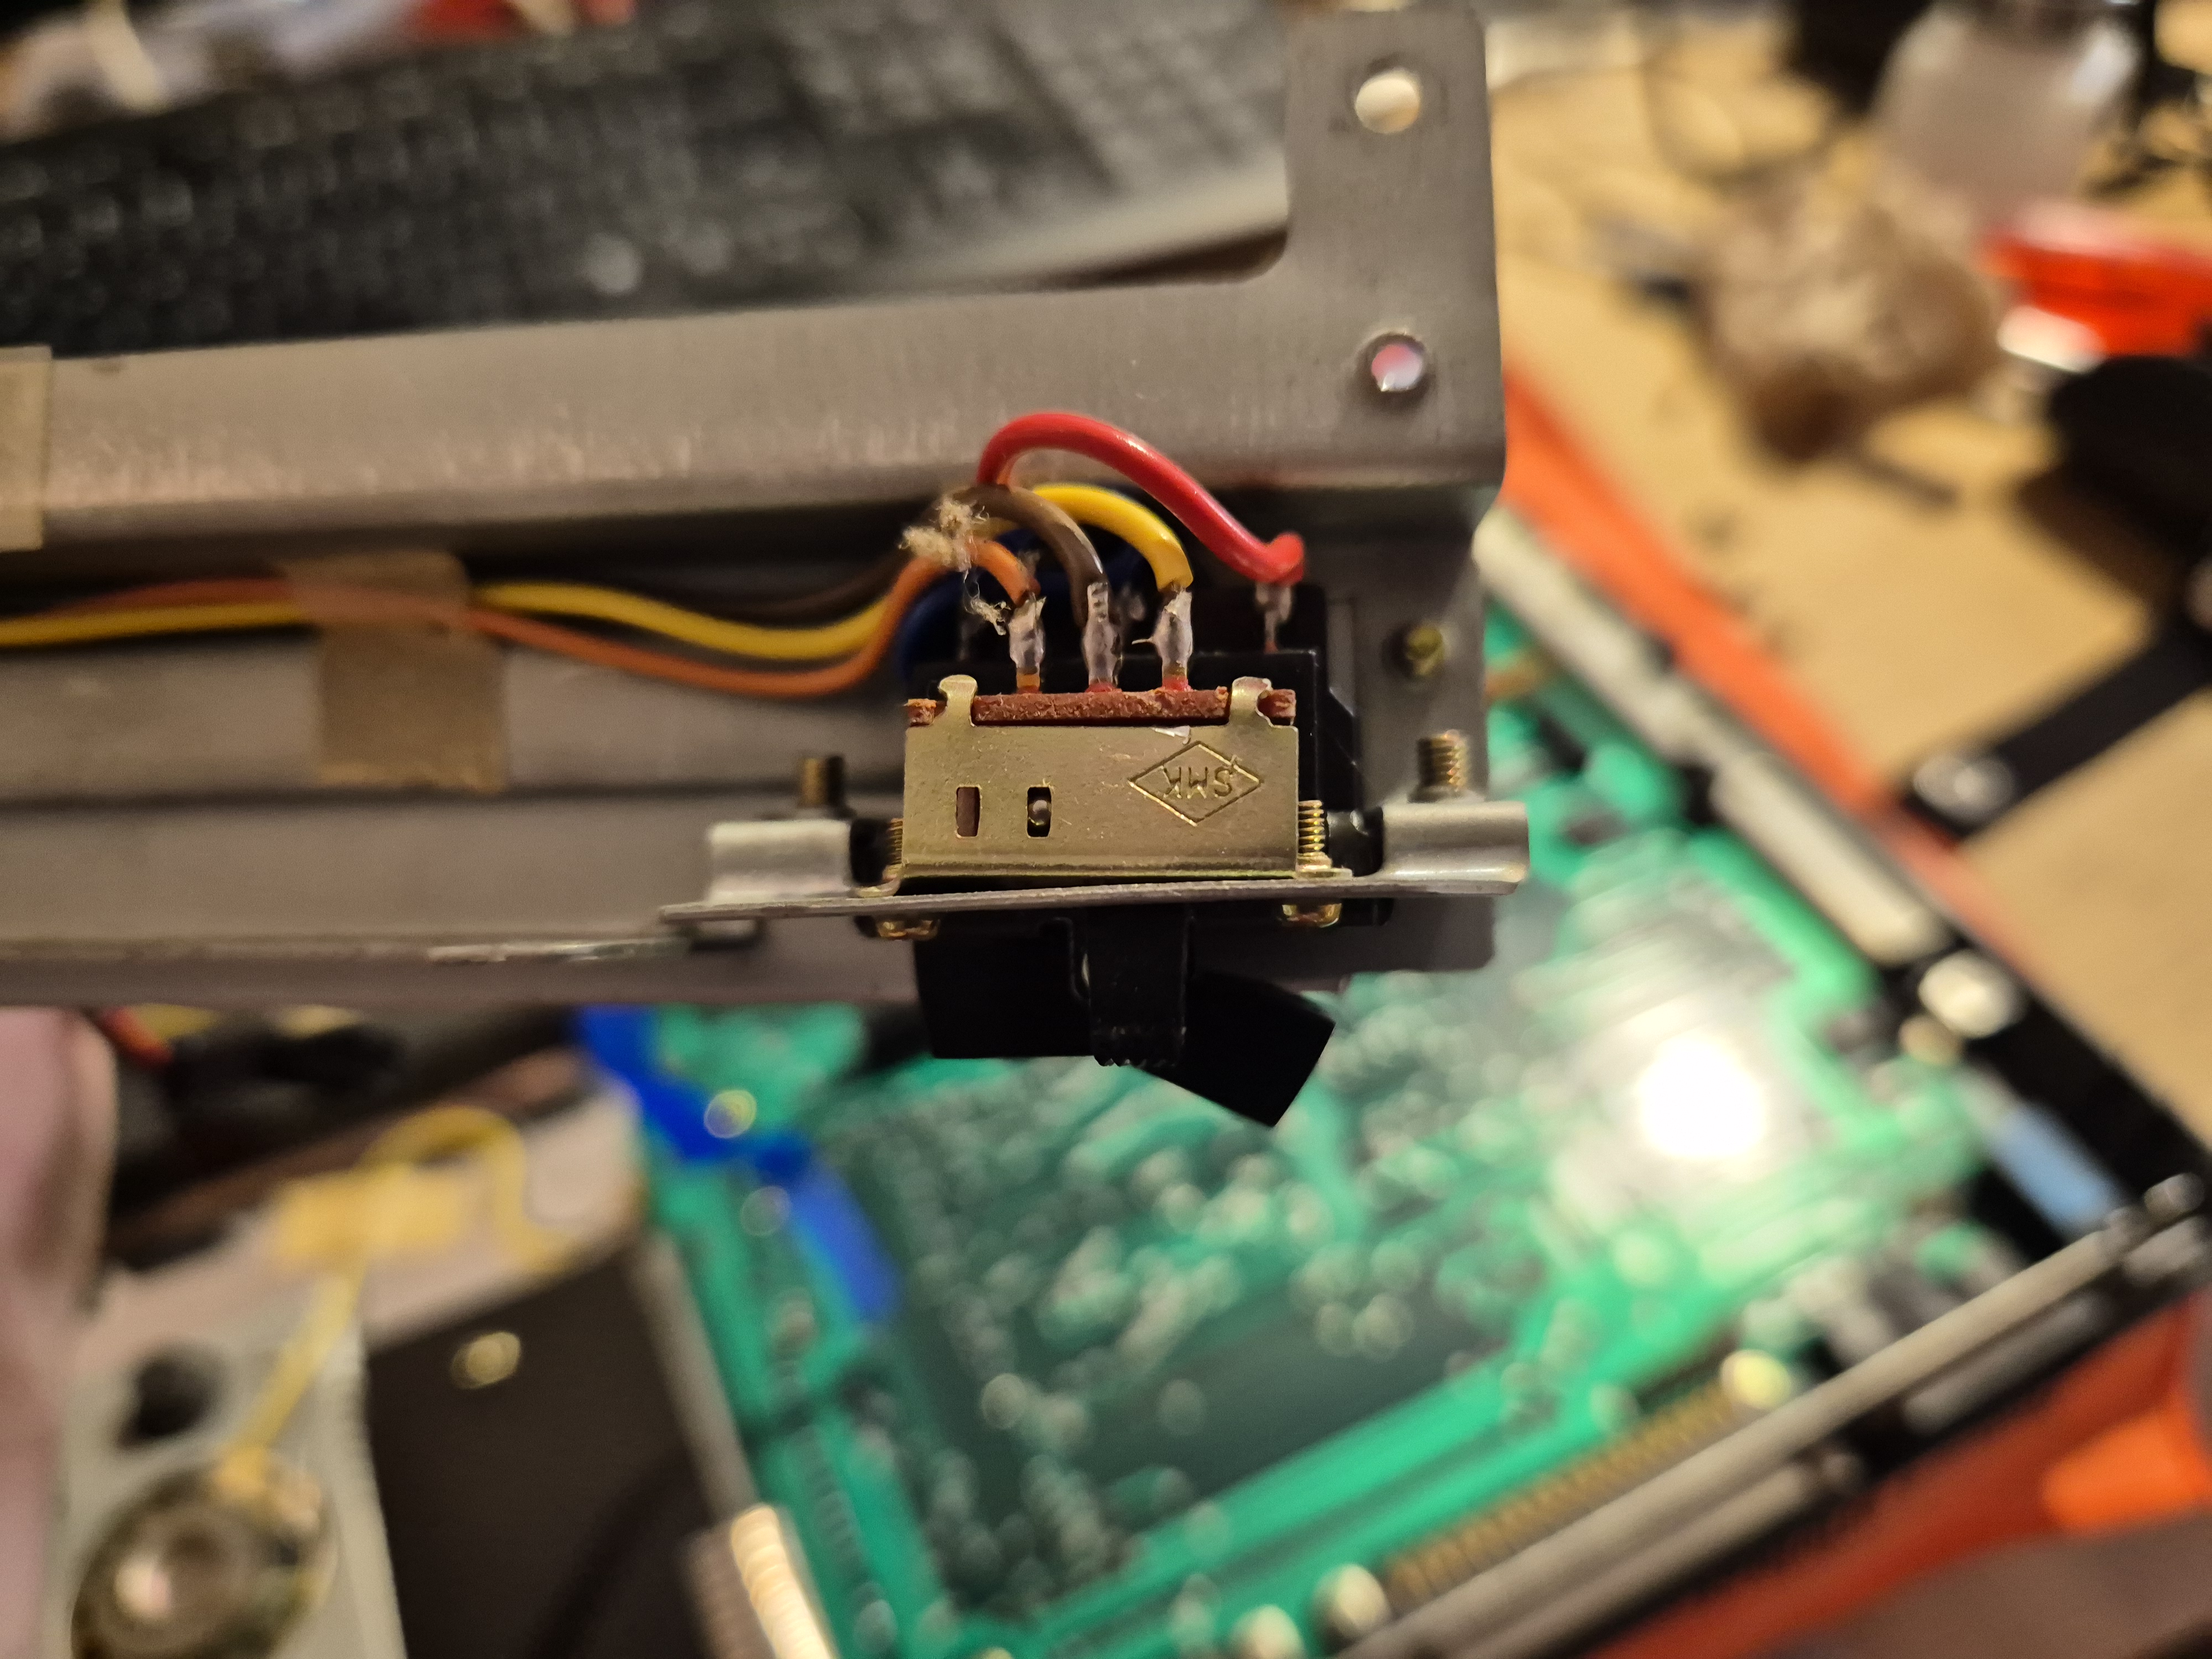
Damaged switch
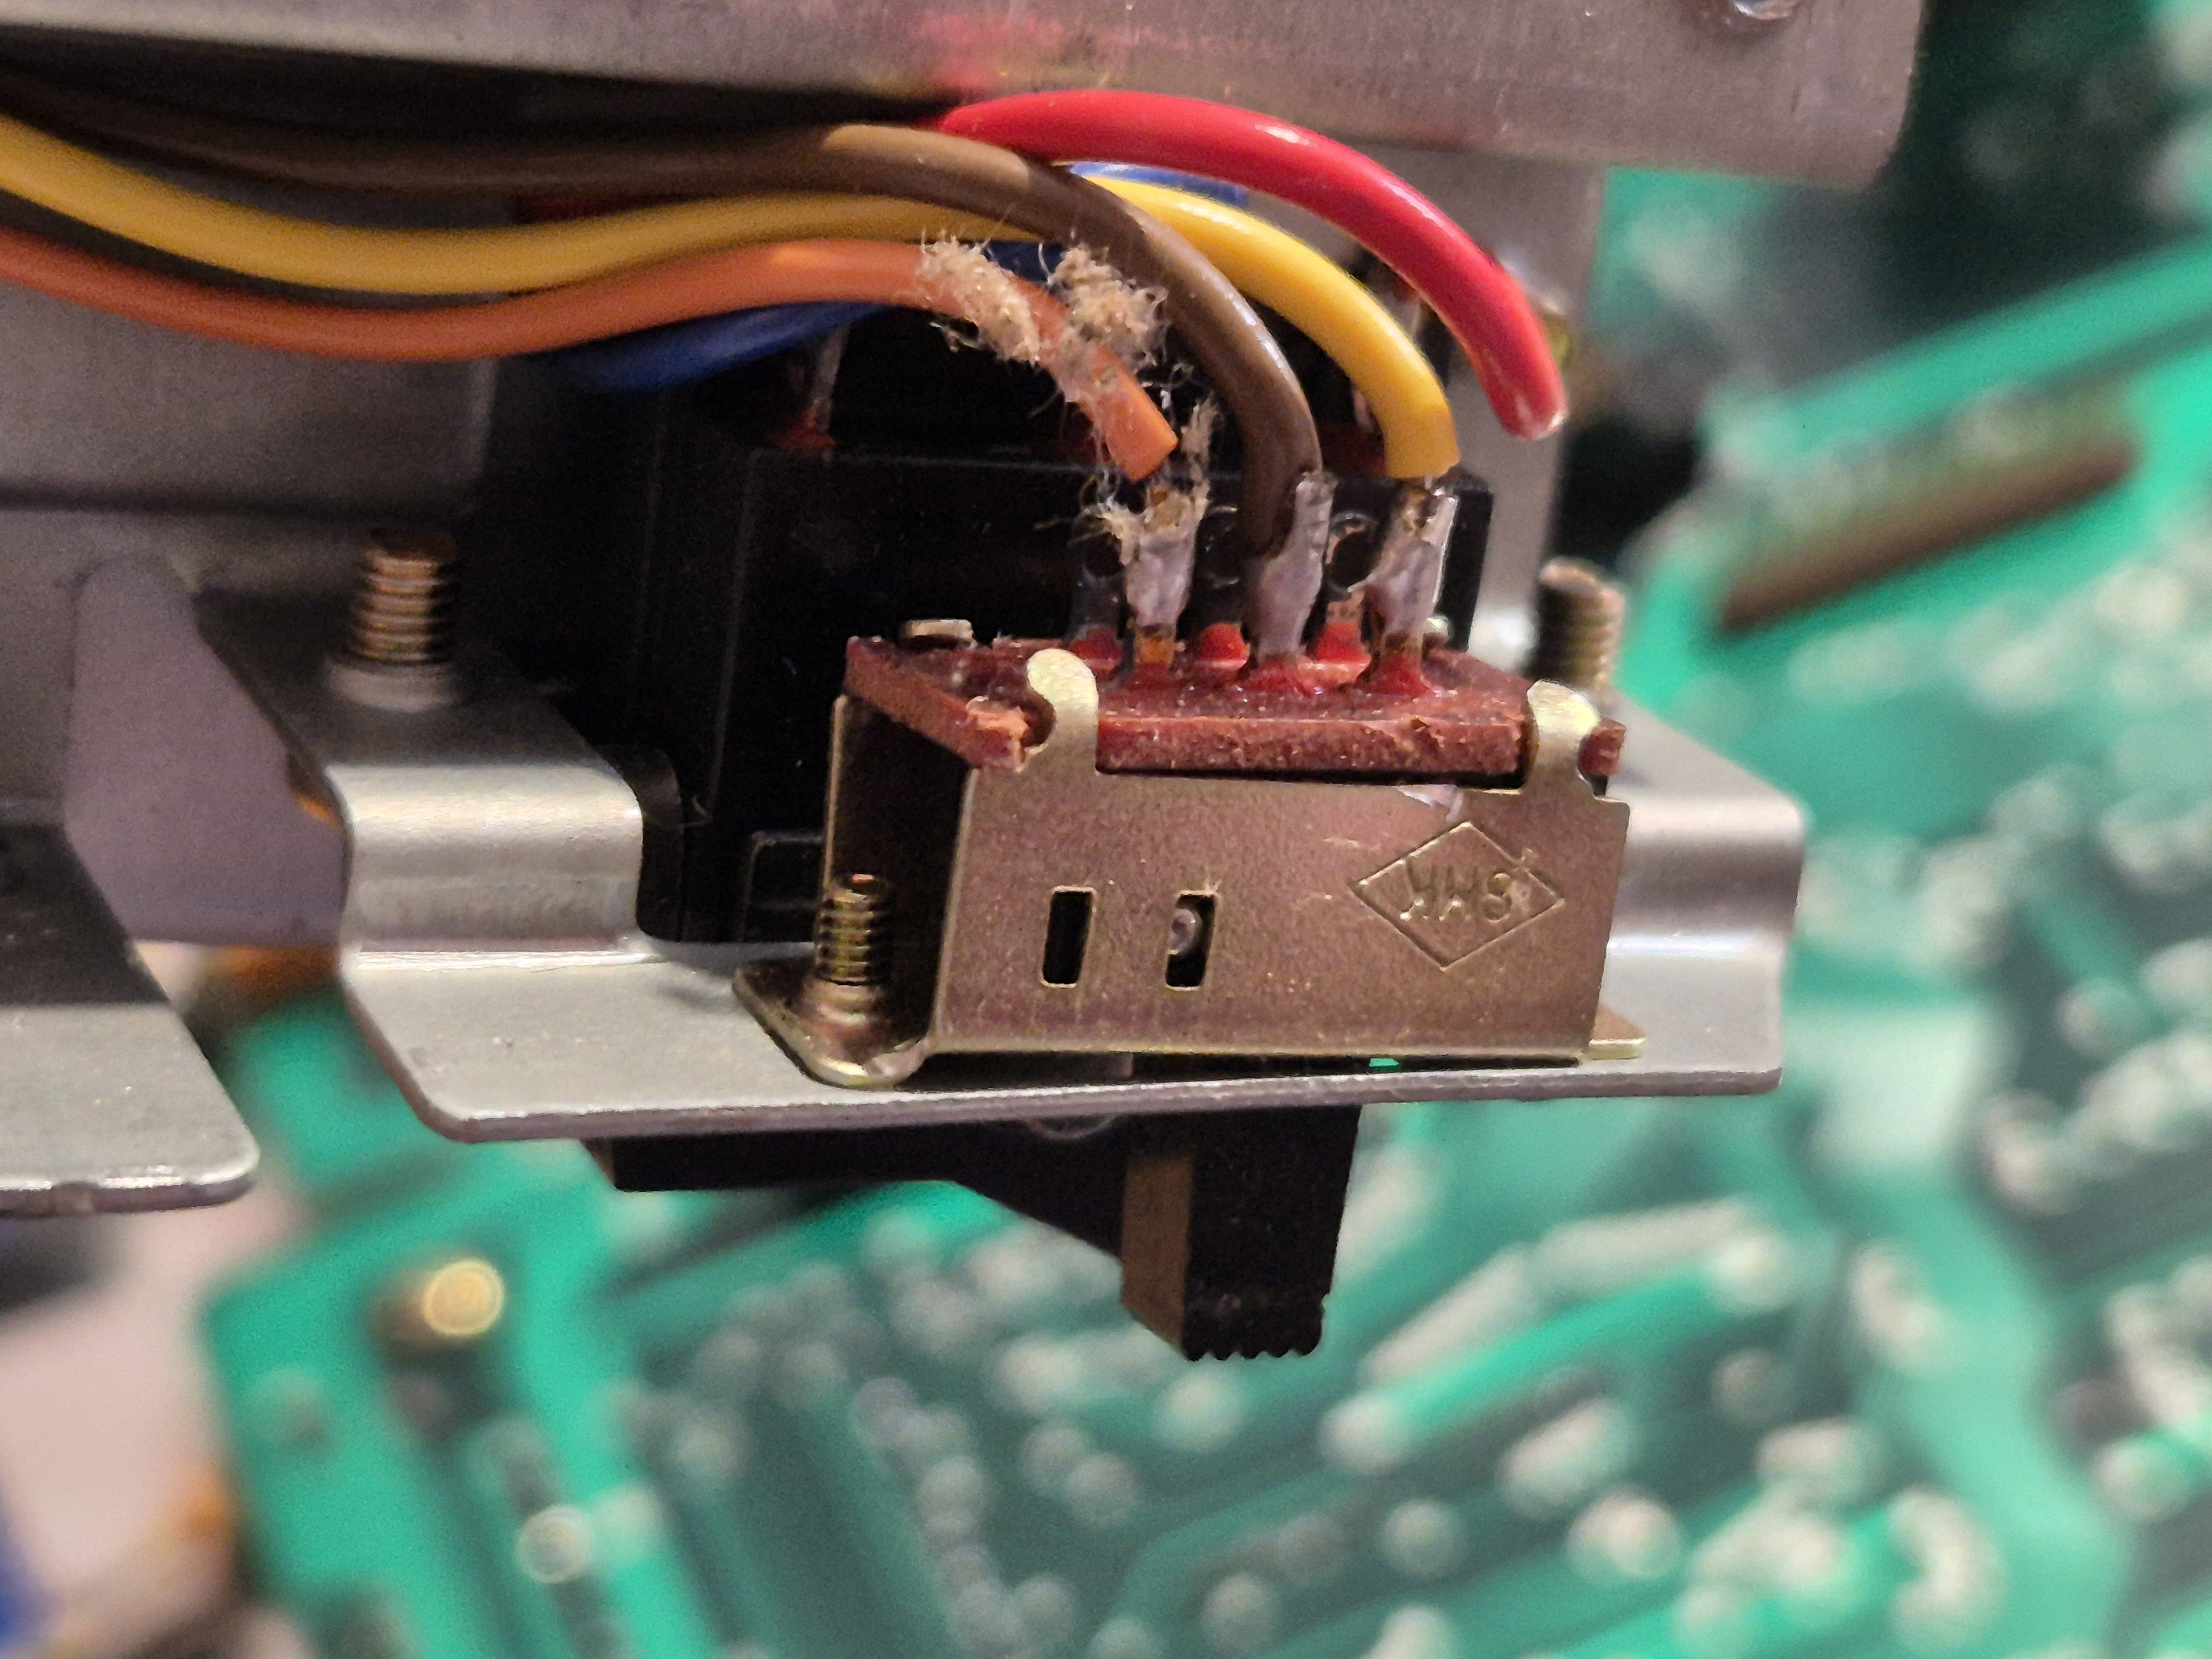
Damaged switch details
Repaired switch
Reassembling the PC-5000
Start with re-connecting every removed connector and testing the computer before following all steps backwards that you went through when disassembling the computer.
Testing time an date
It's no wonder that the realtime clock is happy with a new battery. :)
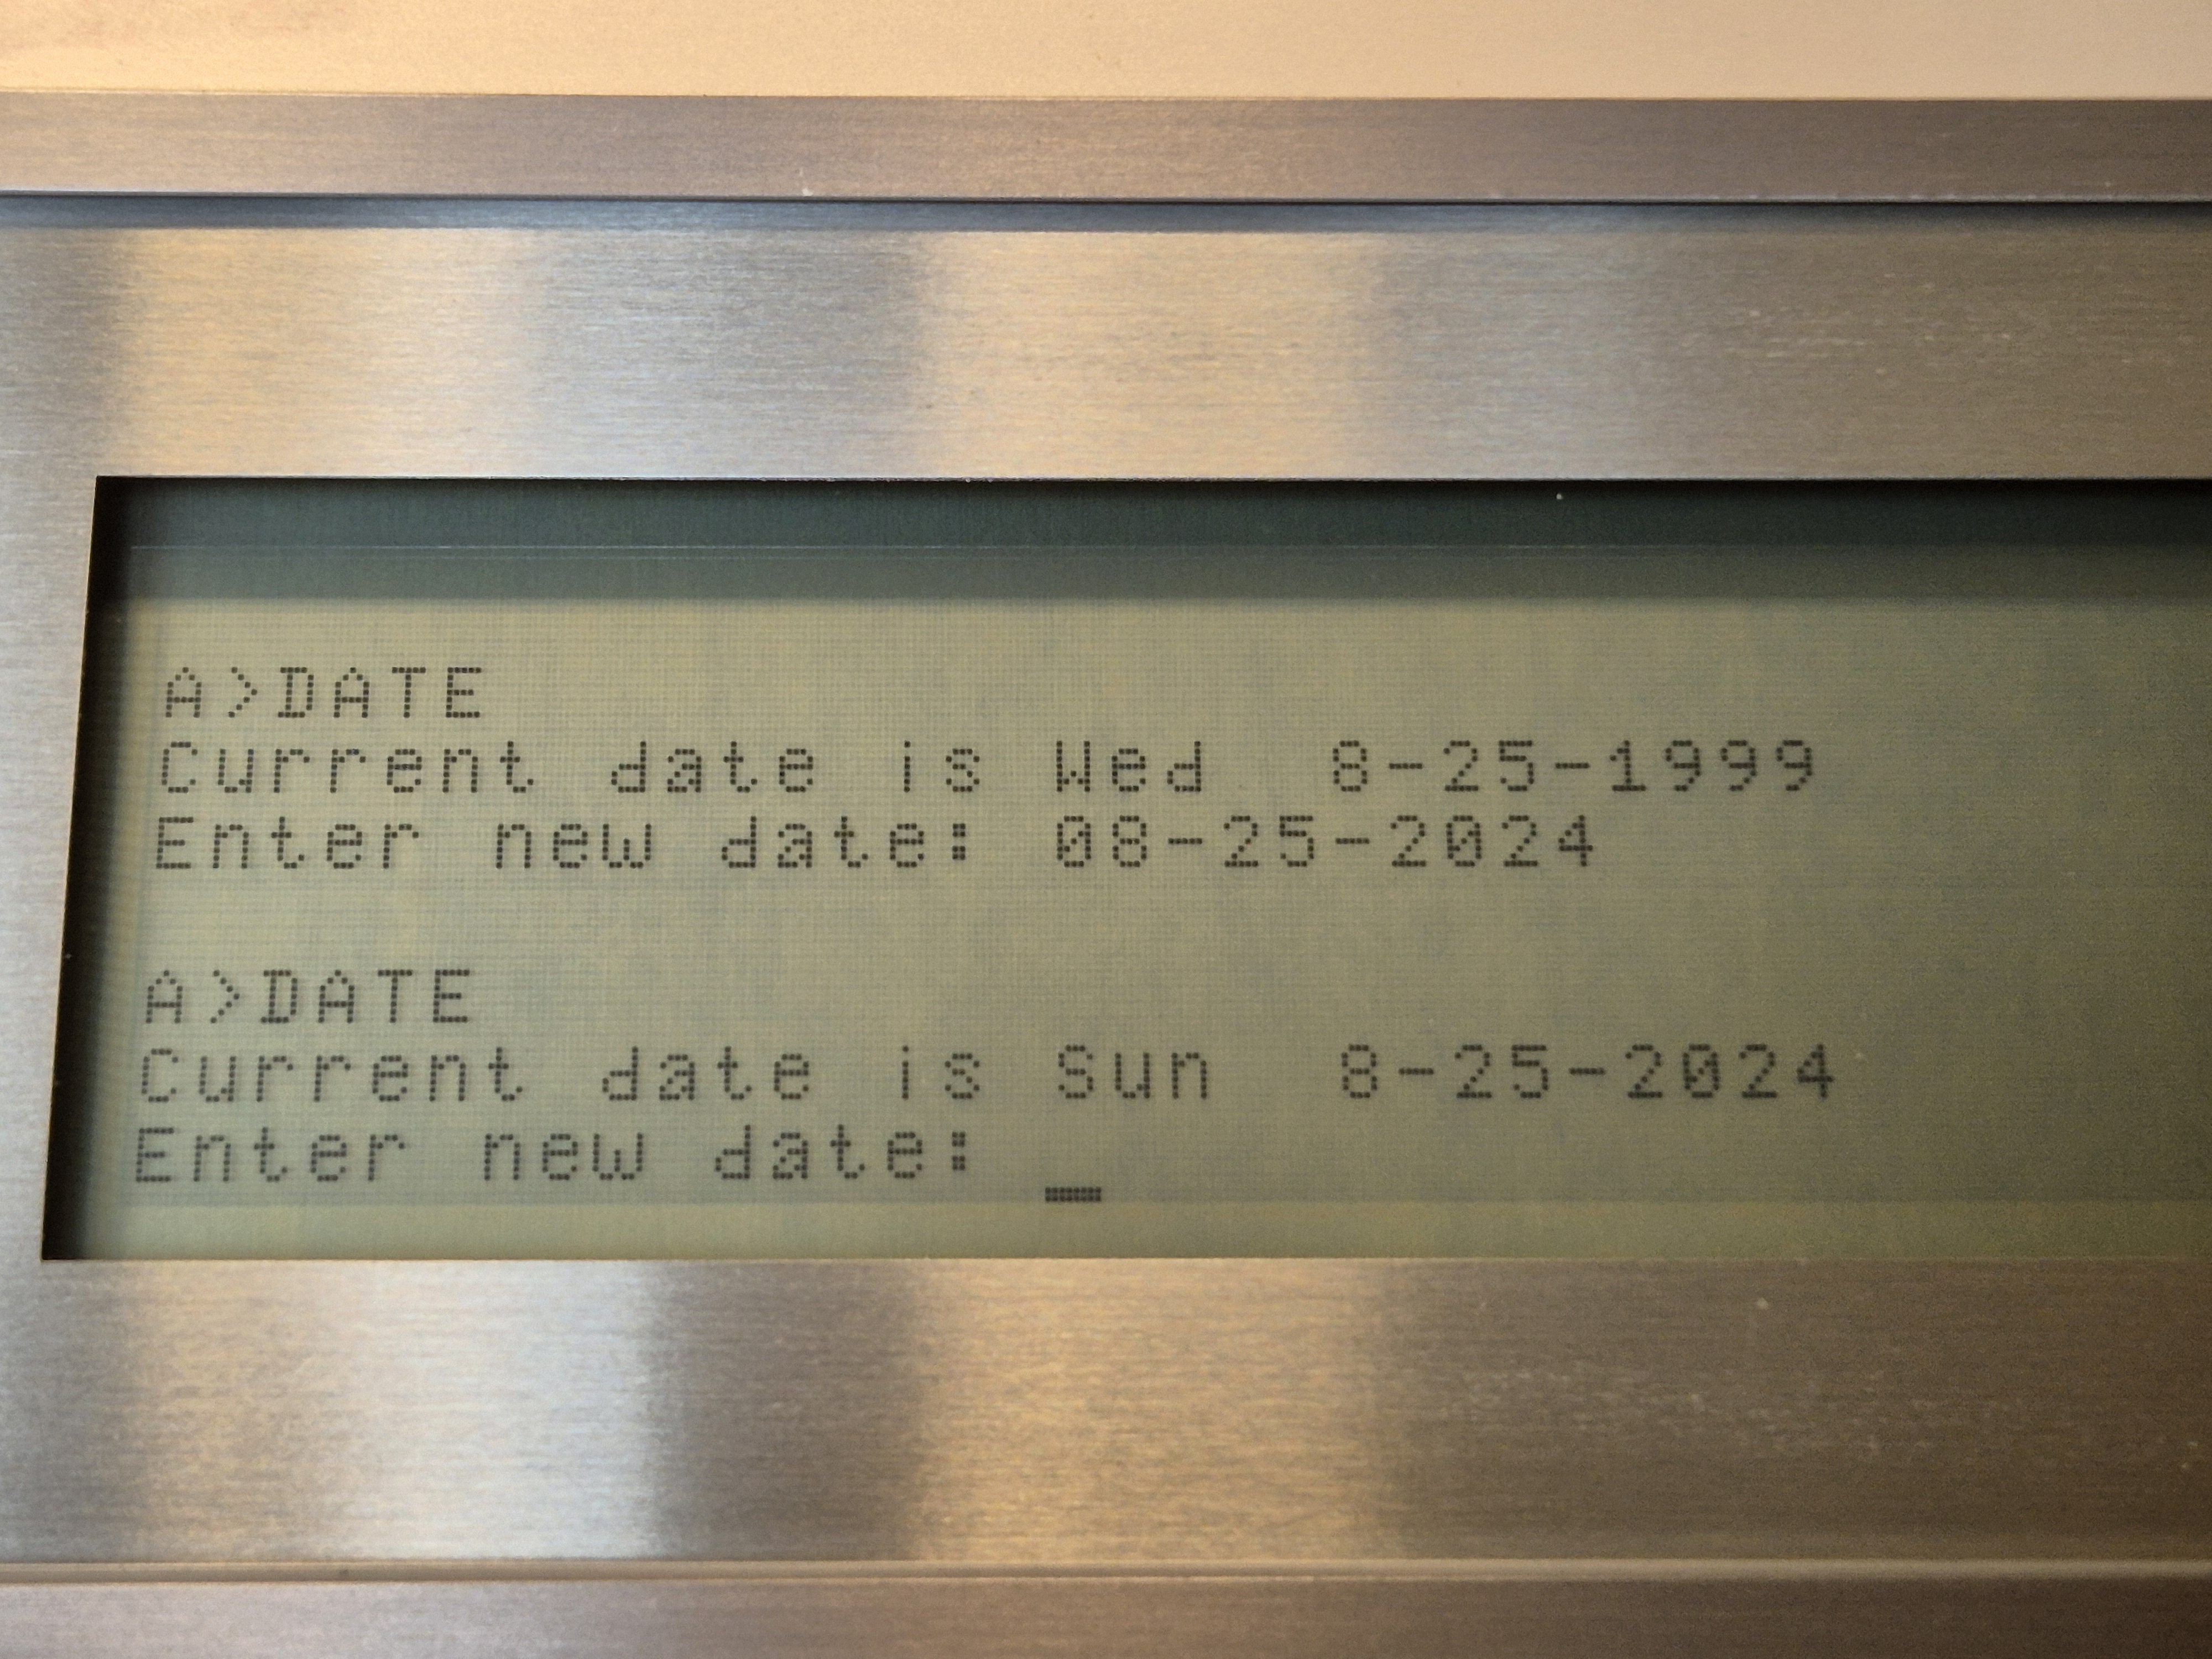
Testing DATE with success
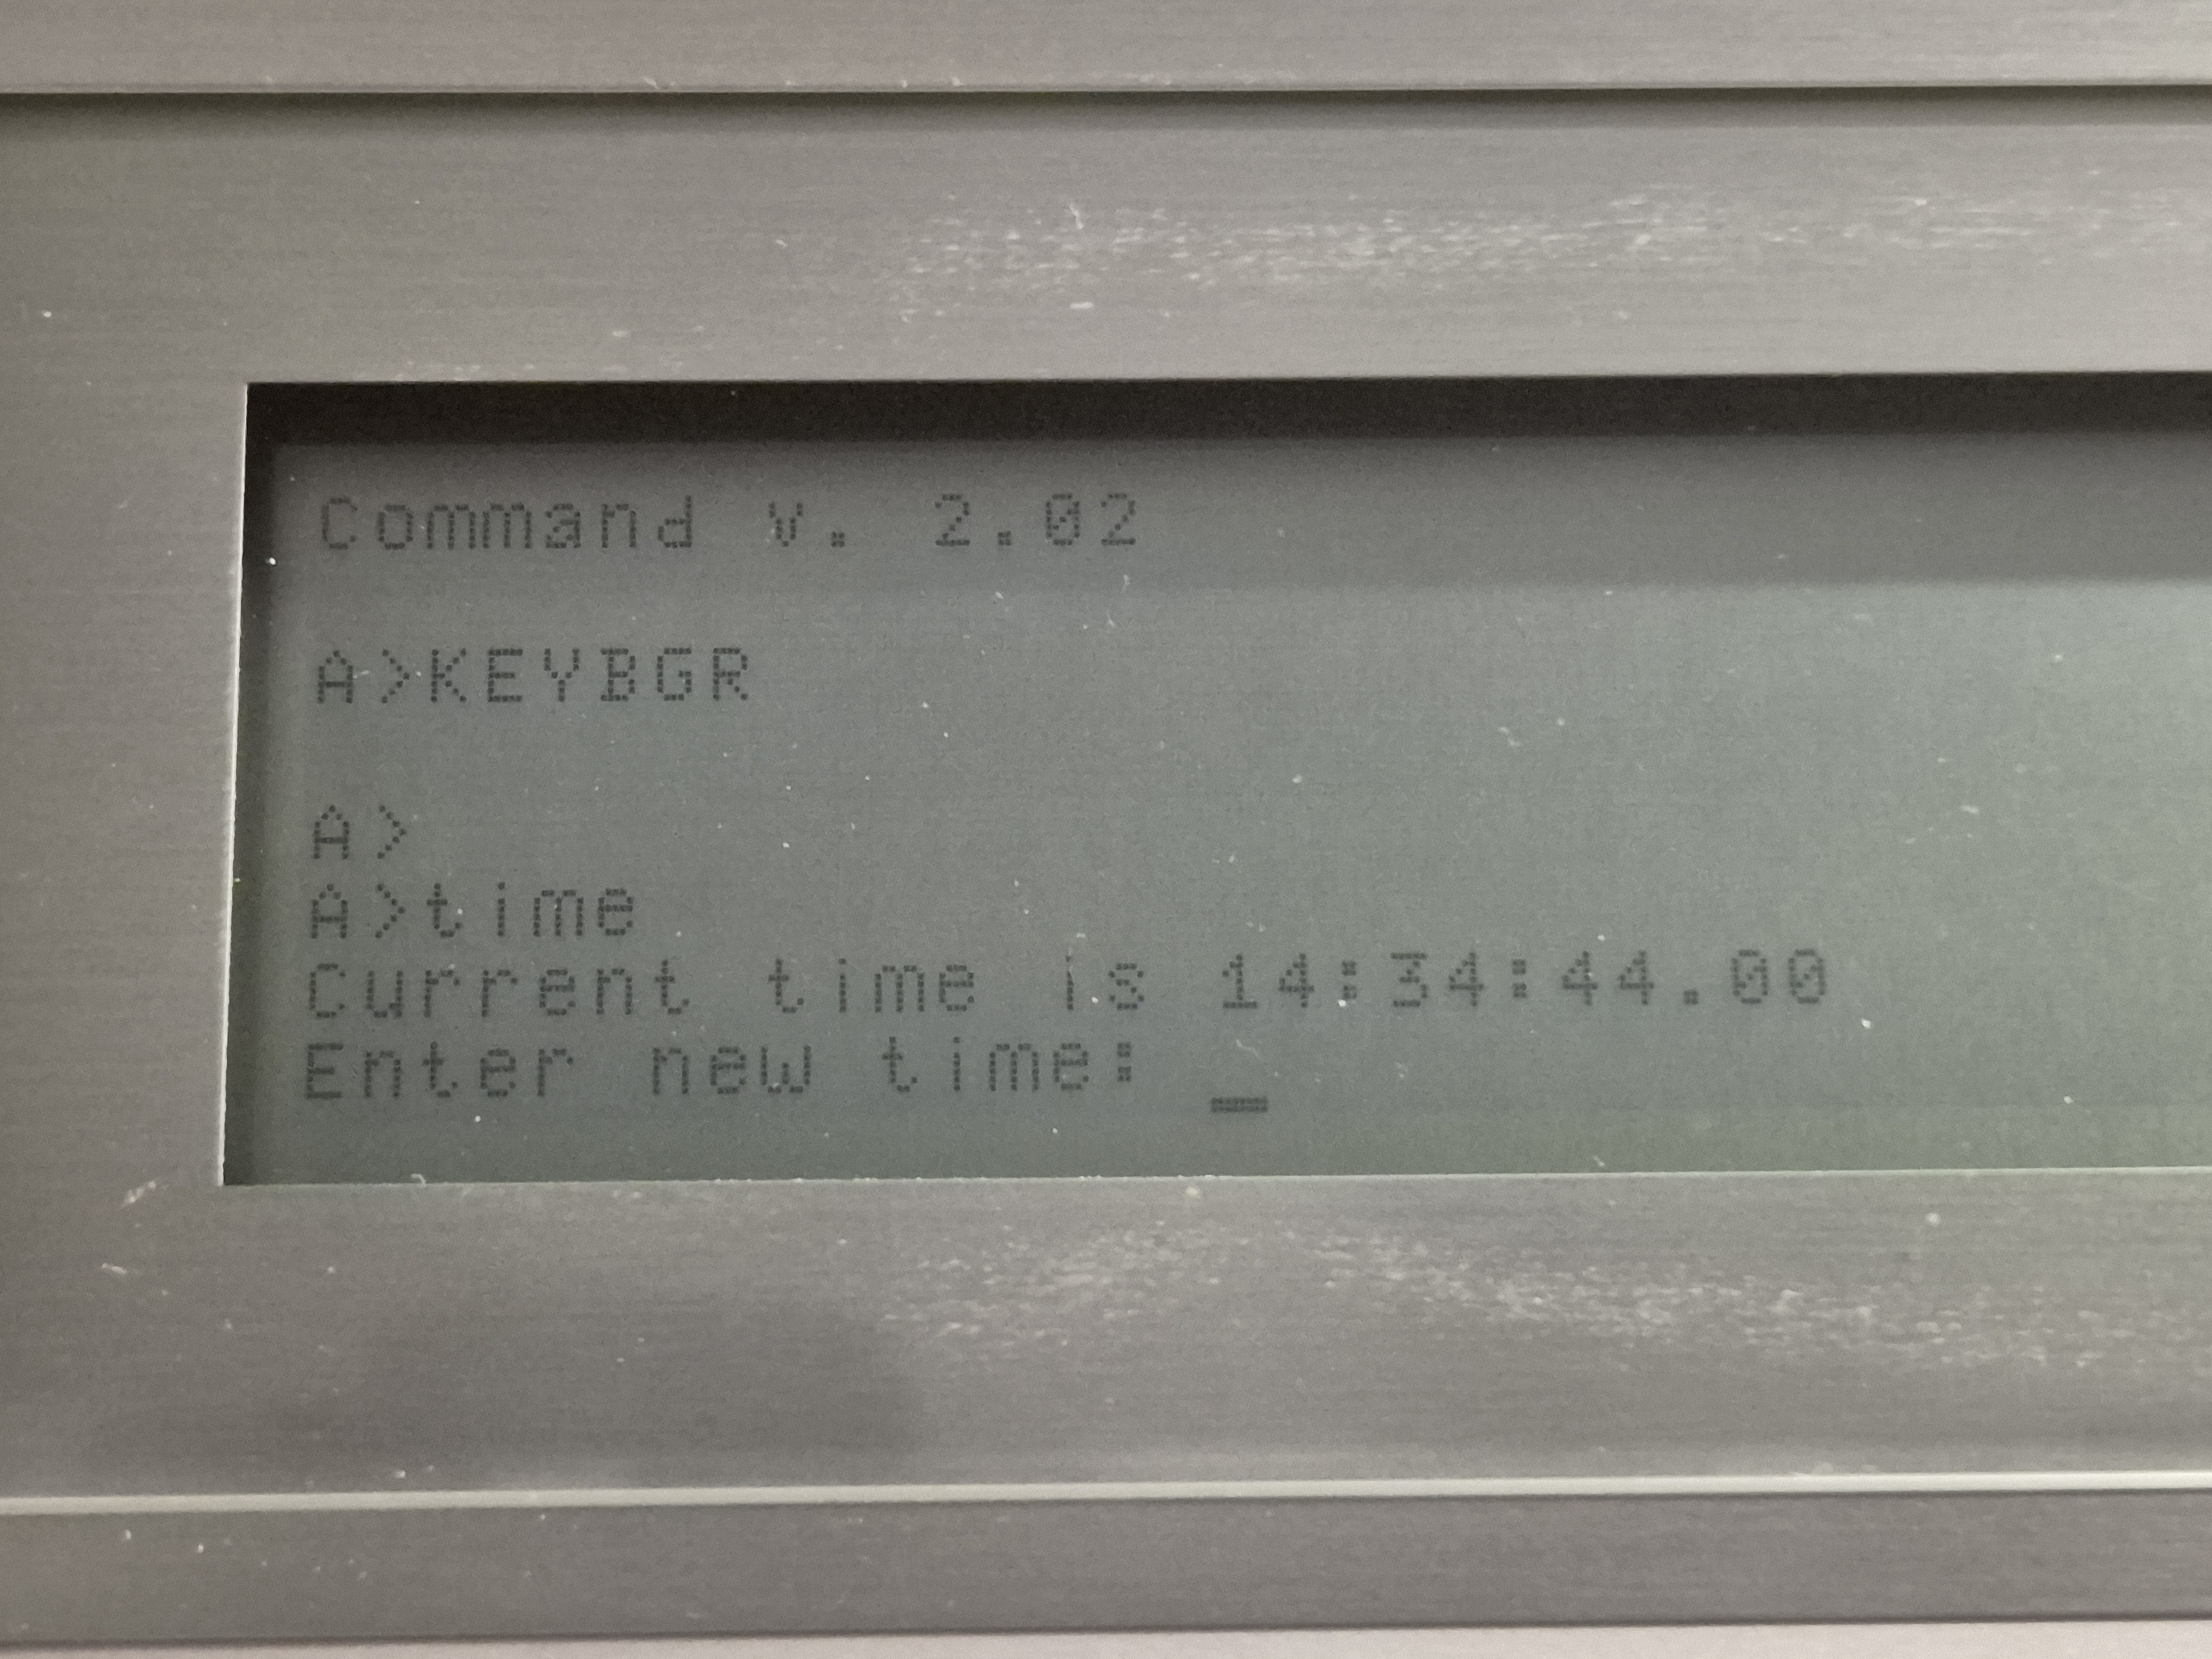
Testing TIME with success