Home | Photos | Links | Pocket PC | Vintage computing | Contact
Sharp PC-5000
Introduction
The PC-5000 was one of the very first largely IBM PC-compatible laptop computers. With a 4.77 MHz Intel 8088 CPU, a 80 character and 8 line LCD display, as well as an optional built-in printer, it weighted about 5 kg. Released in November 1983 and discontinued in early 1986 later (with Sharp's PC-7000 as its successor) it was one of the few computers to use magnetic bubble memory. Searching for "Sharp PC-5000" will bring up a few hits, most prominently the one on Wikipedia: Sharp PC-5000.
My PC-5000
I was after an PC-5000 ever since I bought a NOS CE-100M by mistake, because its form resembled memory cards used for the PC-1500(A). When I got it in my hands and saw its size, I got curious for what it was meant and "discovered" the PC-5000. These computers were really expensive back in the eighties and although it is reported that they sold well, they seem not to be offered as frequently as other vintage computers. When I finally saw a PC-5000 in early 2023, it was surprisingly cheap and I informed my children, who had asked me what I wish I have for my birthday later that year ;-). In the mean time I went back to the CE-100M seller and asked him, if he had more NOS PC-5000 pars to sell. He had and I bought all parts, which I'll describe below.
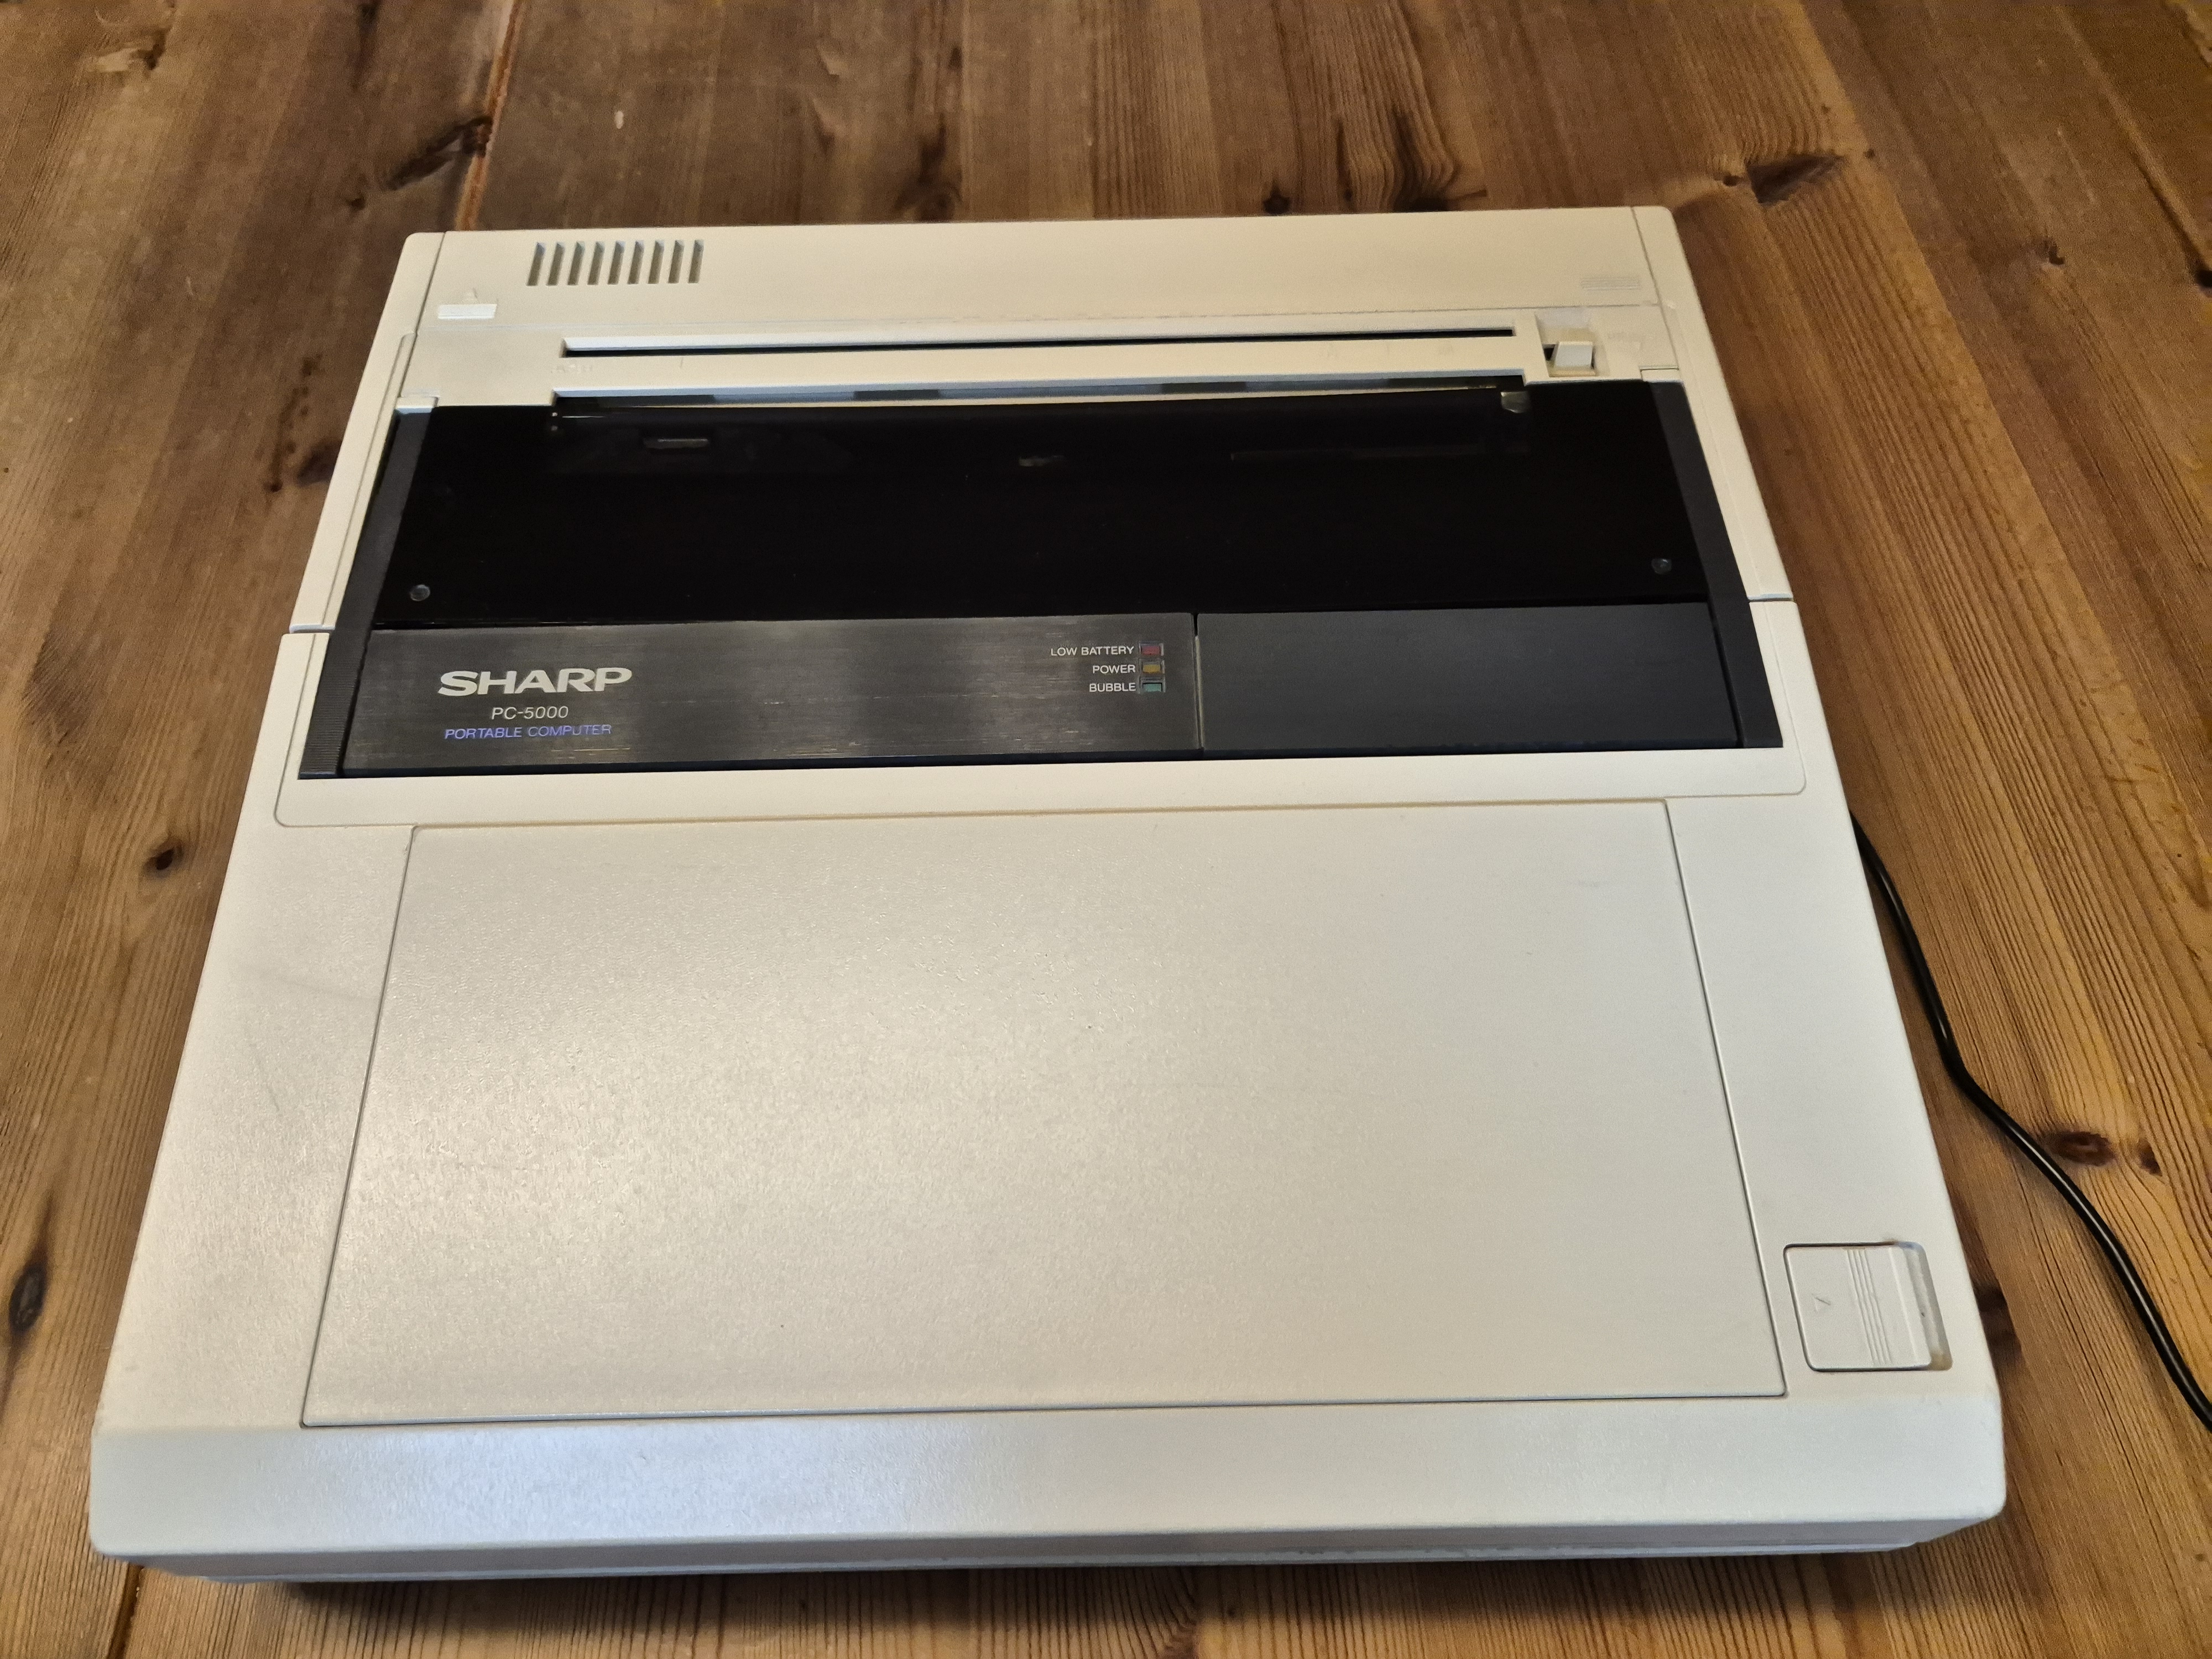
Sharp PC-5000G closed

Sharp PC-5000G opened
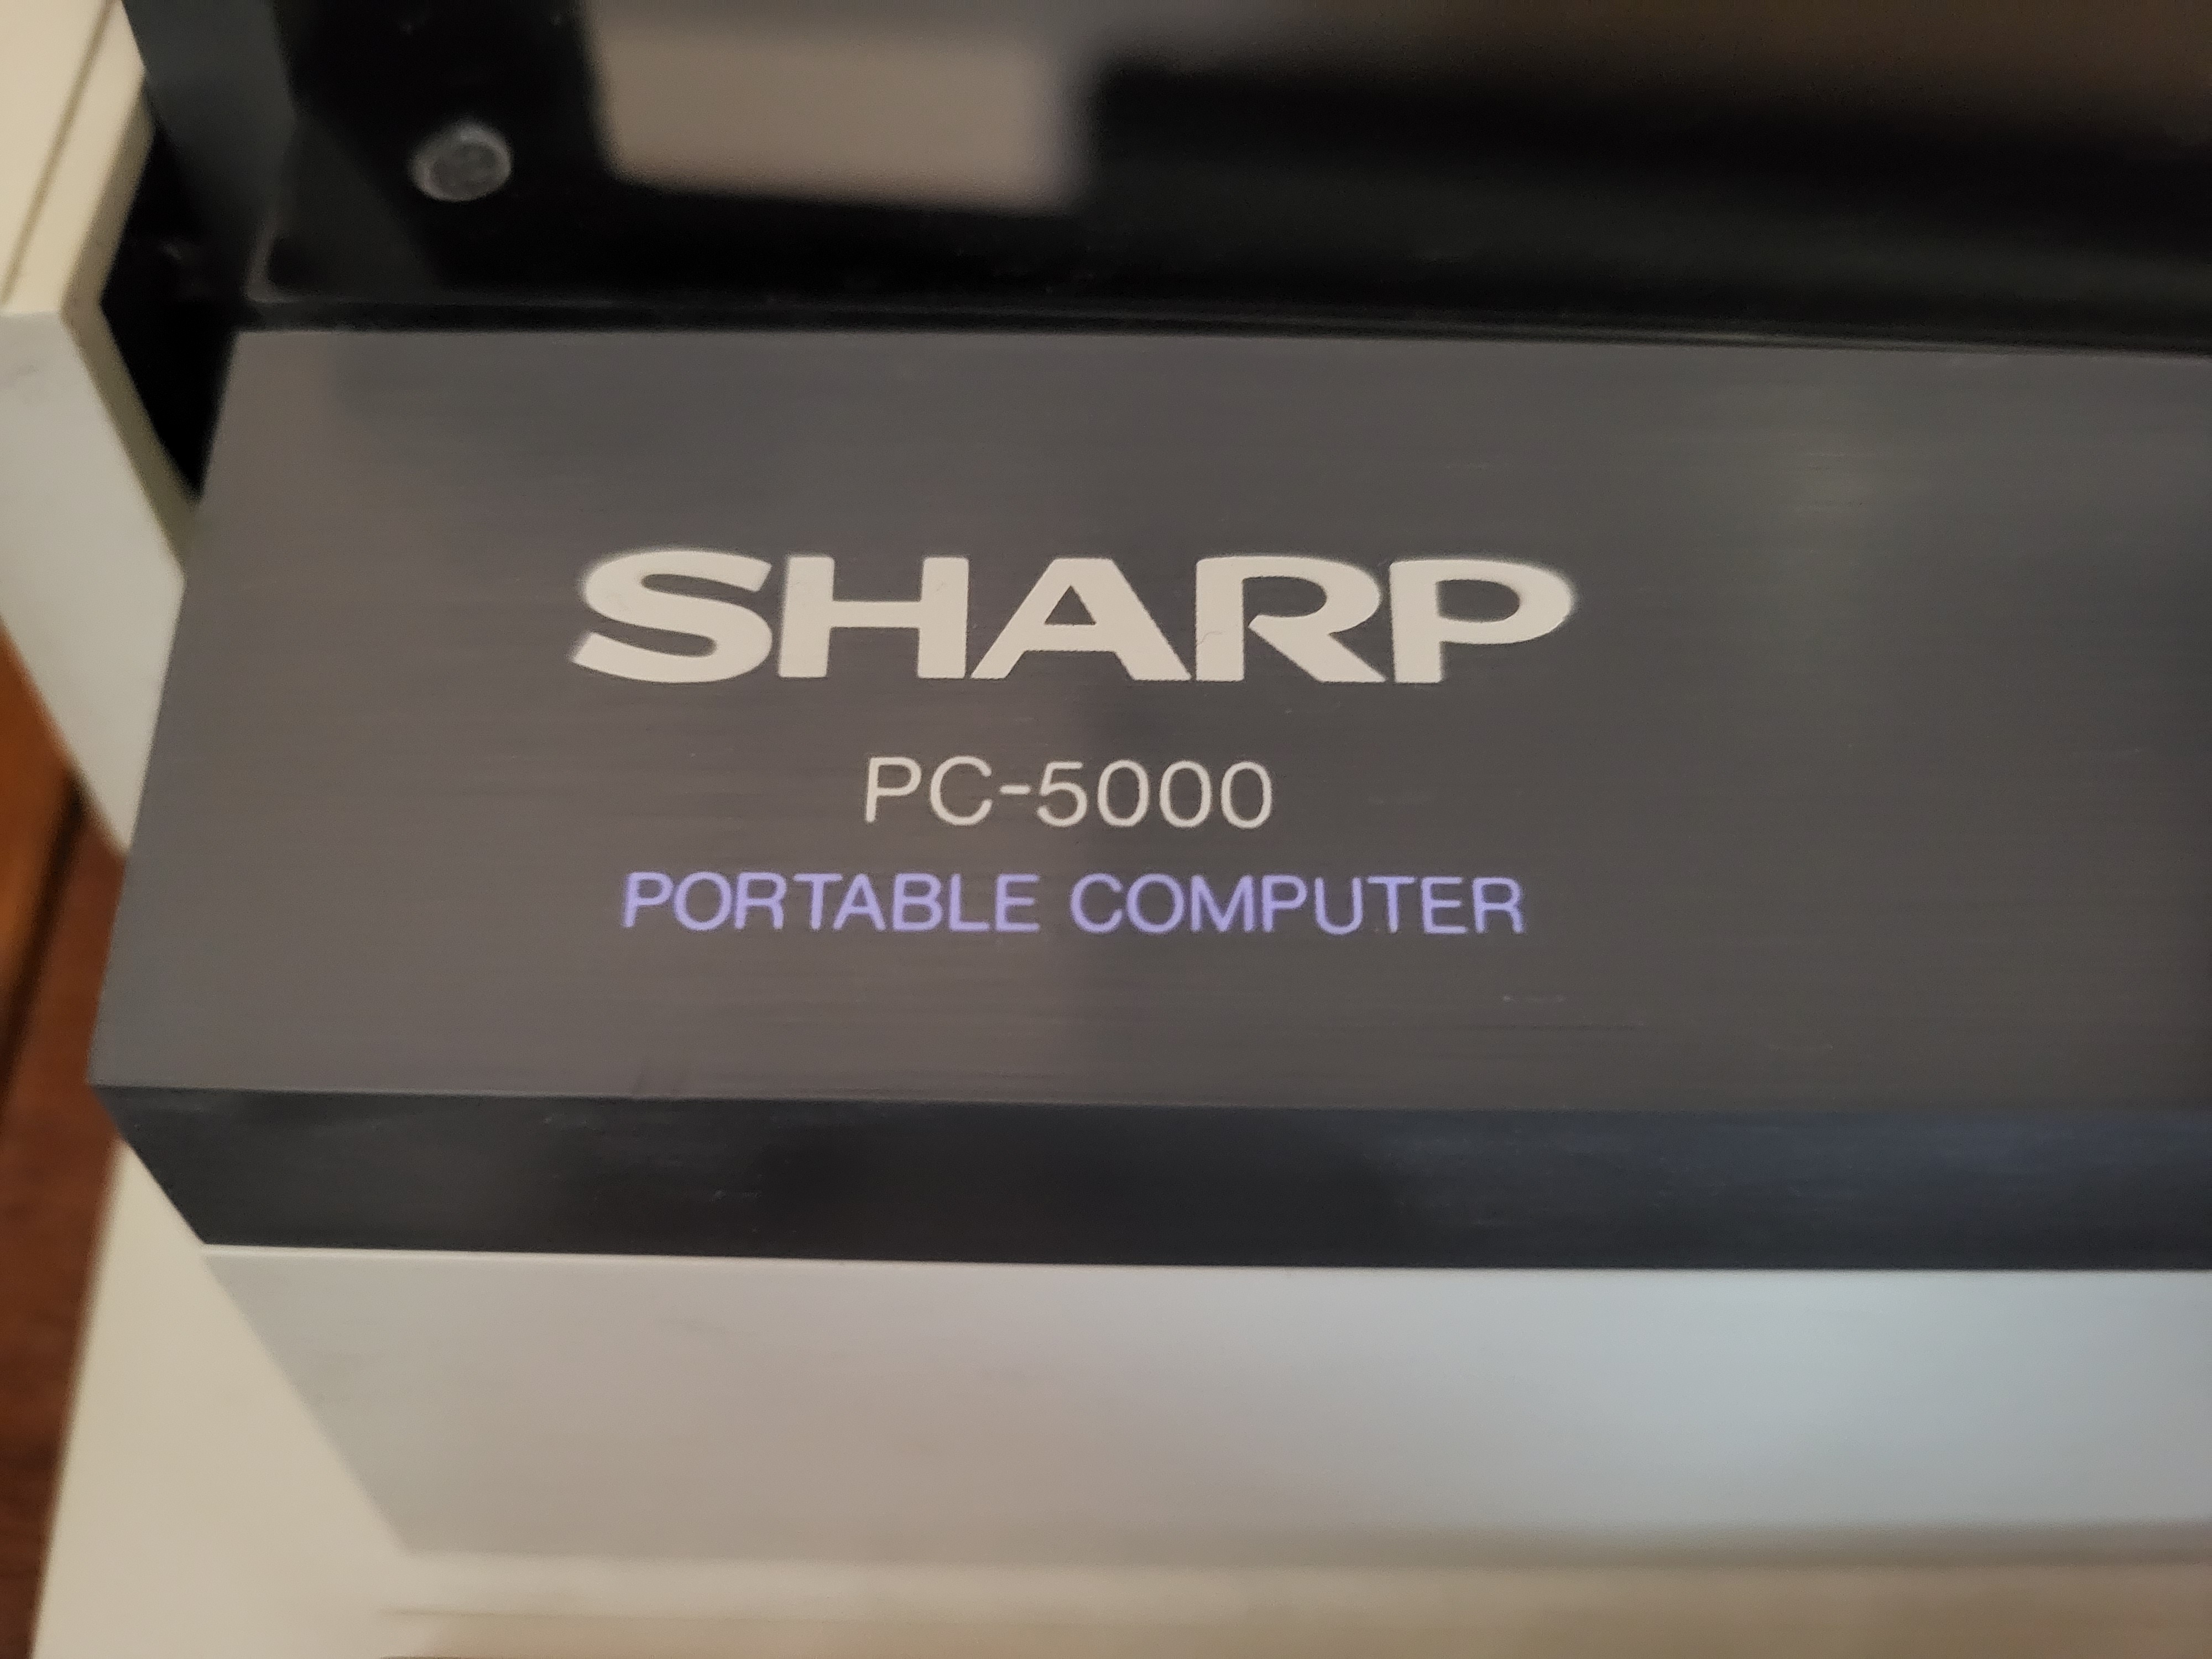
Sharp PC-5000G detail
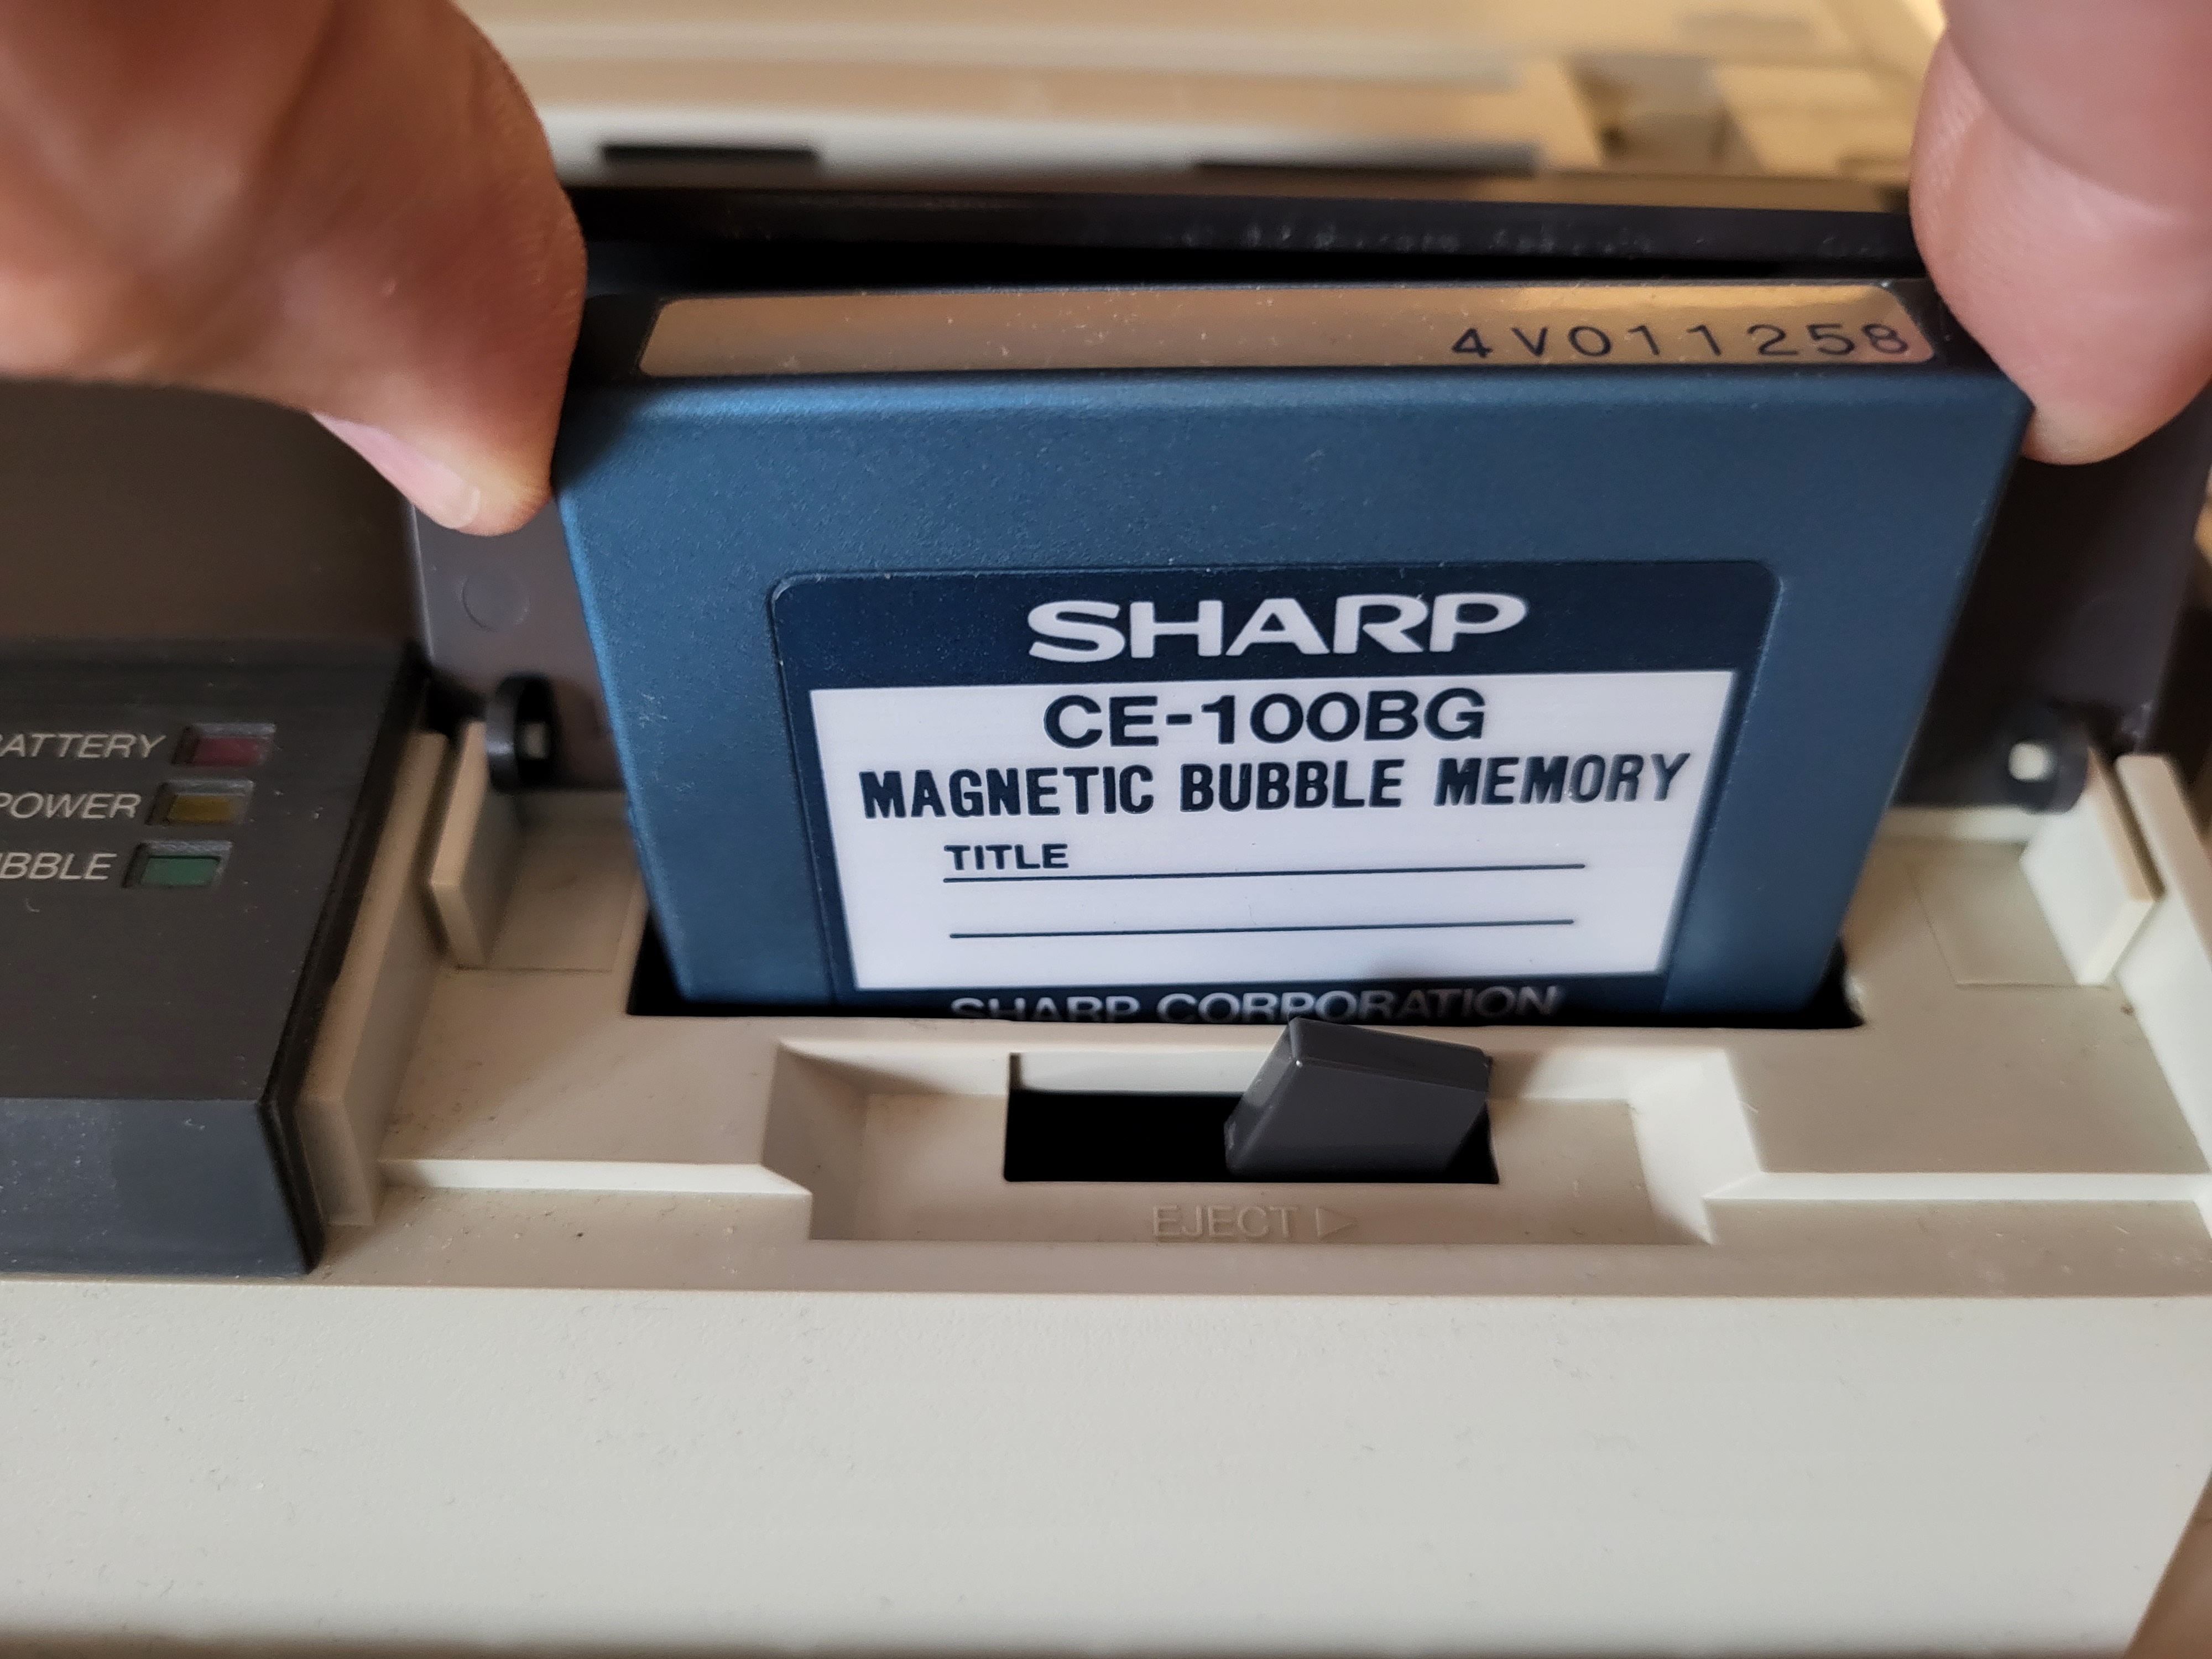
Inserted magnetic bubble memory cartridge CE-100BG
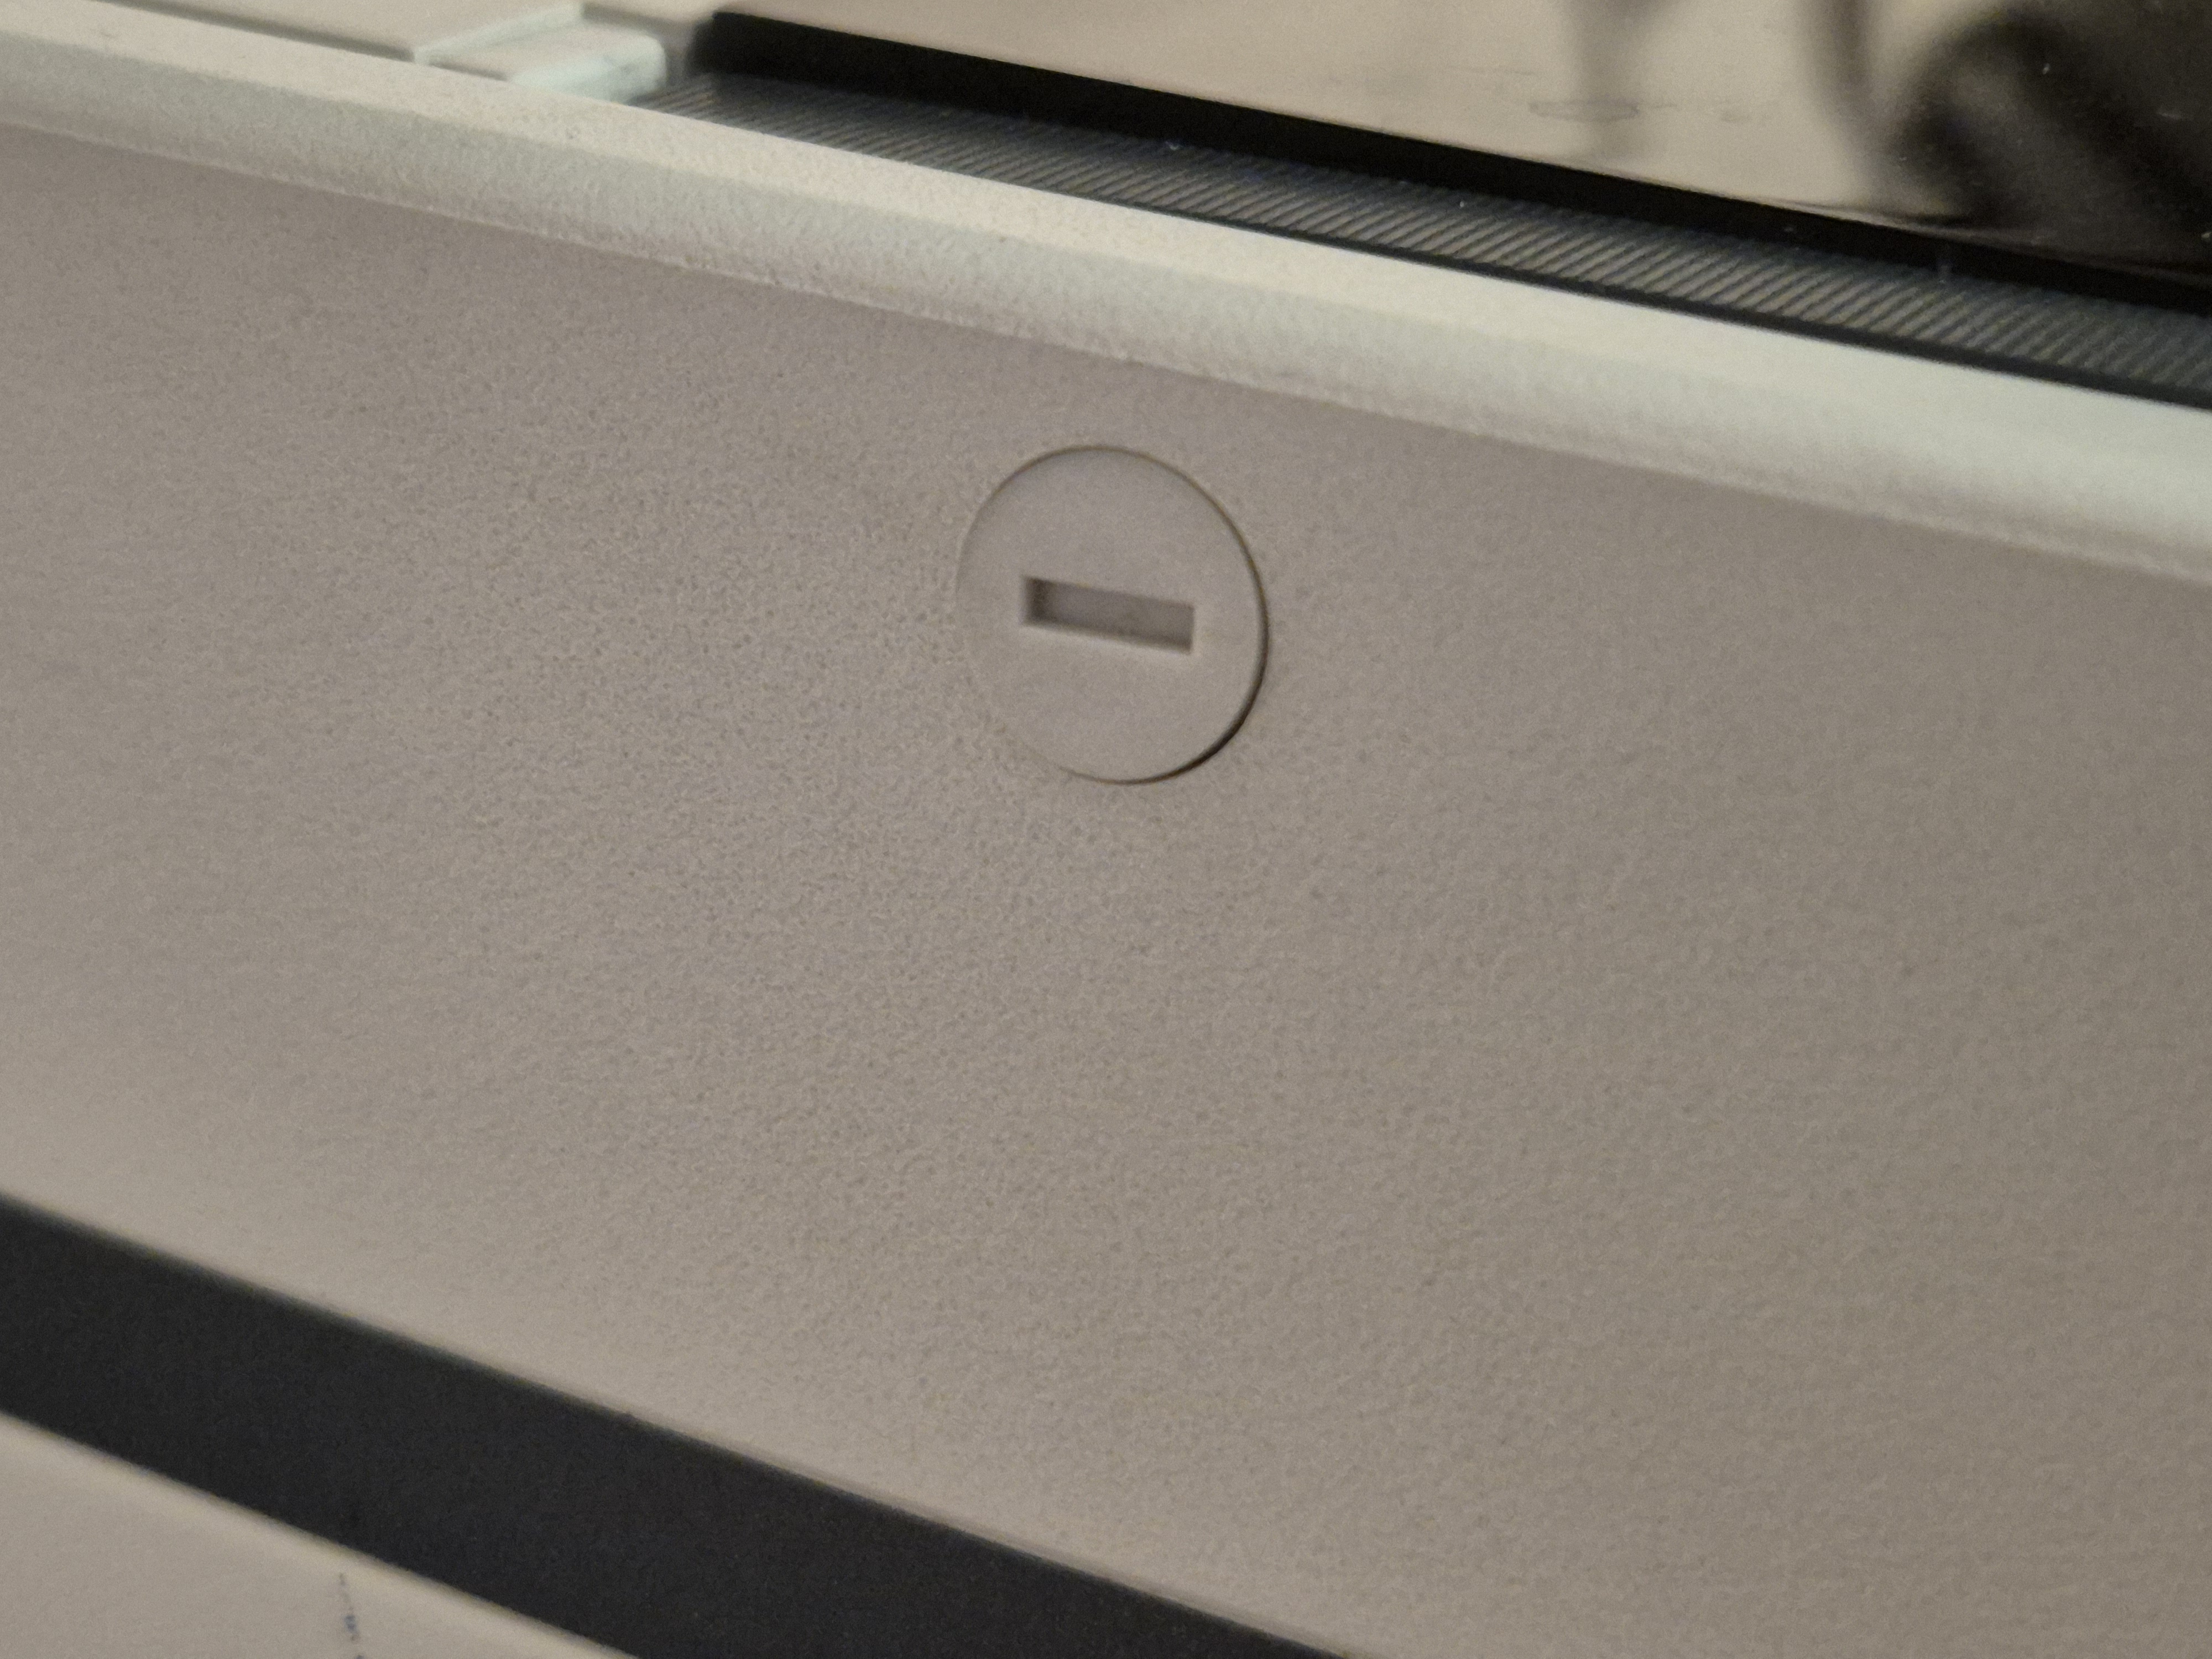
The "G" in PC-5000G is standing for German. The serial number 41006987 suggests July 1984 as production date, which fits with the internally stored MS DOS file dates.
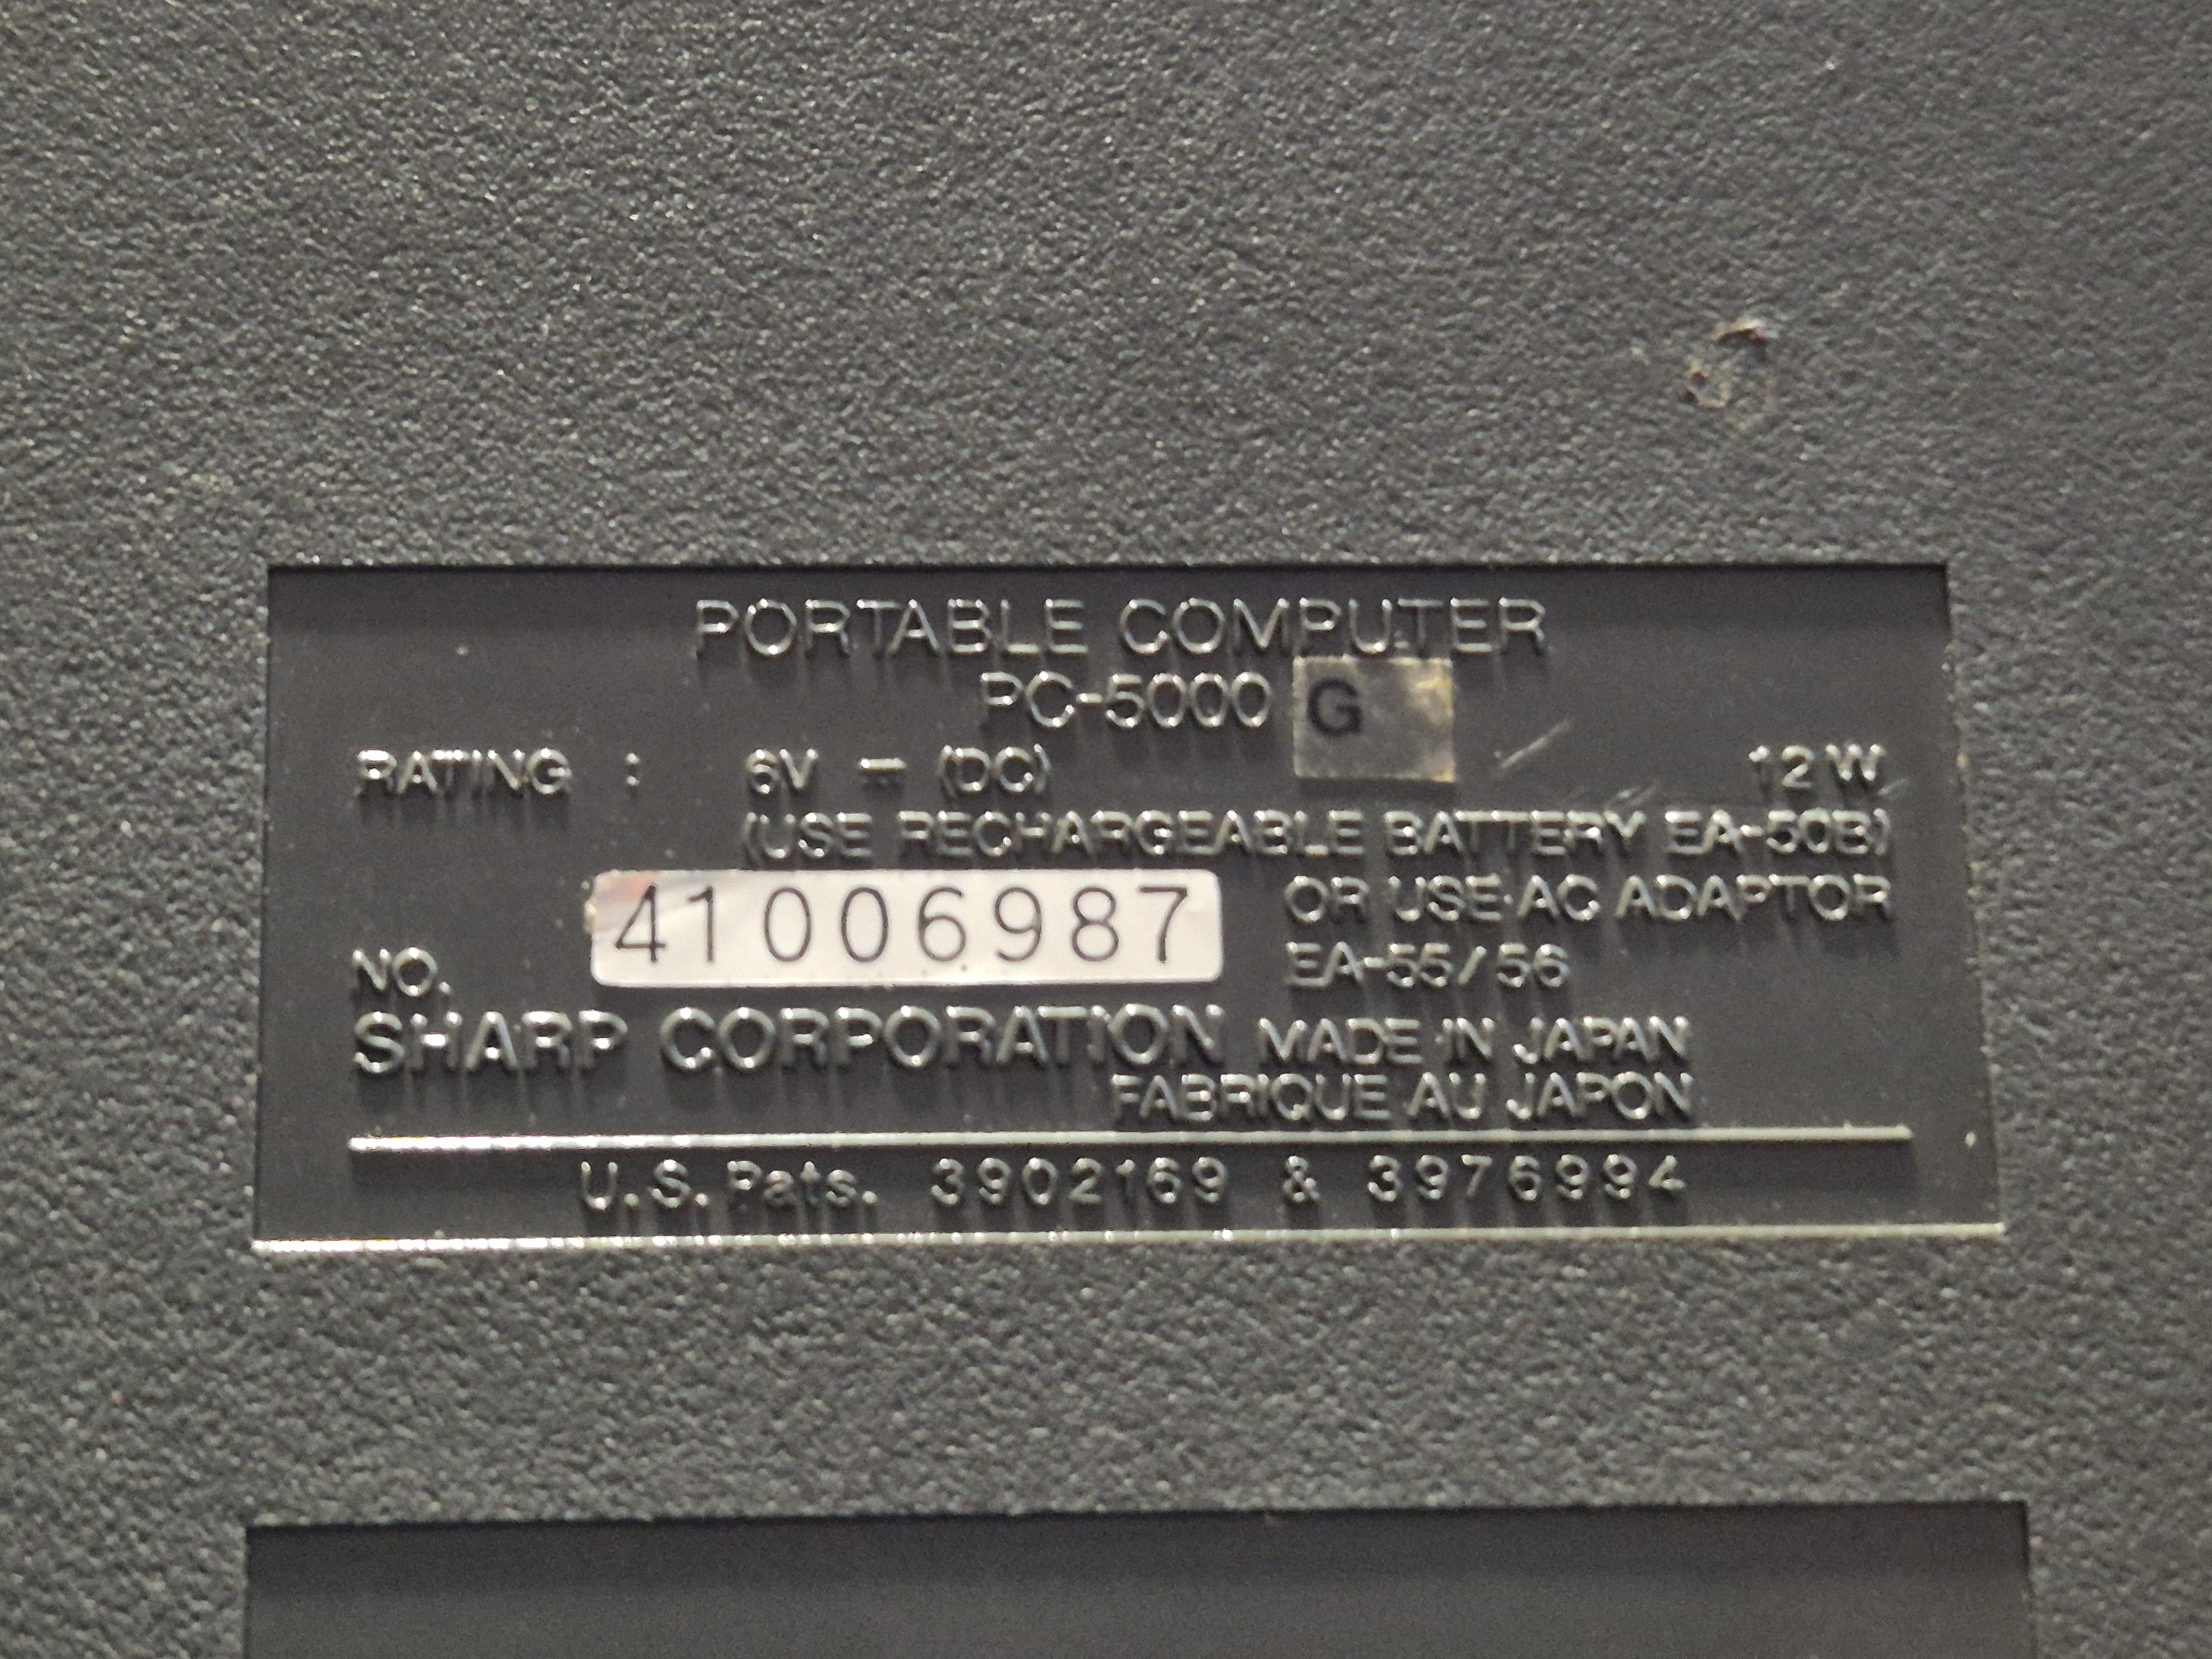
Sharp PC-5000G type & serial number
Unfortunately the computer came without power supply or a working sealed lead battery (EA-50B). A short internet research showed that it would need 600 mA at 15 V and as always with vintage Sharp computers, the pin is minus (-), while the barrel is plus (+). Farther search revealed that the original power supply type was an EA-56, which I found and bought later:
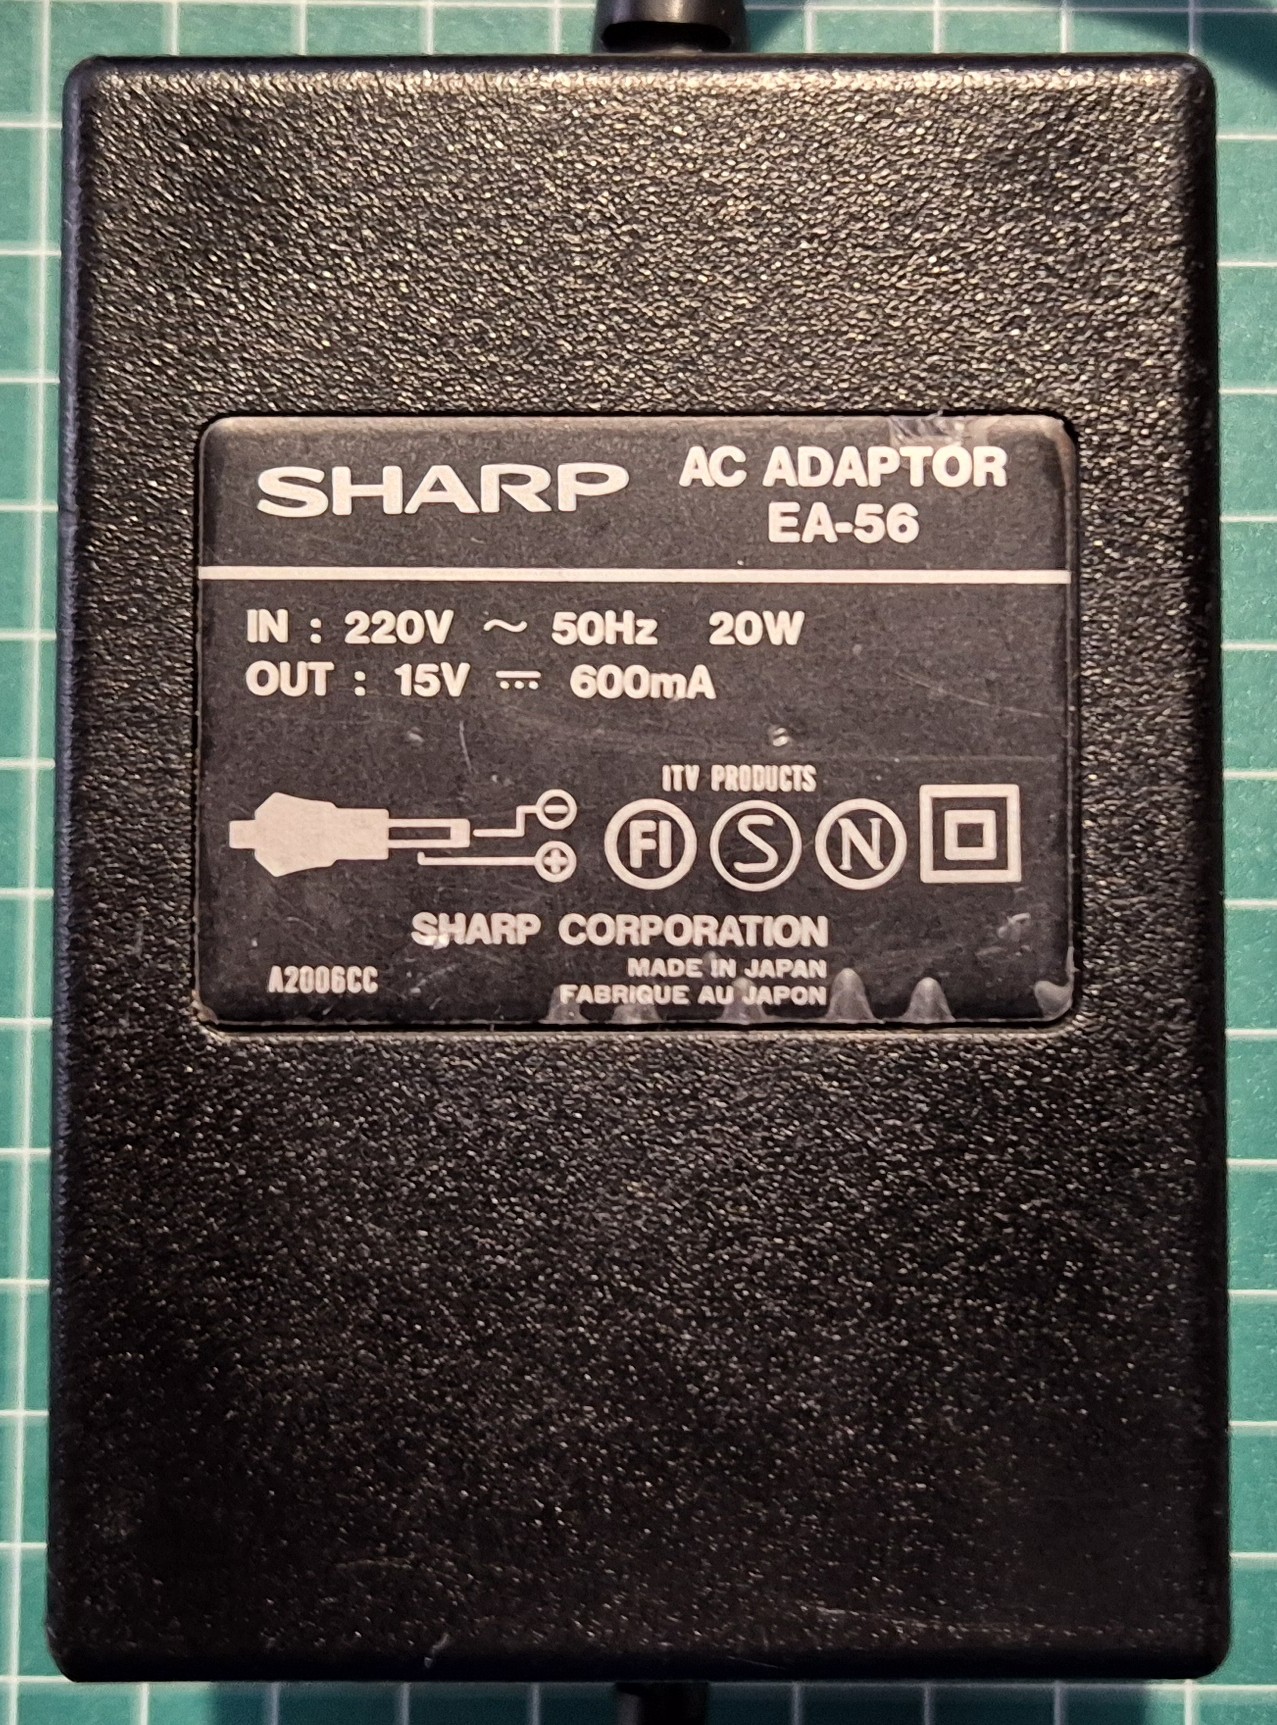
AC ADAPTOR EA-56
Powering on
After removing the 6 V lead battery I powered the computer on and was surprised that everything seemed to work. With a 64 KB RAM (CE-100M) and a bubble memory (CE-103BG) card inserted, the computer boots a MS DOS 2 and ends with a prompt on drive A (the bubble memory card).
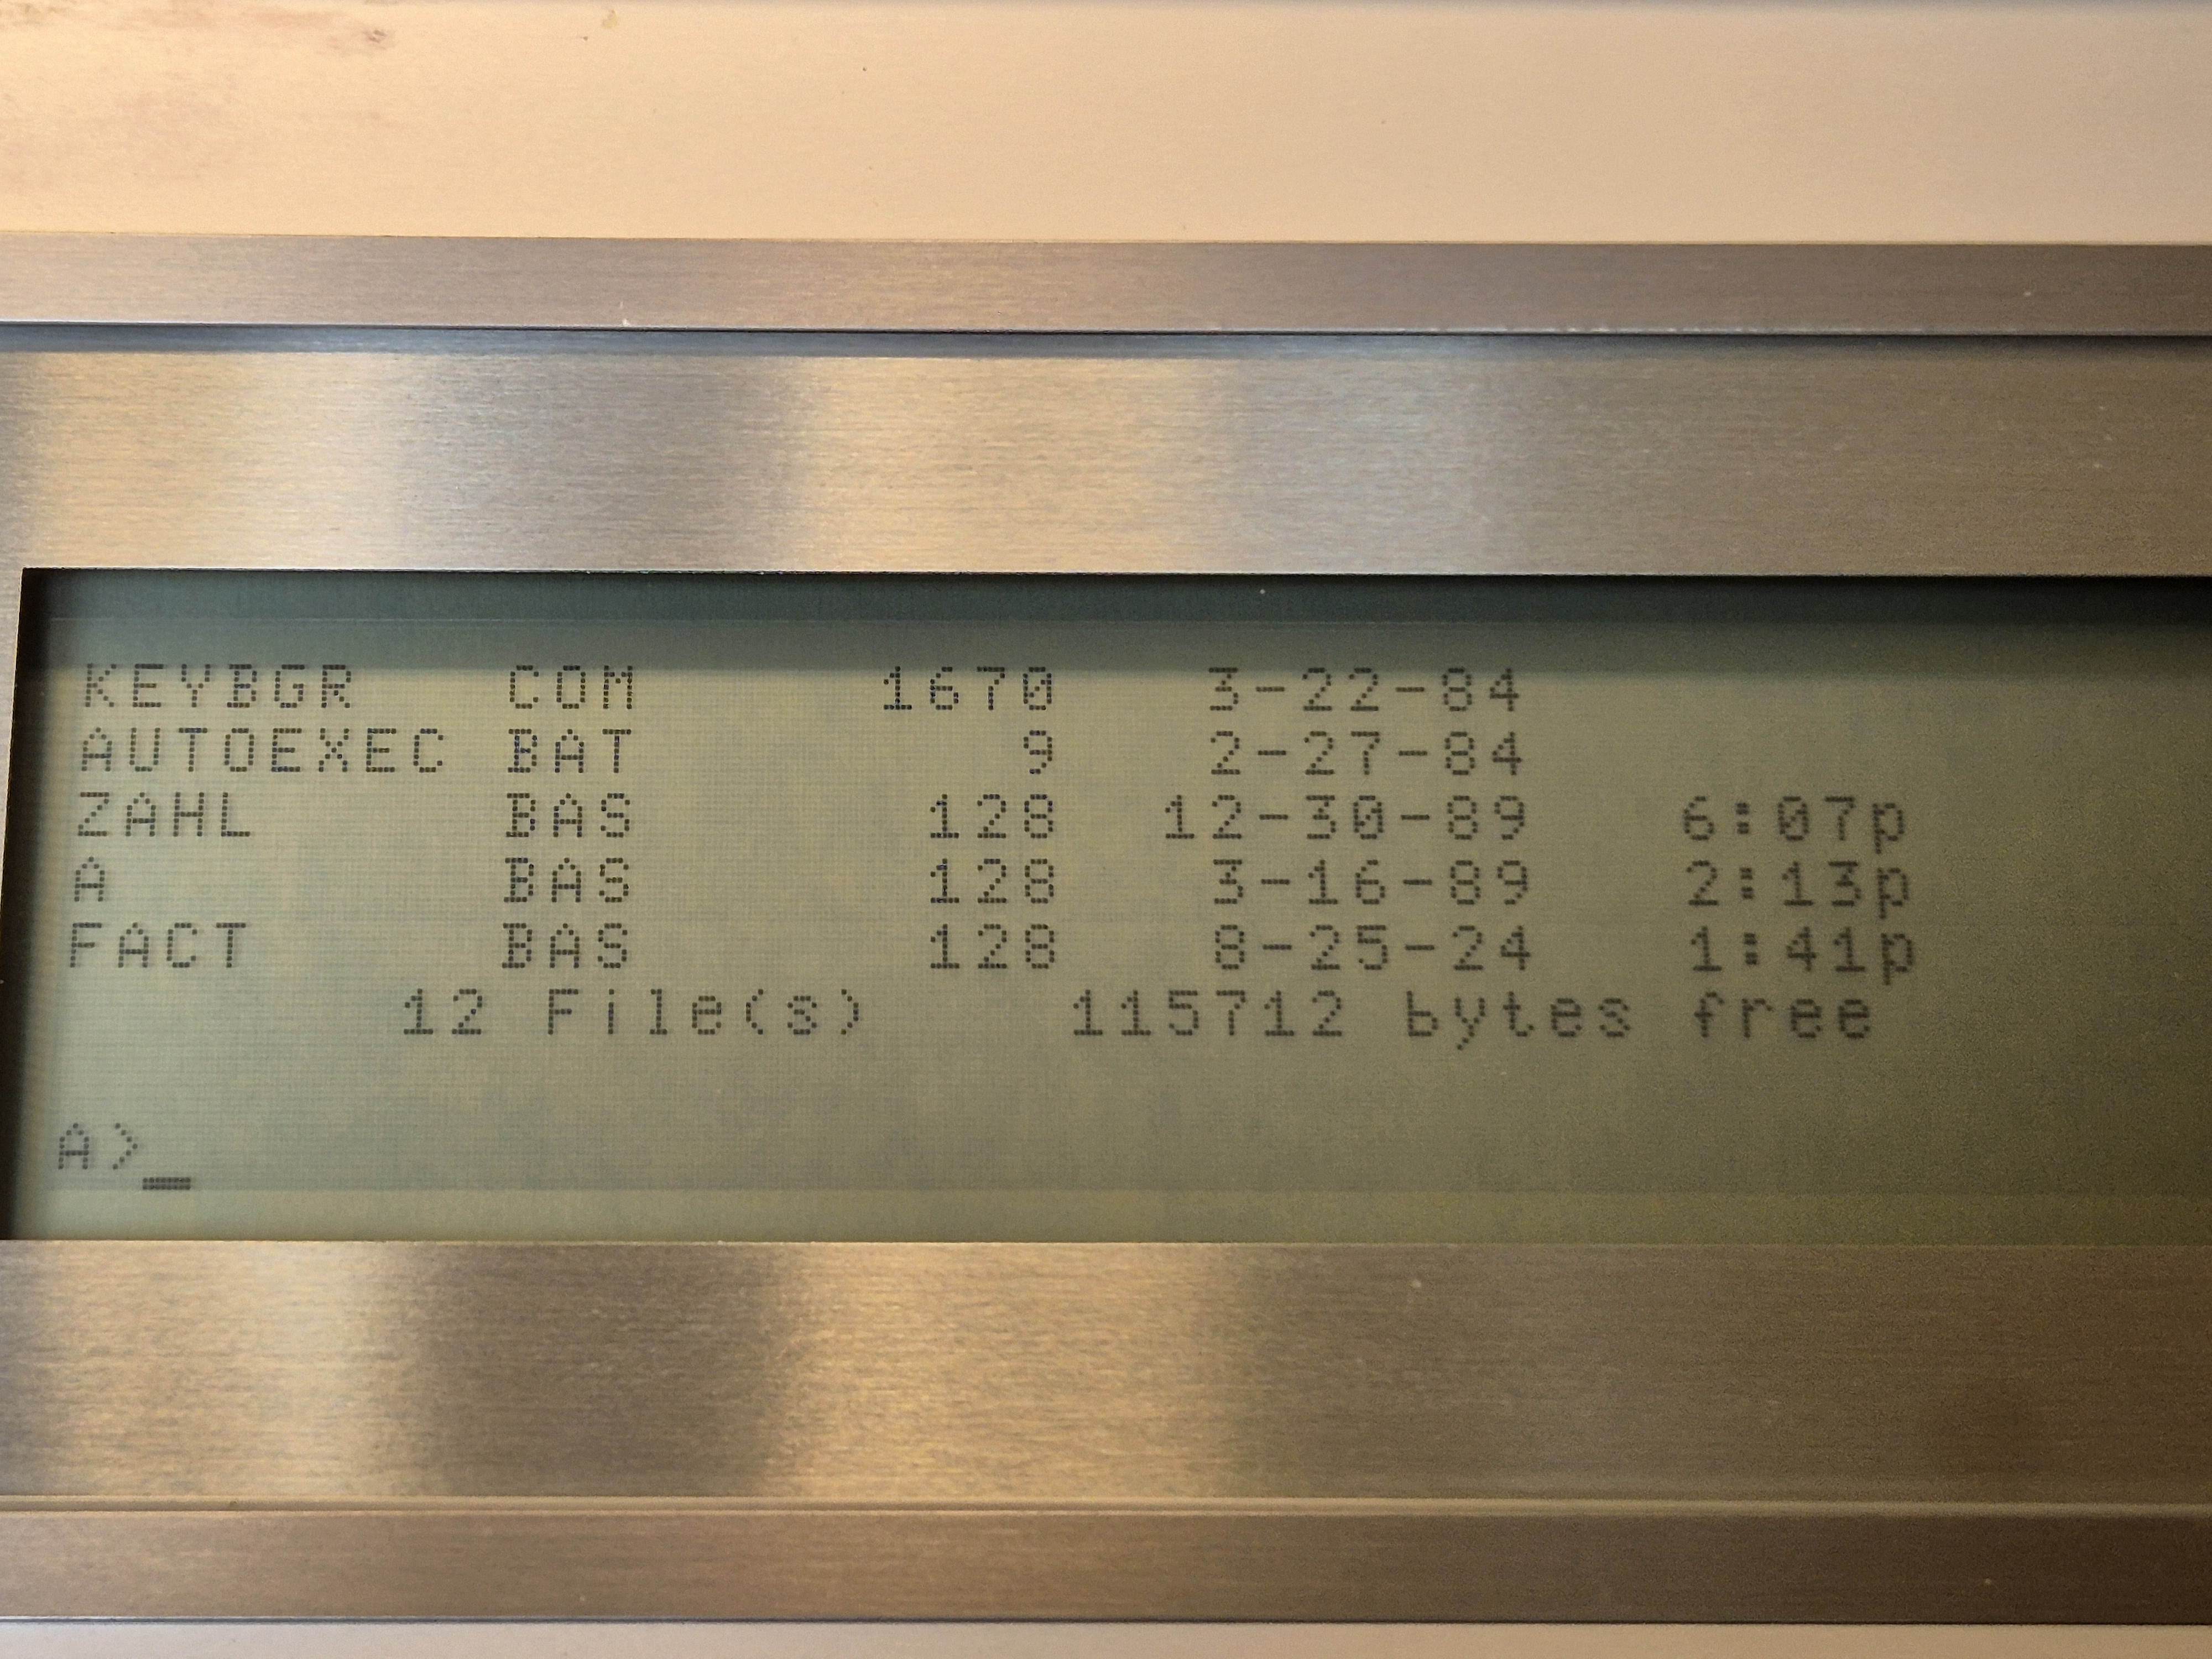
Display after booting and executing DIR
Setting the date and time worked (no Y2K issues here :)) but everything was forgotten after powering off and on again. For the realtime clock to work. a battery is needed, which back in that time, was a NiCd In most of the cases. After 4 decades the battery was surely dead and given my experiences with dead batteries, I hoped that I could clear up the mess it left behind. On the other hand the computer worked, so the damage done couldn't be too critical. Read more about finding and replacing that battery here!
Running BASIC
The PC-5000 has a cartridge that contains a Microsoft GW BASIC Version 1.00 interpreter. BASIC works as expected and with the help of my friend Hans Franke, I could verify that the serial port works as expected. The computer is really slow, compared to what we are used nowadays (I'm writing these lines in September 2024) and a small factorial programme showed the mathematical limits of that first BASIC version:
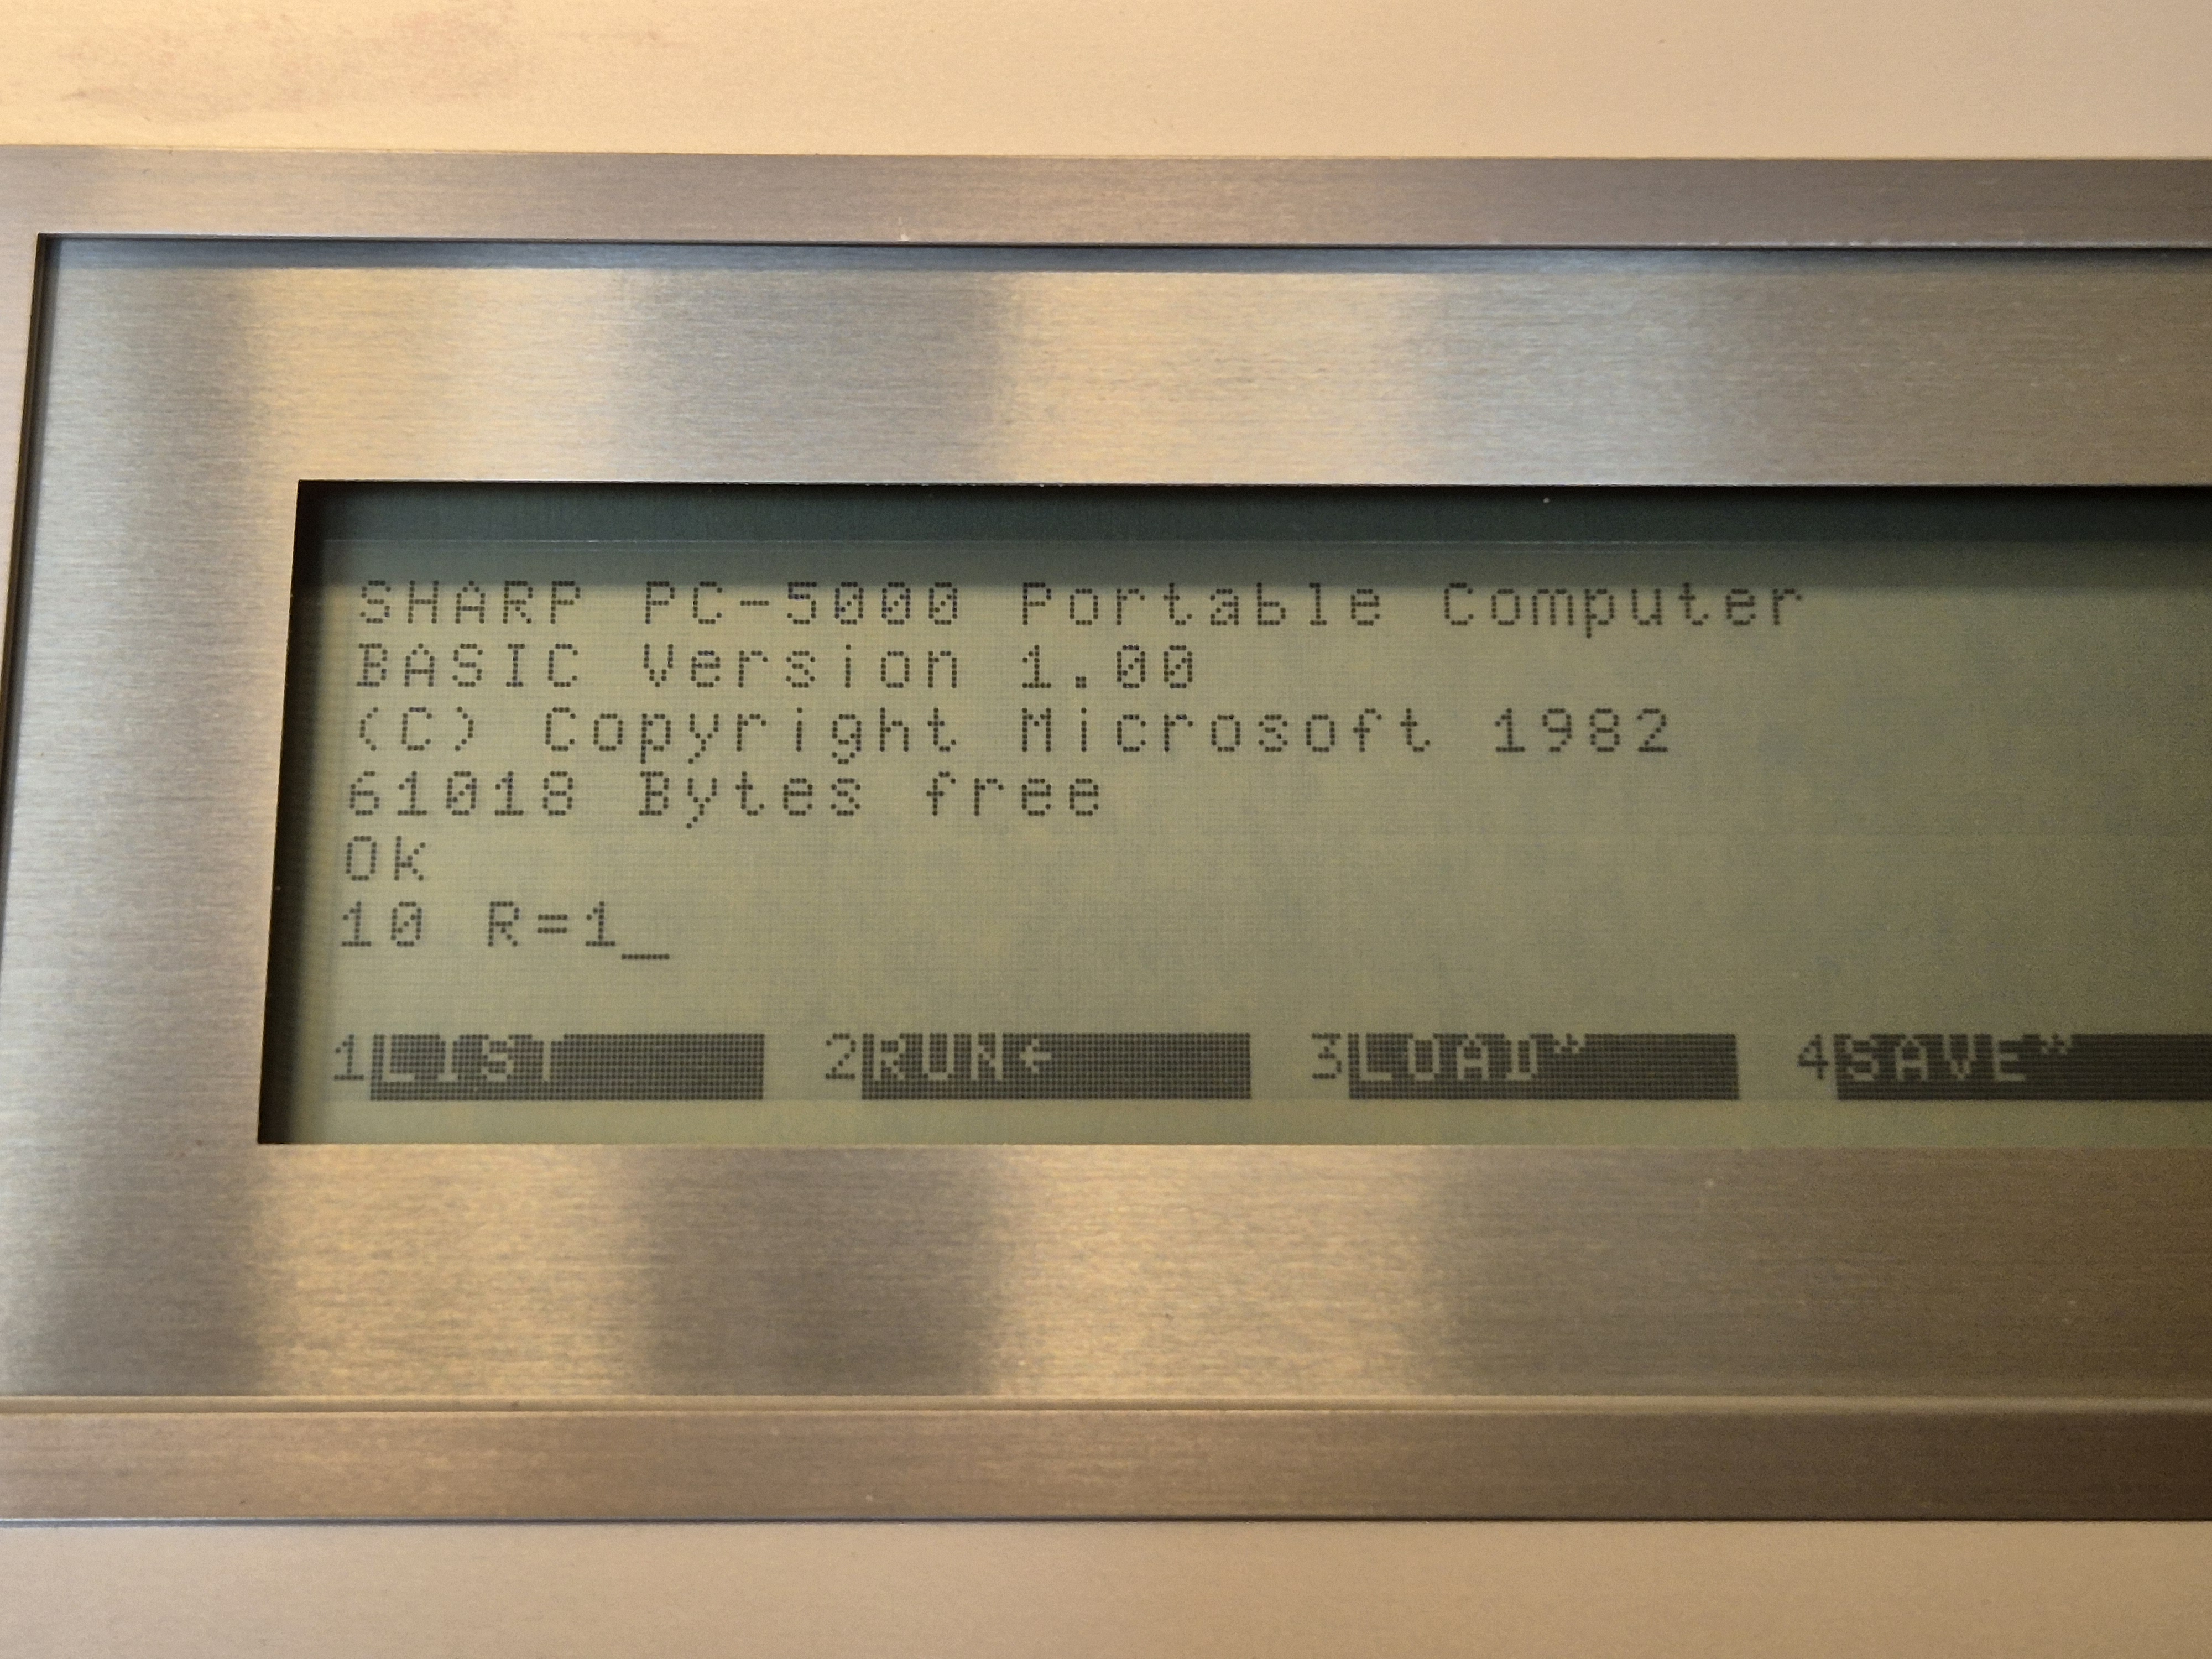
BASIC opening screen and editor
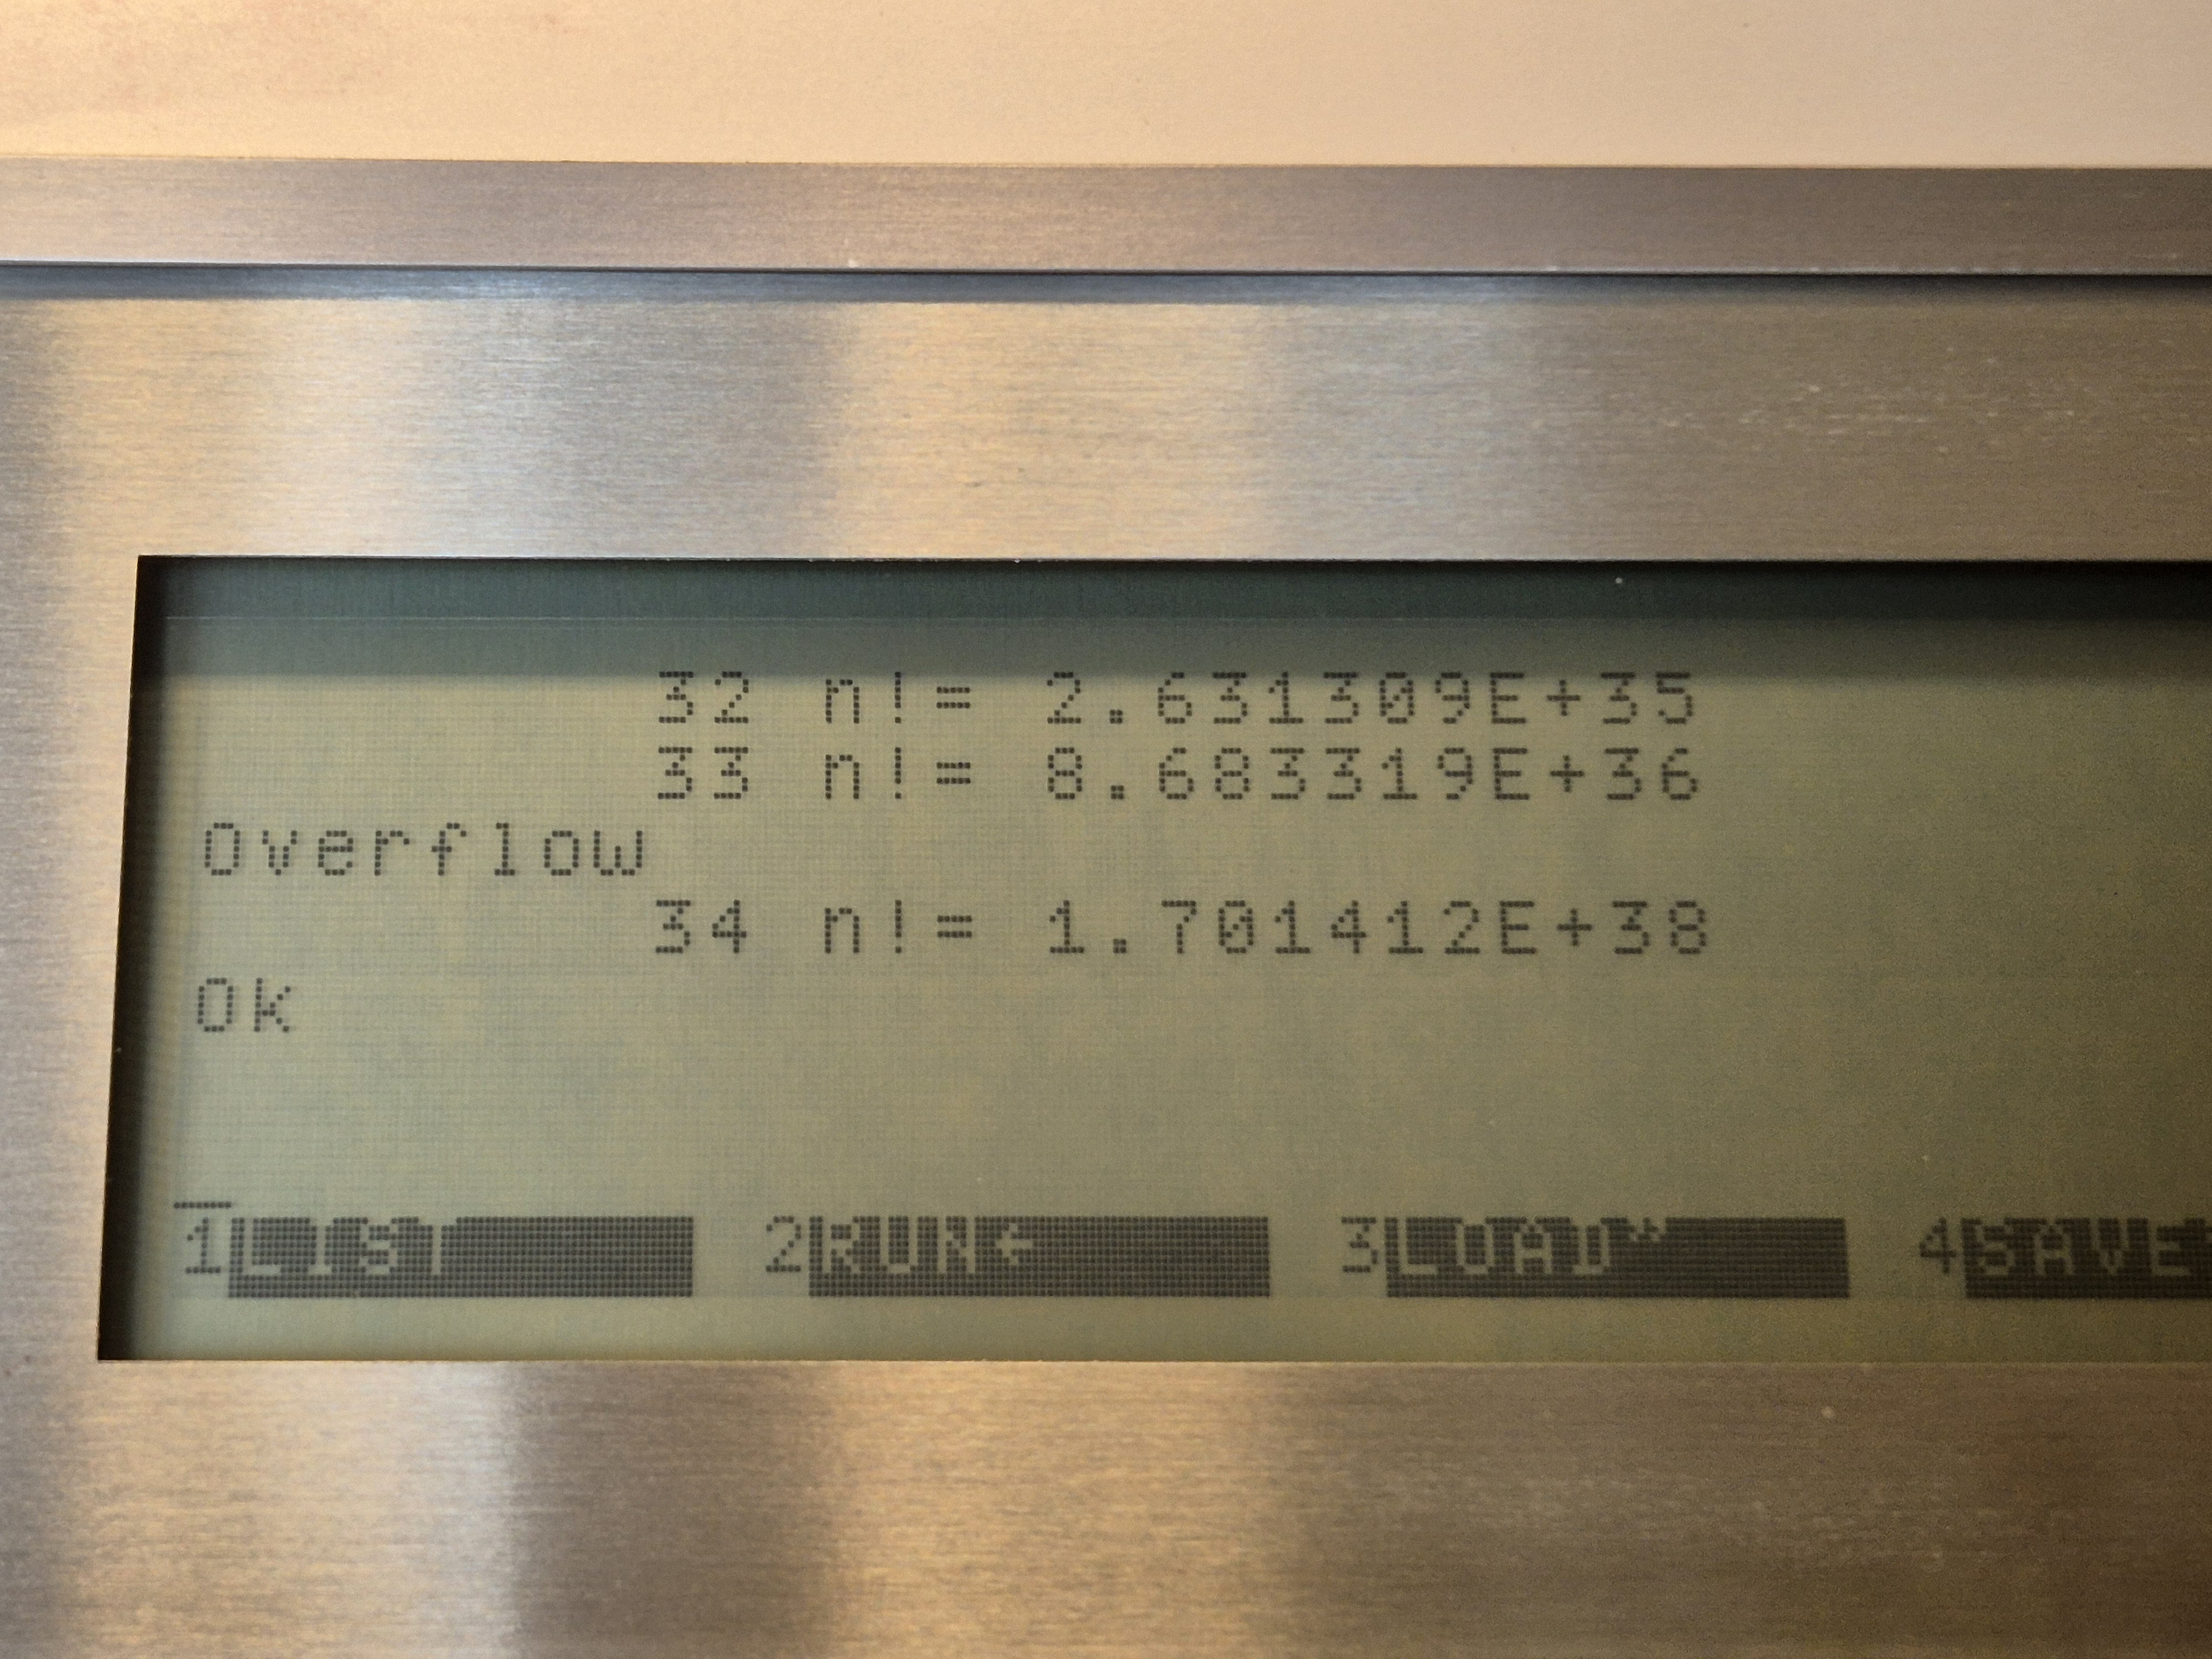
Overflow when reaching n=33
Printing on paper
The thermal printer option CE-510P was included in my PC-5000 and worked rather badly with the old opened and inserted printer ribbon. The ribbon cassettes EA-820R are not available anymore. I found out that the printers/typewriters CE-510P, PA-1000, PA-1000H, TY-220 and TY-250 use the same ribbon cassettes but had no luck finding one. The thermal papers EA-1LS1 (250 sheets) or EA-1LS5 (100 sheets) are gone too, but I thought that thermal paper shouldn't be much different from manufacturer to manufacturer, so I tried Brother's PA-C-411 which worked perfectly. This thermal paper is still available but now I'm quite sure that any DIN A4 thermal paper will also do.
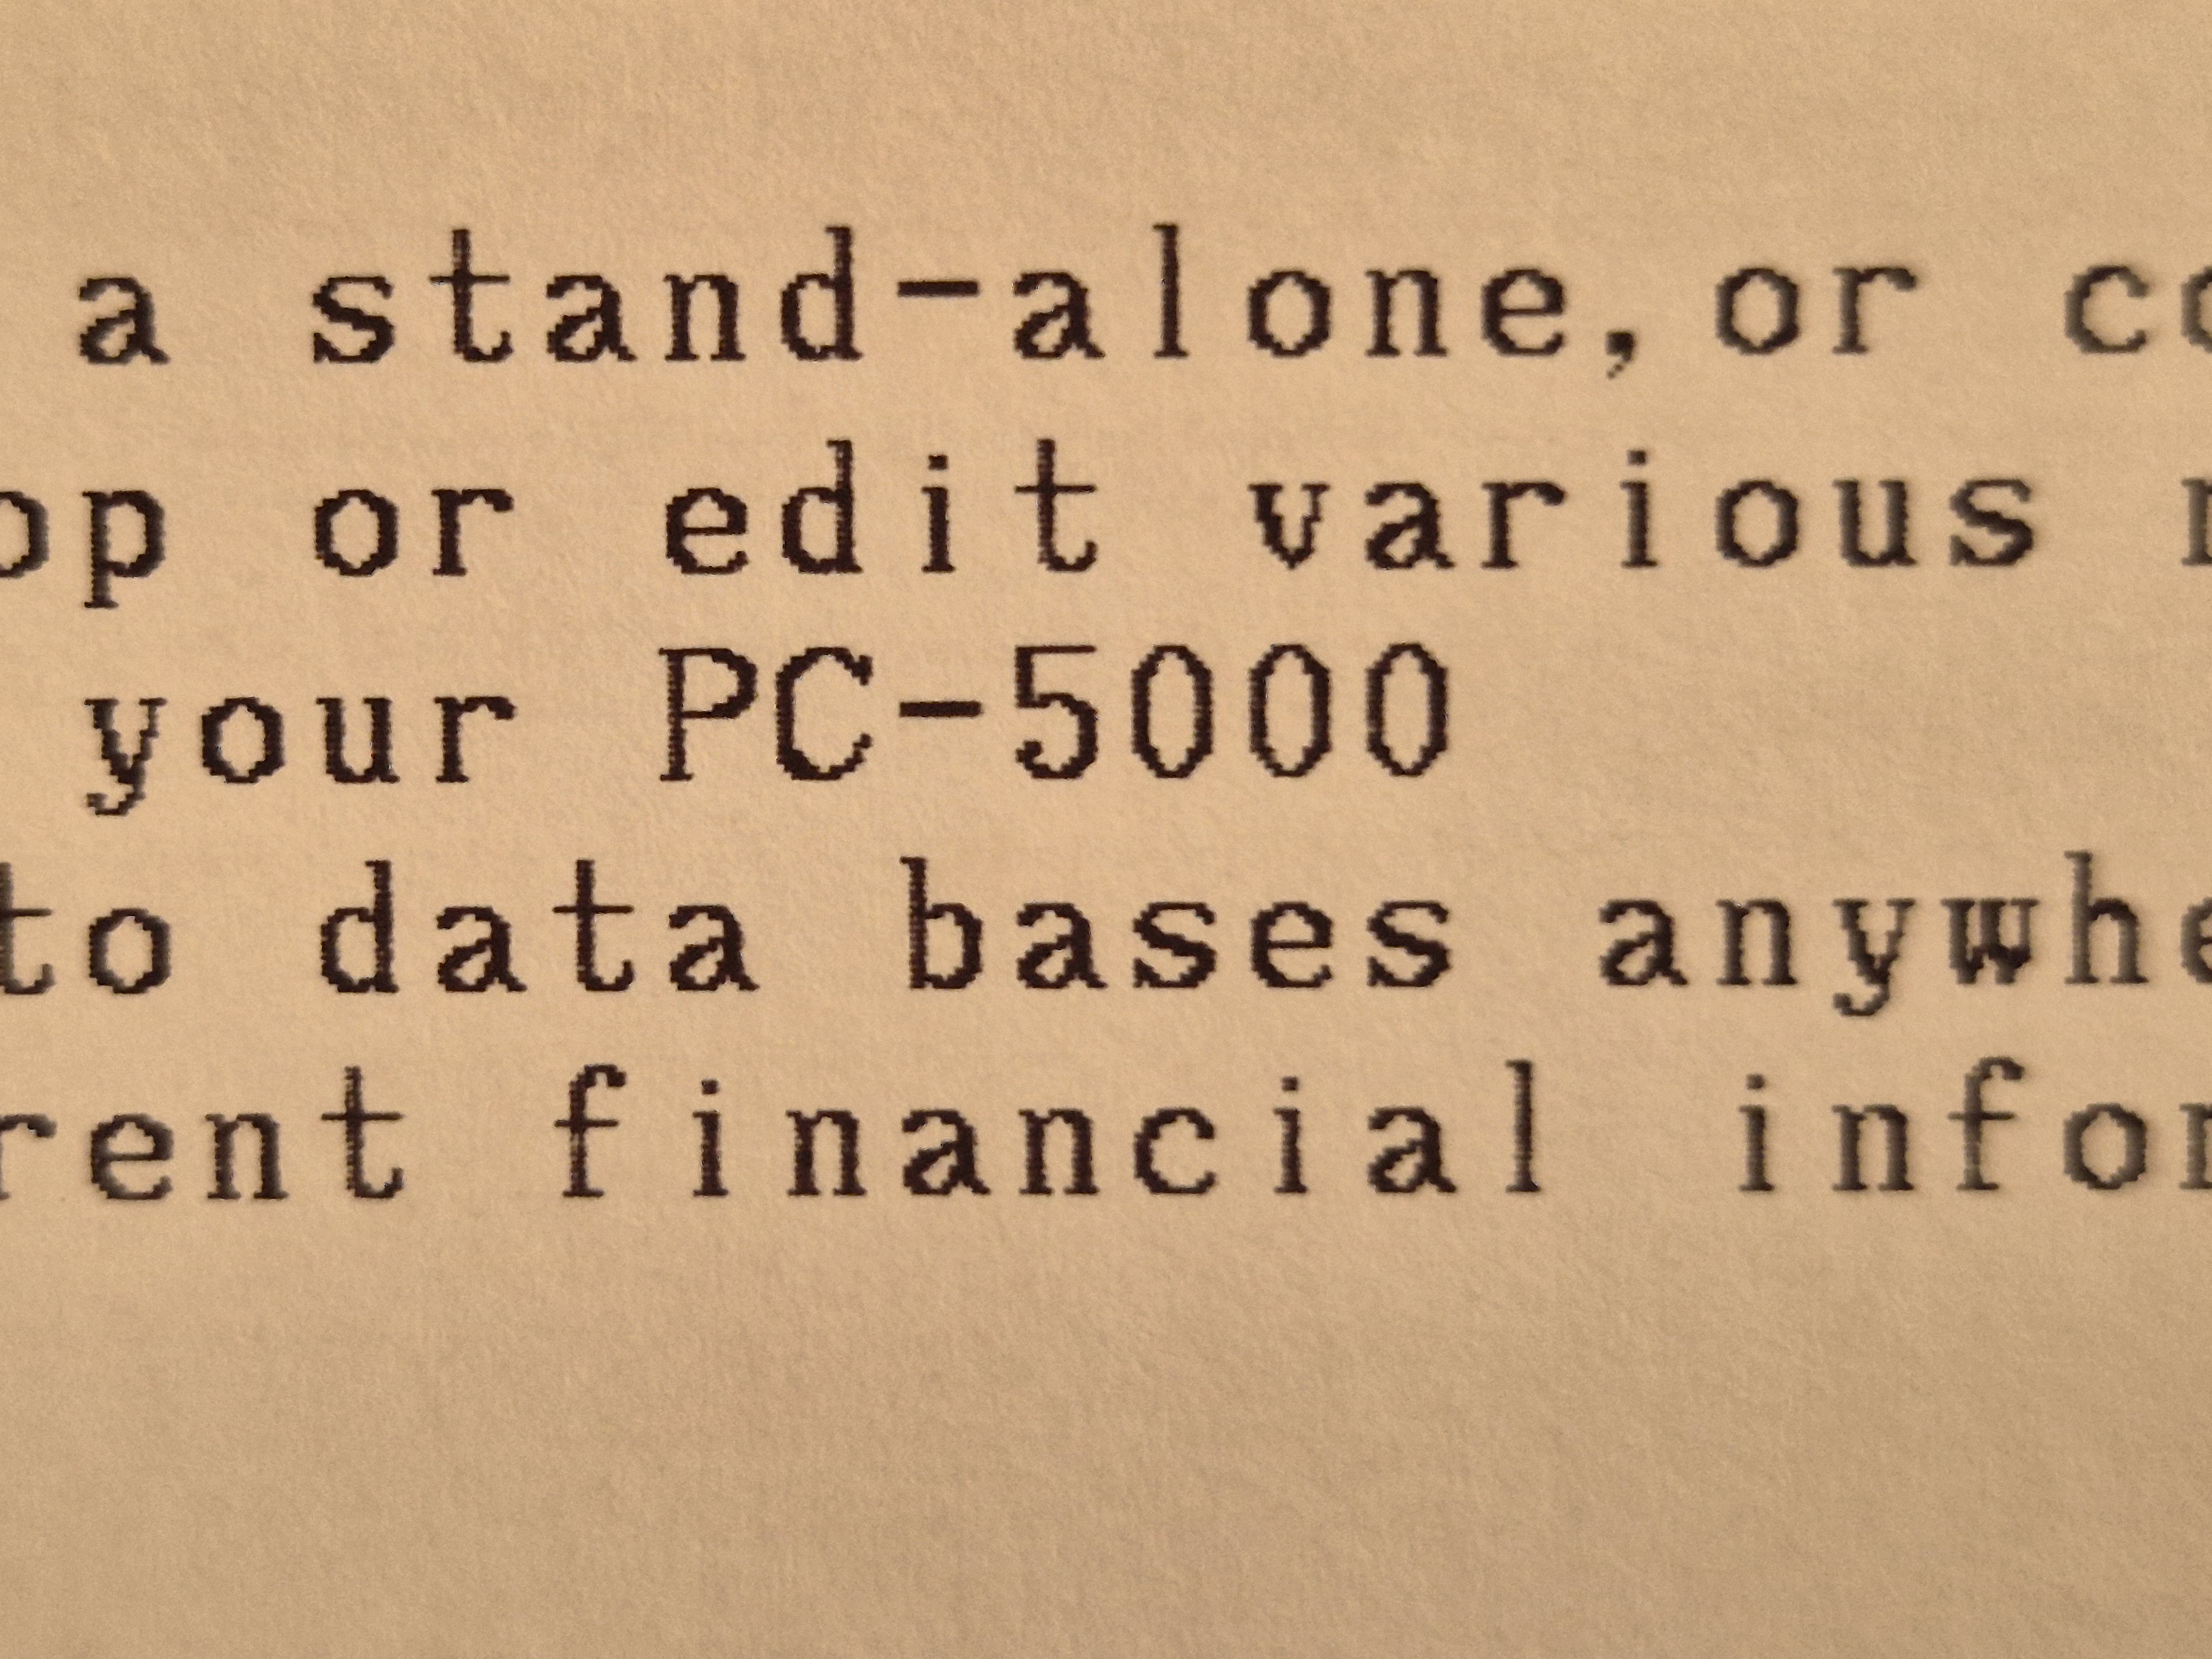
HINT: The marketing text printed below is stored in ROM (including the claim "All the Computing Power You Will Ever Need.") and can be accessed if the computer is powered on without any cartridge inserted. If done so, a menu appears and from there text can be shown on display or printed on paper.
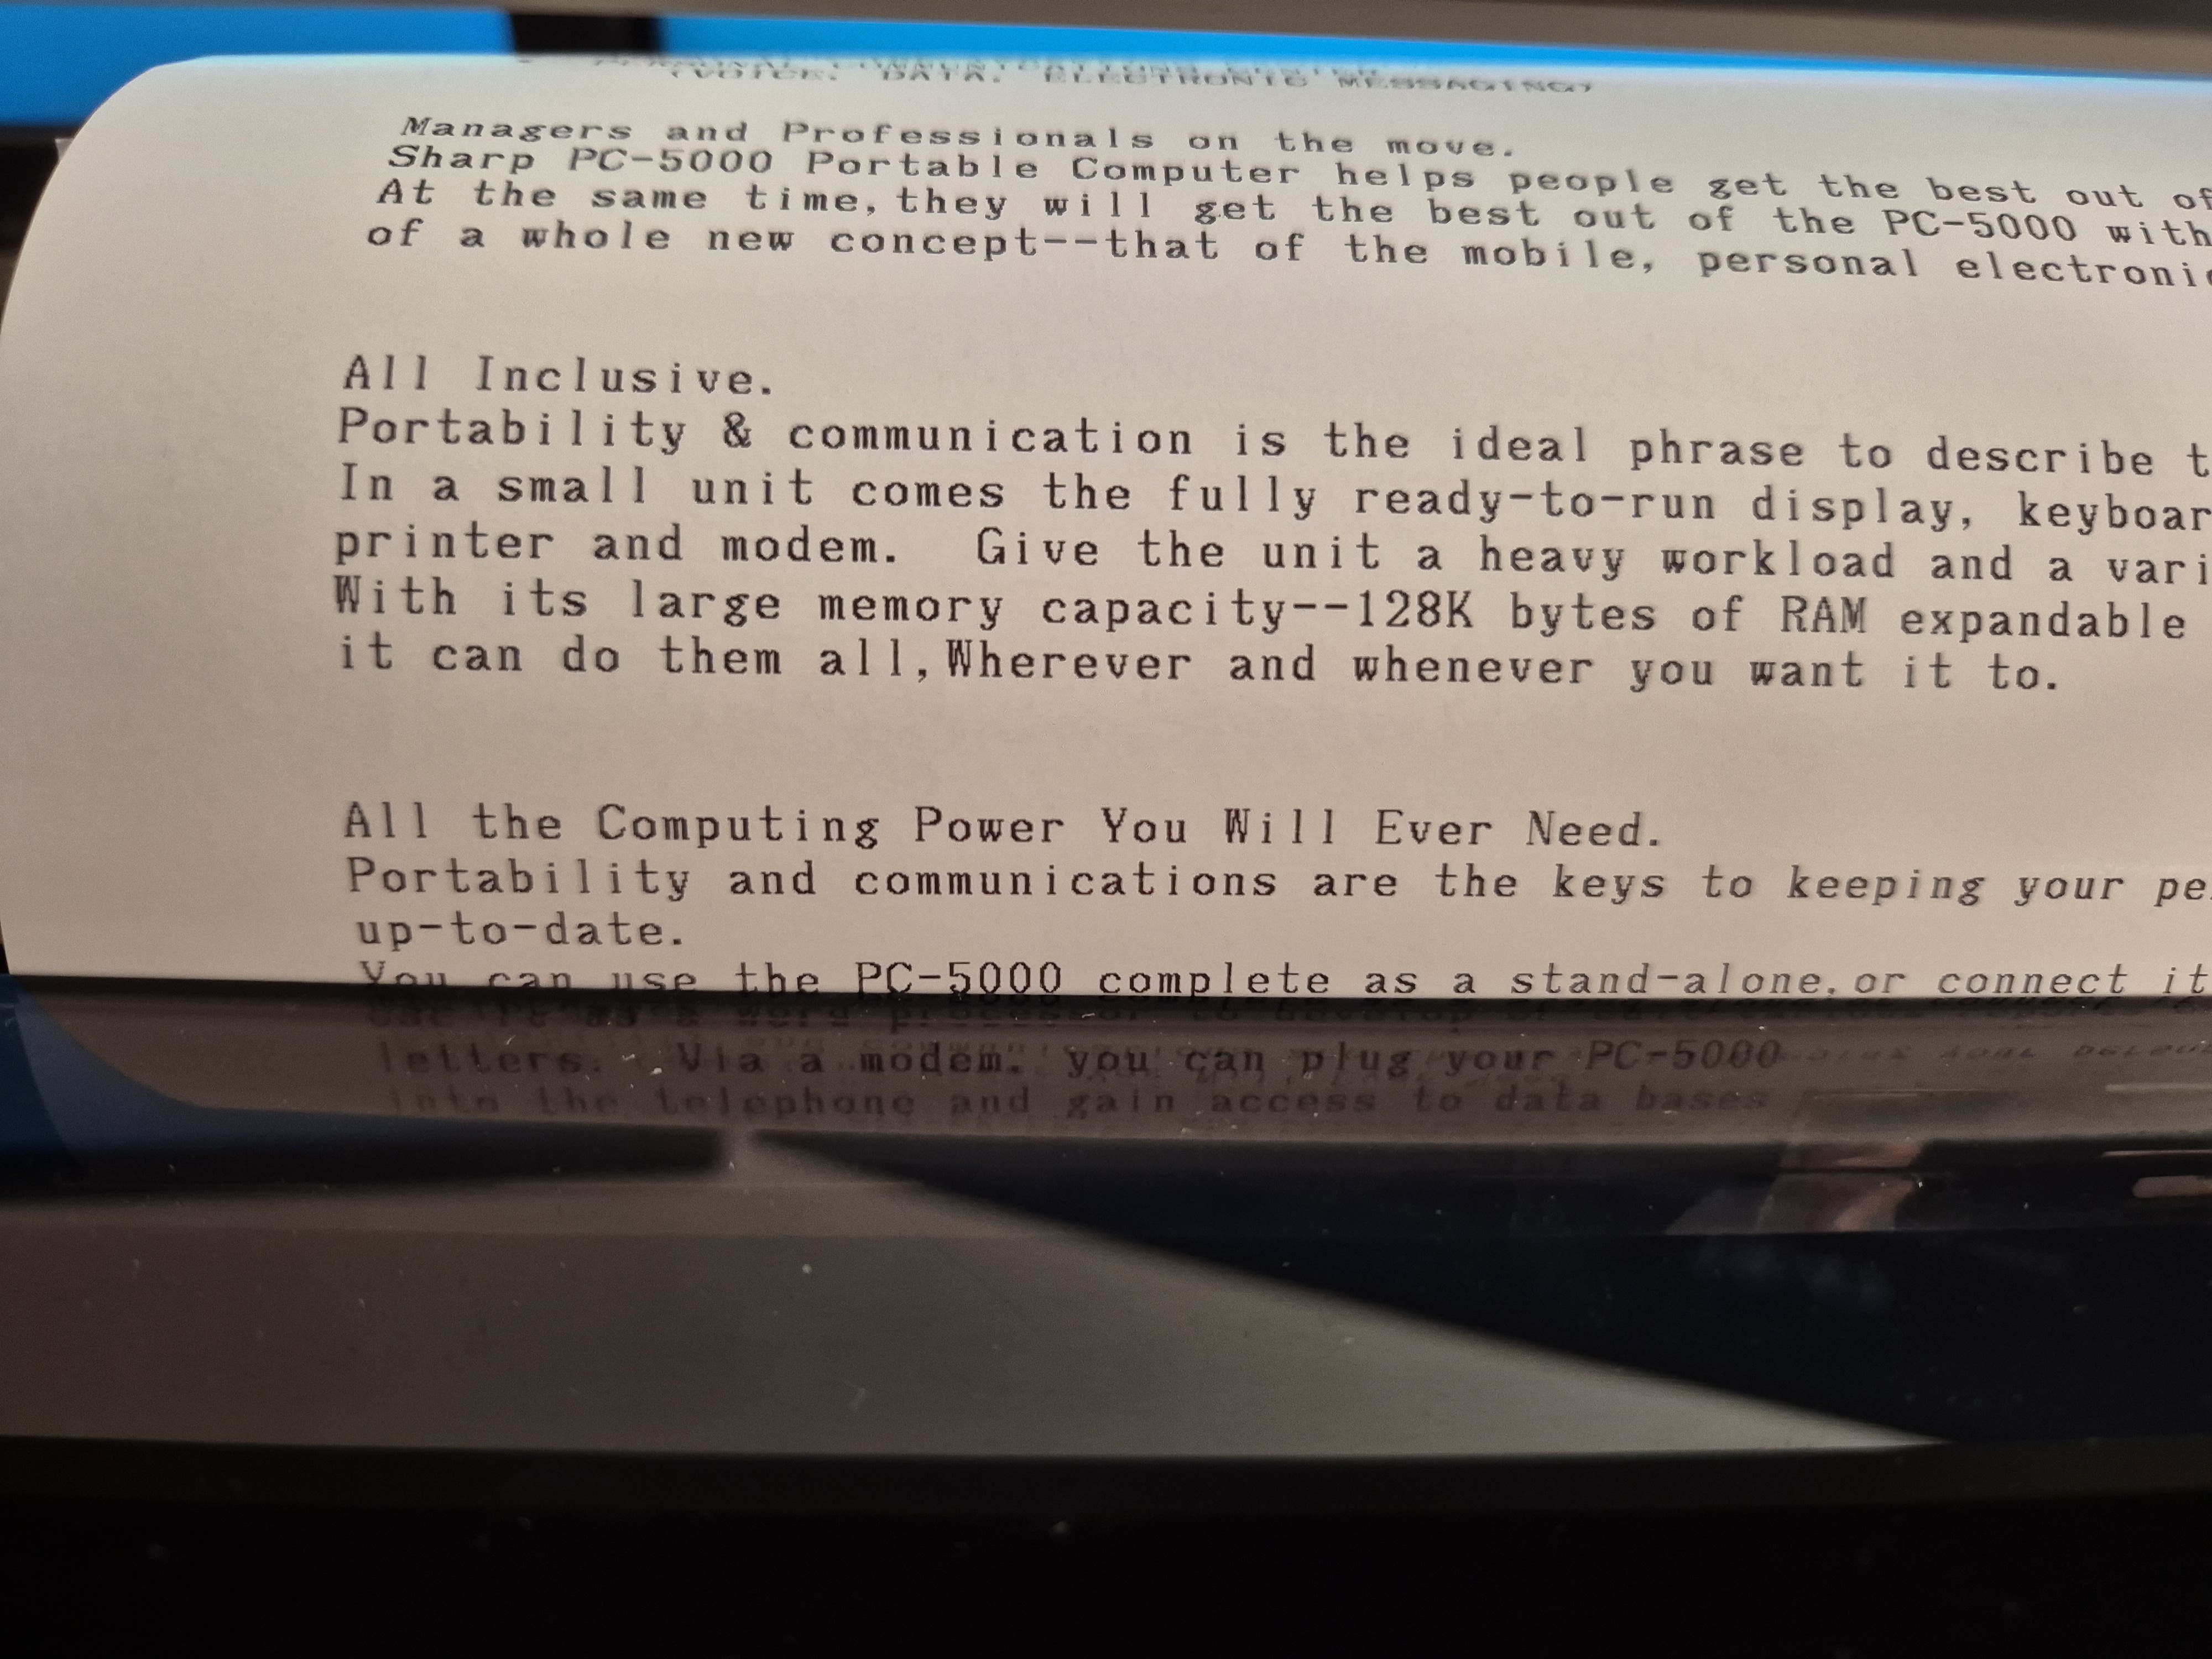
Printing the marketing text stored in ROM
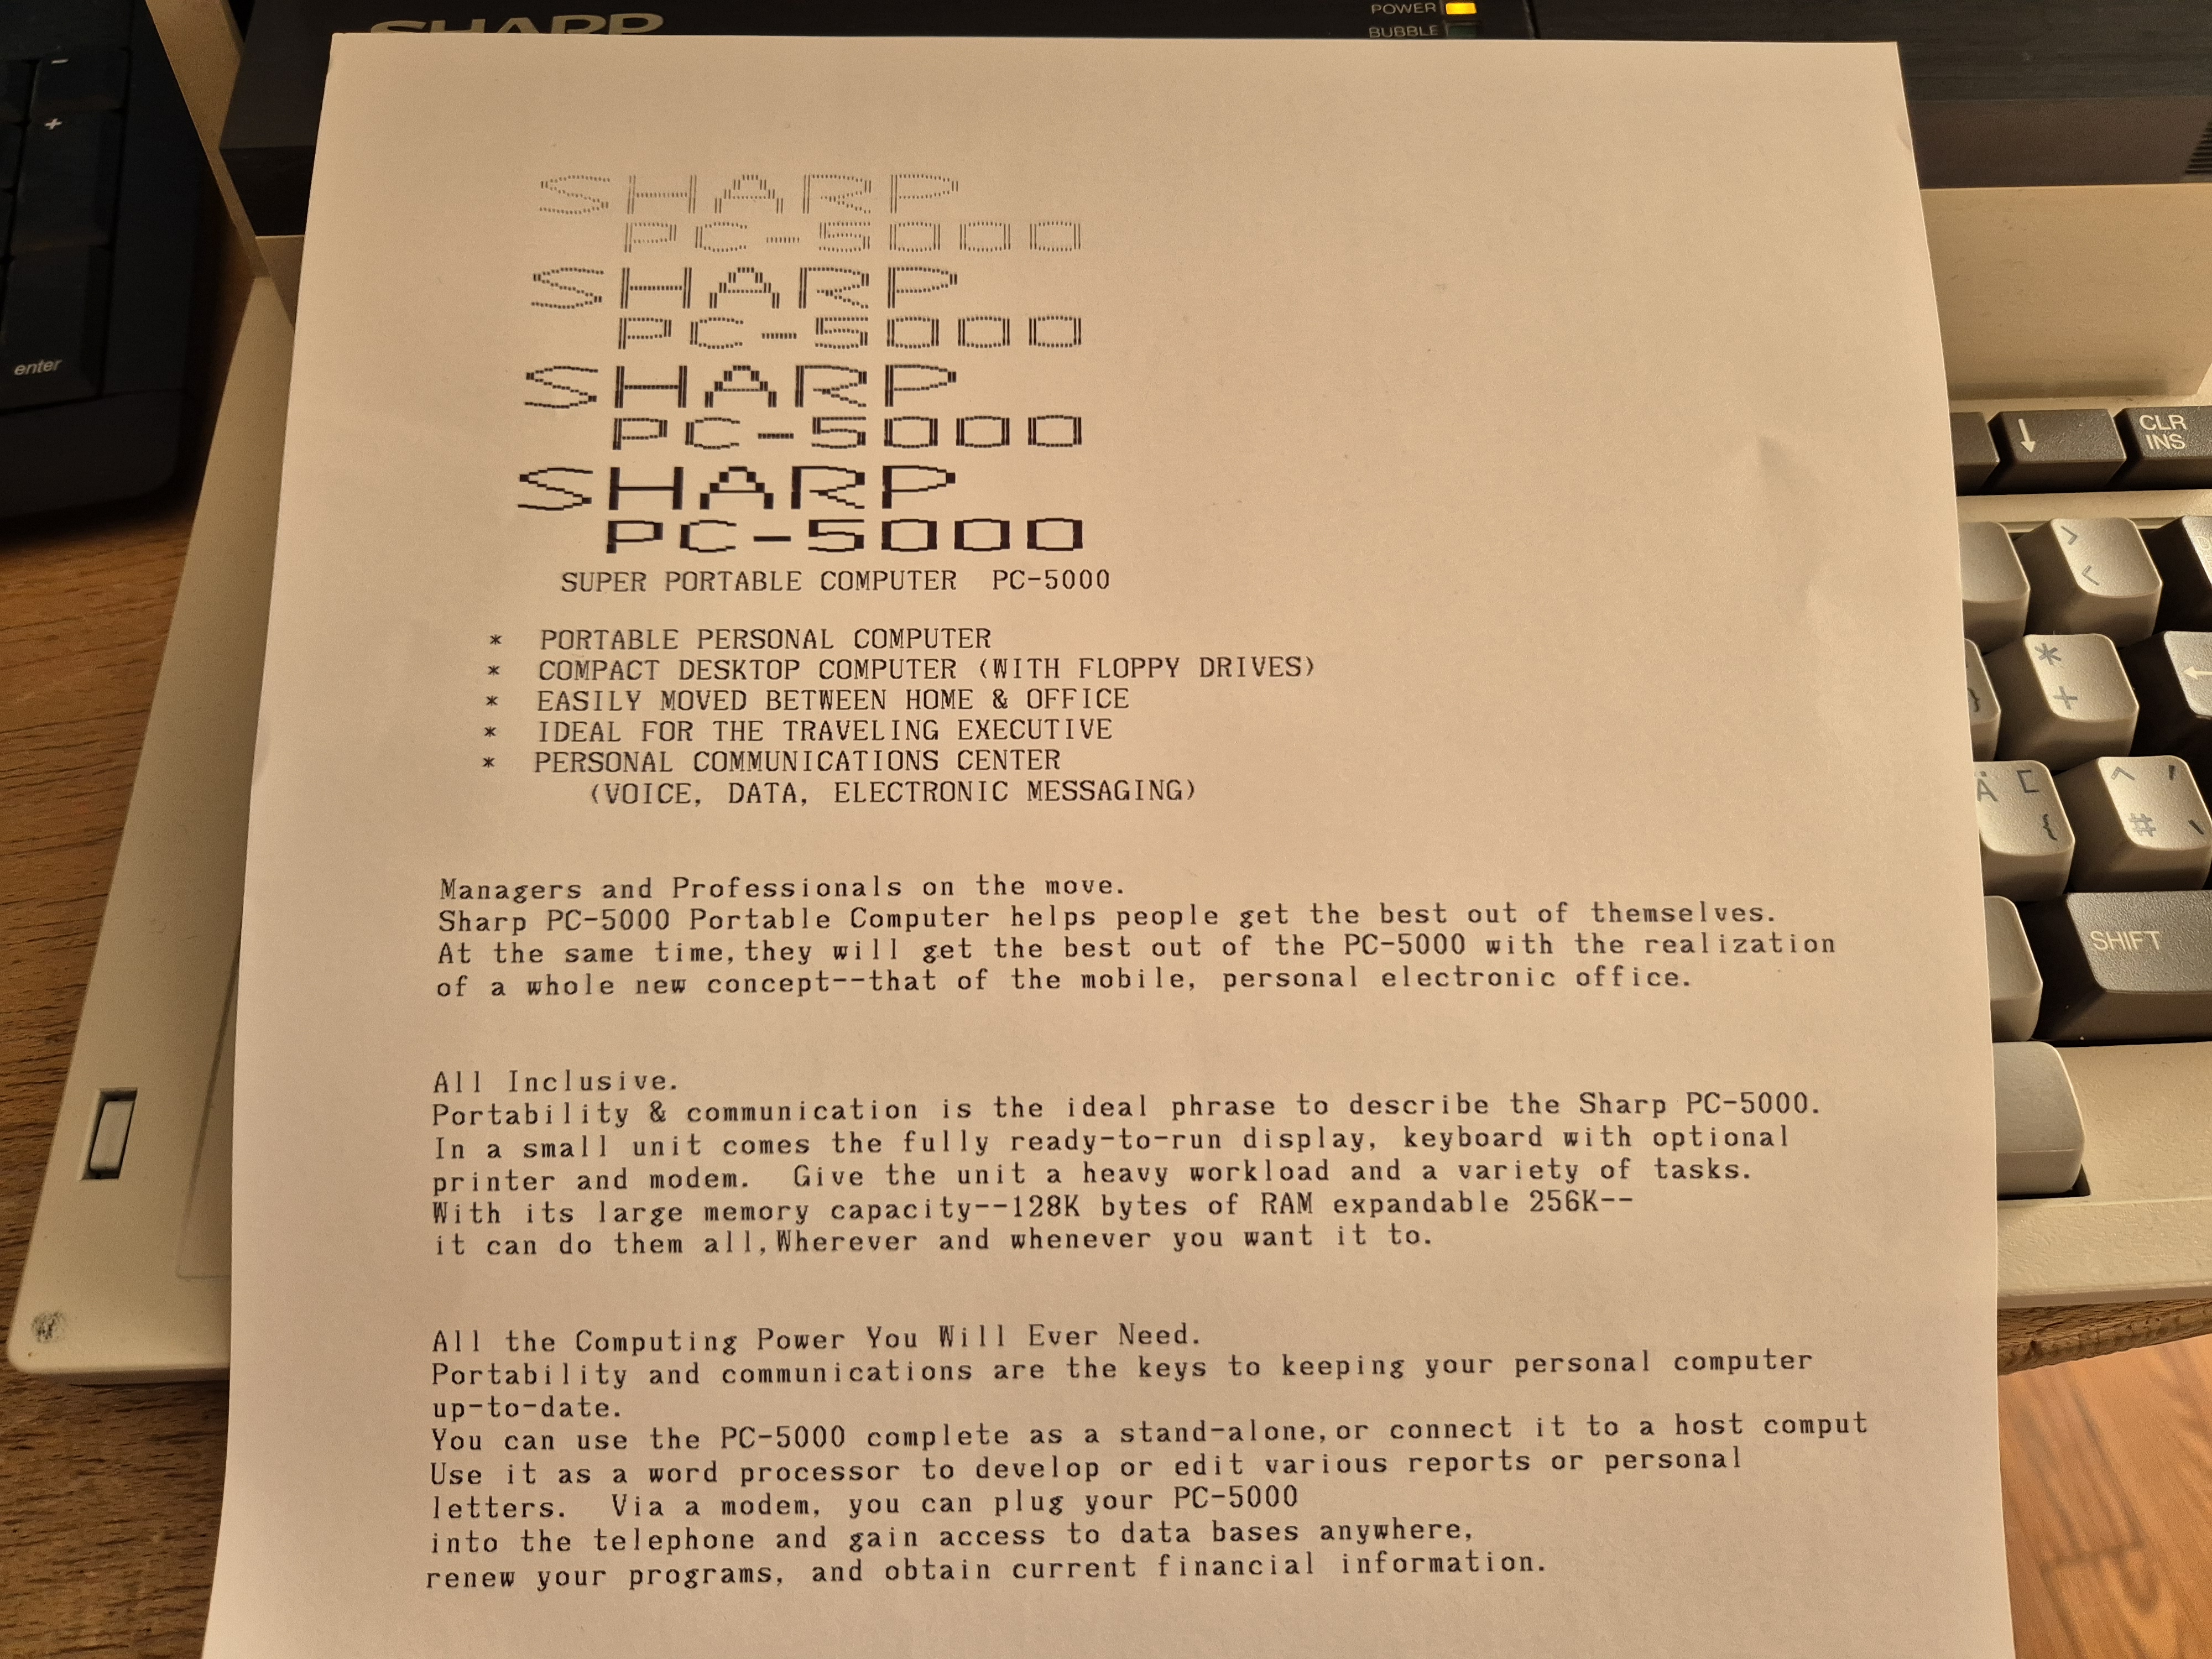
Printed marketing text
Details of the print out
Display quality
As usual in that days the LC display has no backlight and a weaker contrast than modern ones. While the contrast can be adjusted within limits, the missing backlight makes it really difficult to work with the computer in a room. This is the reason for the rather poor quality of the display's photos here. I bought an LED screen bar, which I now put over the display and found it to be the best solution without interfering with the original computer.
Periphericals and supplies
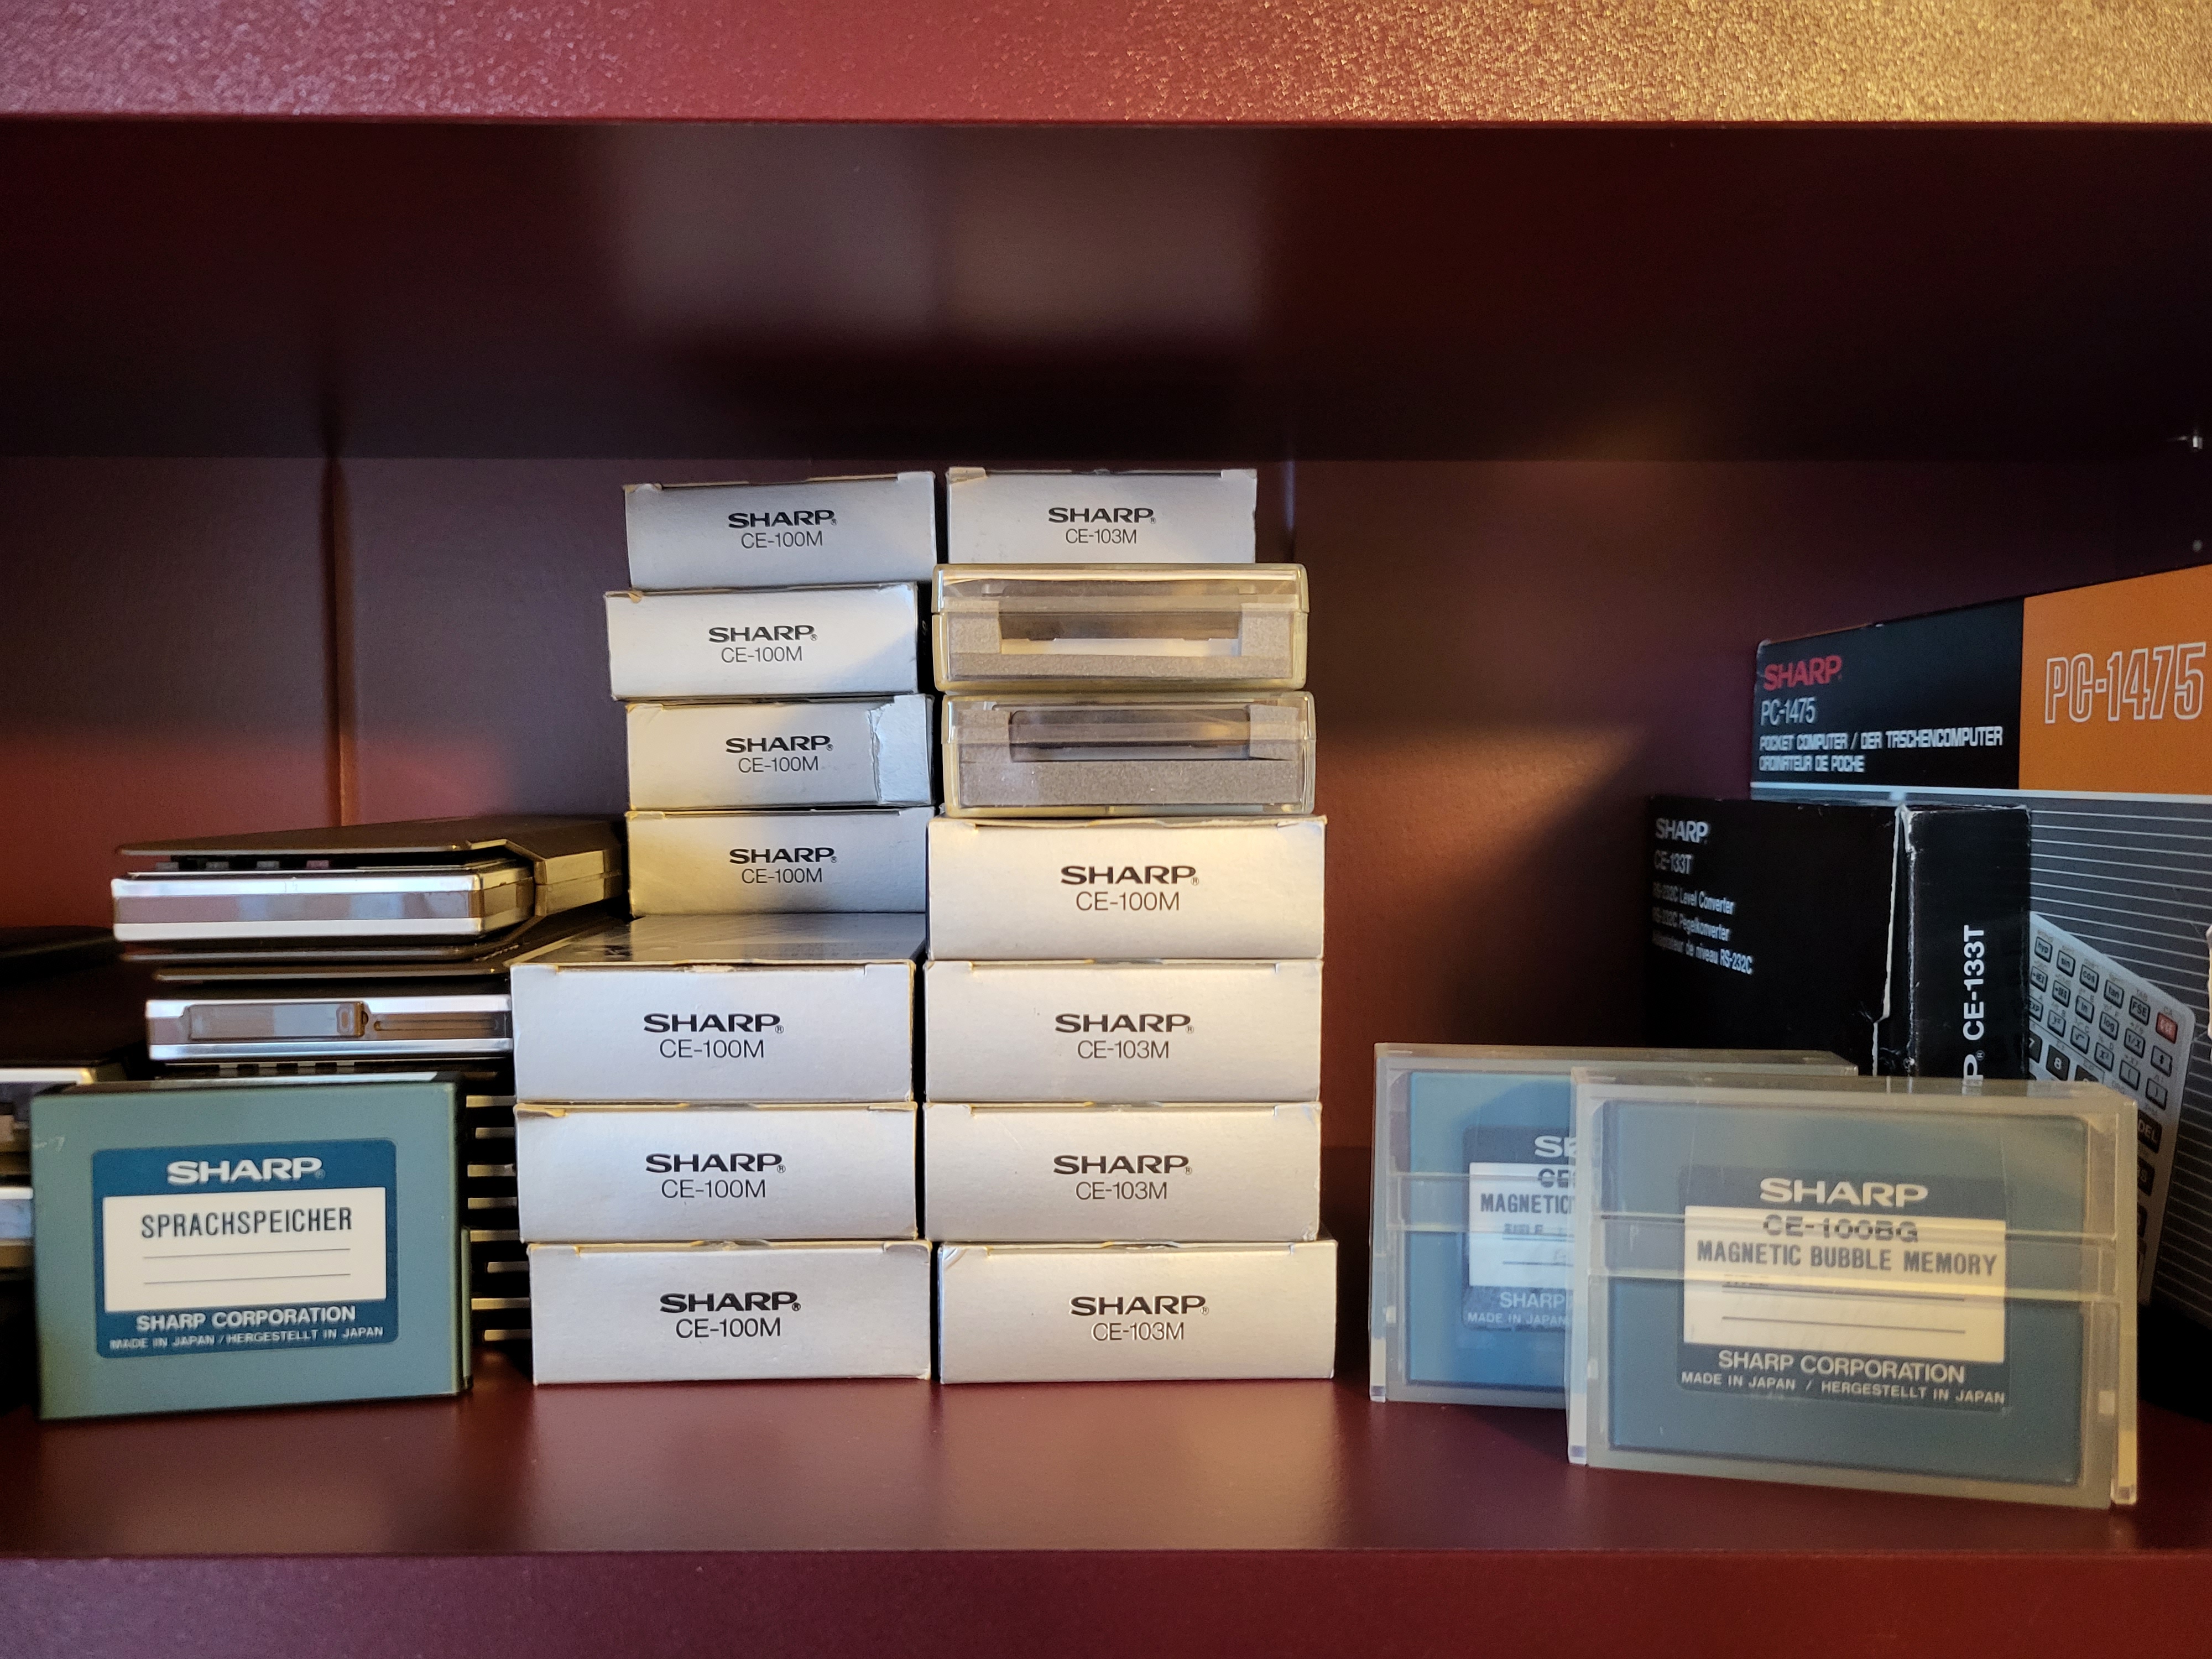
Browsing through the depths of the interne I found a marketing document from Sharp in archive.org. Among other interesting information, there's a list of then available periphericals and supplies published on 15th August 1984:
- CE-100B 128K Bubble Cartridge
- CE-103M 128K Memory Expansion Cartridge - Thick Cartridge
- CE-100M 64K Memory Expansion Cartridge - Thin Cartridge
- CE-152 Cassette Recorder
- CE-510F Dual Drive 5-1/4"
- CE-510P Printer
- CE-510T Modem/Dialer
- CE-513F 3-1/2" Micro Drive
- CE-510E CRT Monitor Interface
- CE-100F 5-1/4" Blank Diskettes (10/Box - Formatted)
- CE-120F 3-1/2" Micro Blank Diskettes (10/Box - Formatted)
- CE-514 Paper Roll Holder
- EA-1LR5 TI did not document these steps, as they were trivialhermal Paper Roll (63-Sheet Length)
- EA-1LS1 Standard Paper (250 Sheets)
- EA-1LS5 Thermal Paper (100 Sheets)
- EA-50B Battery (For PC 5000 and 3-1/2" Drive)
- EA-820R Thermal Ribbon
From the seller mentioned above and another one, who had a small stock of used parts I bought these:
- 2 pcs CE-100B 128K used
- 10 pcs CE-103M 128K NOS
- 12 pcs CE-100M 64K NOS
- 1 pcs CE-109 PROM Cartridge 32K Byte NOS
- 1 pcs "SPRACHSPEICHER" unknown type or function, uses the same case as the bubble memory cartridges
NOTE: If you are collector and need one CE-100M or CE-103M get in touch with me.
Memory cartridges
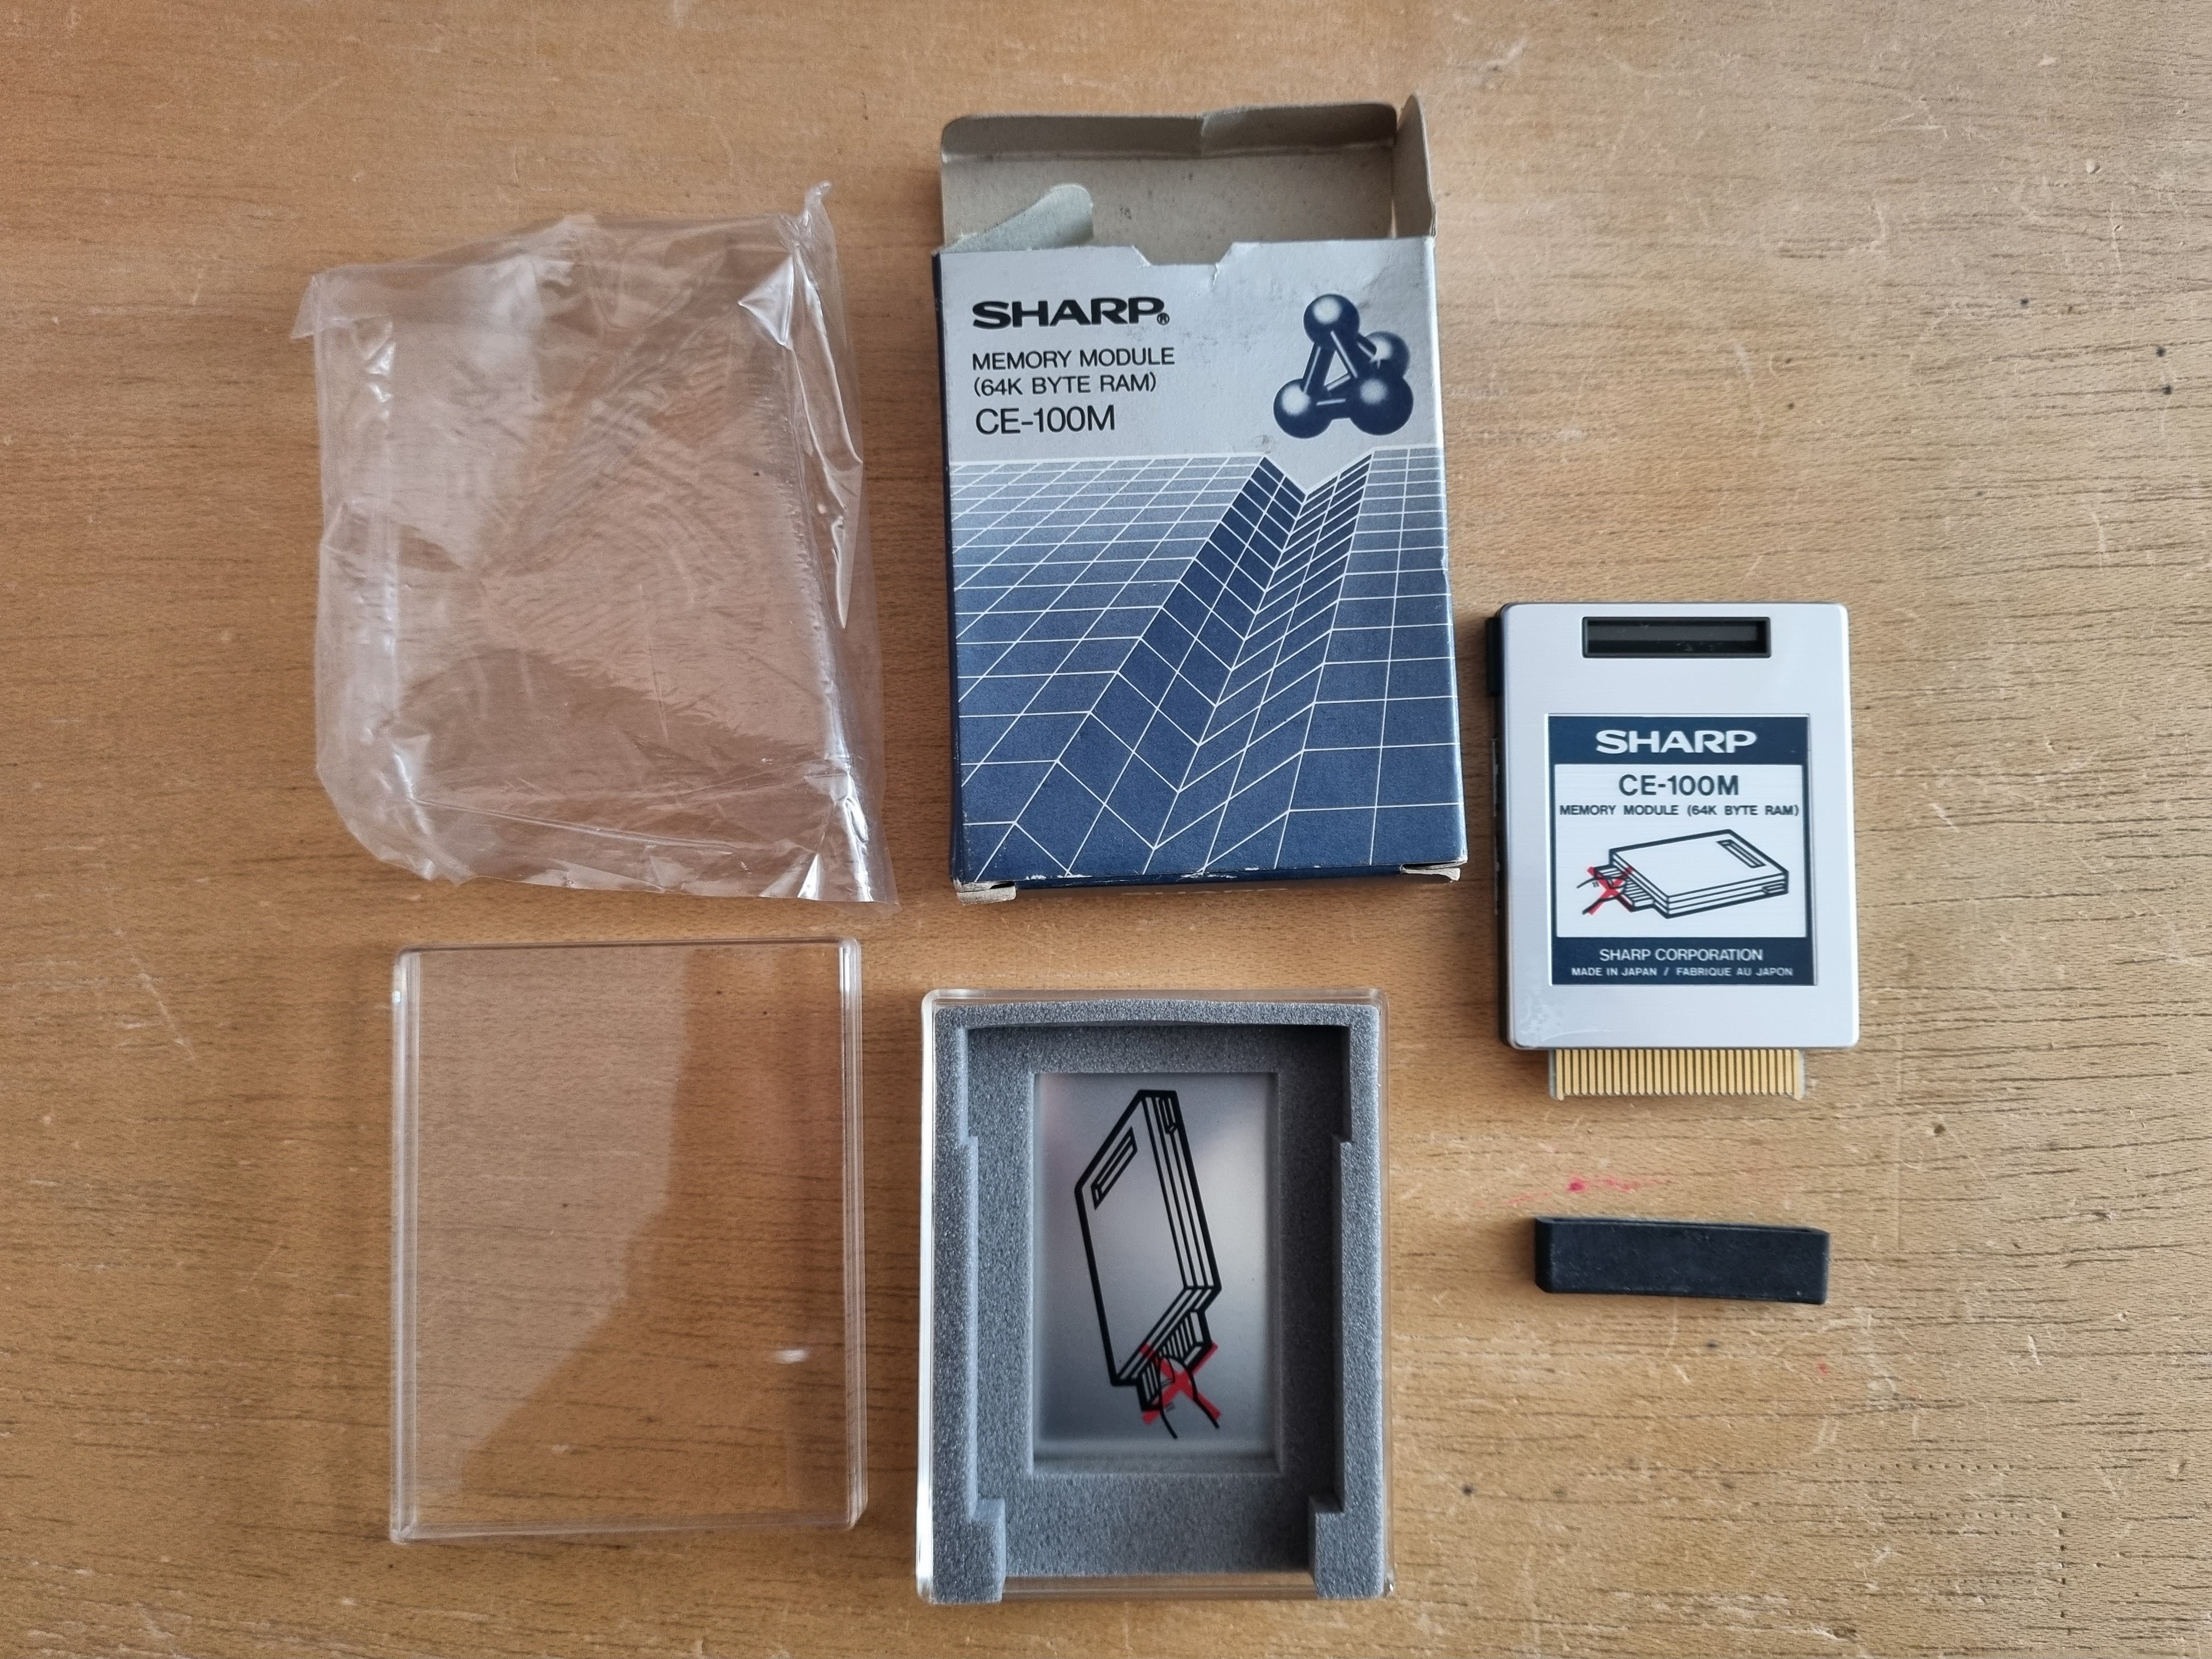
CE-100M package content
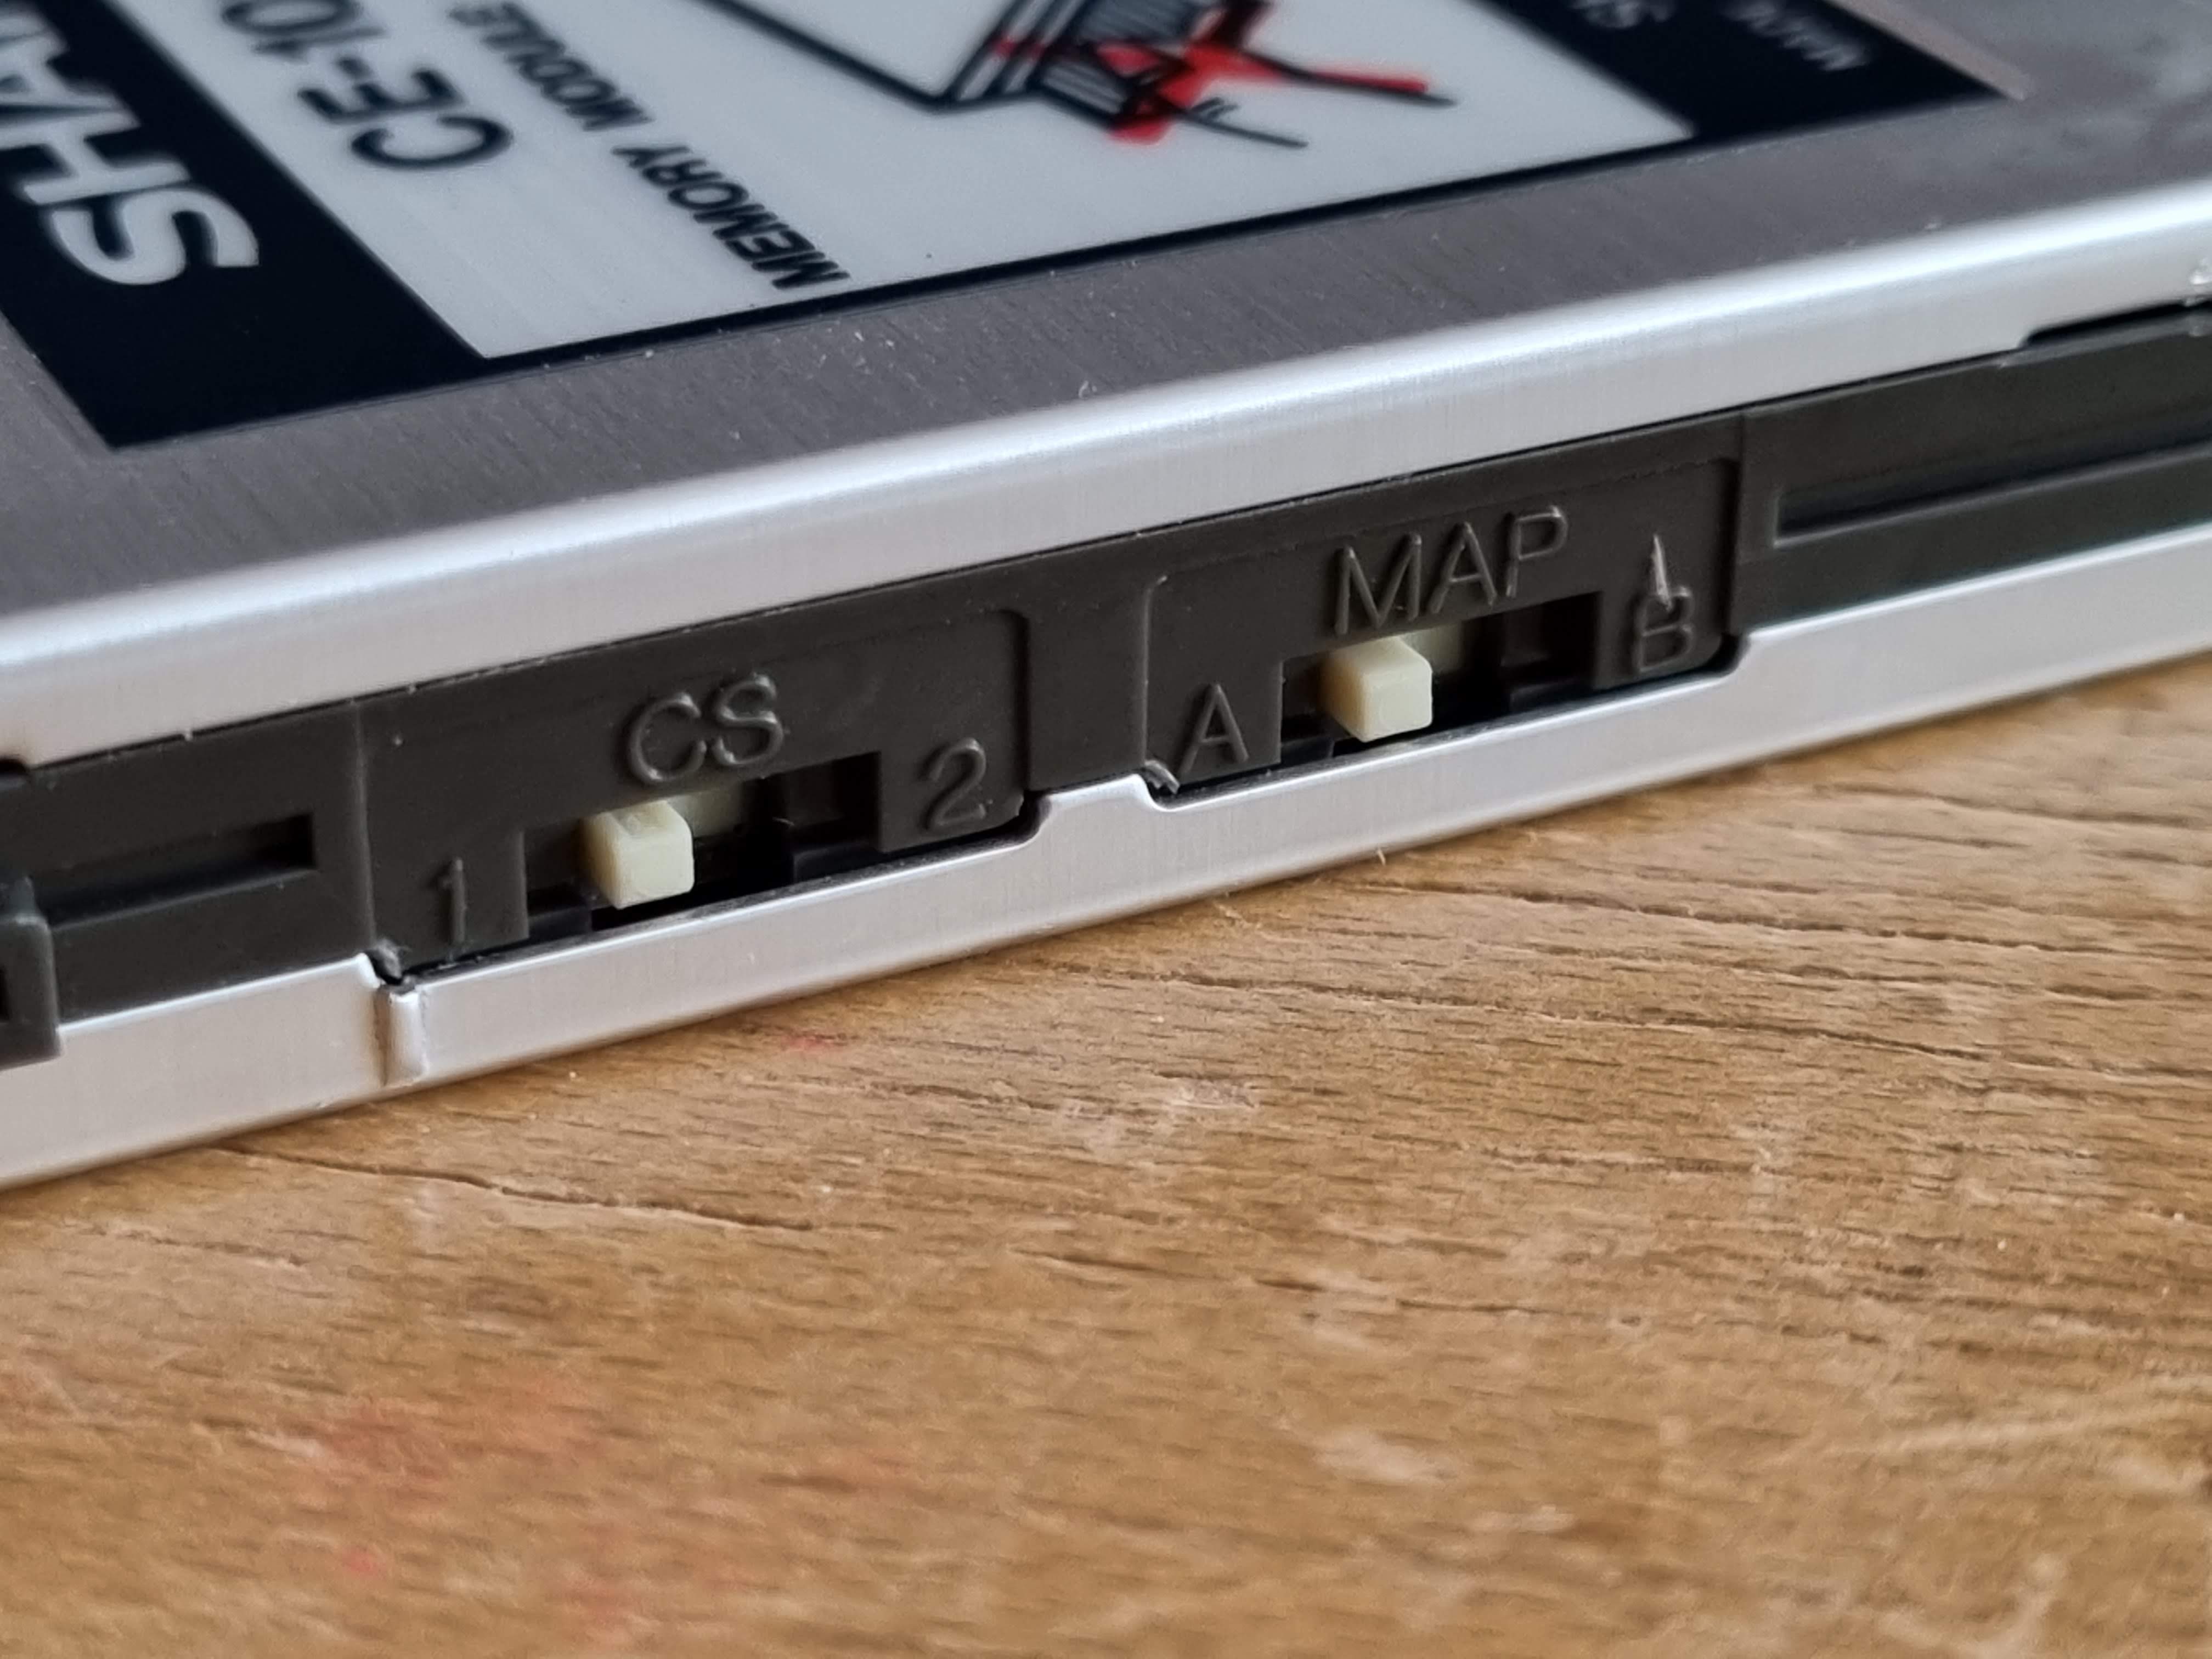
CE-100M switches details
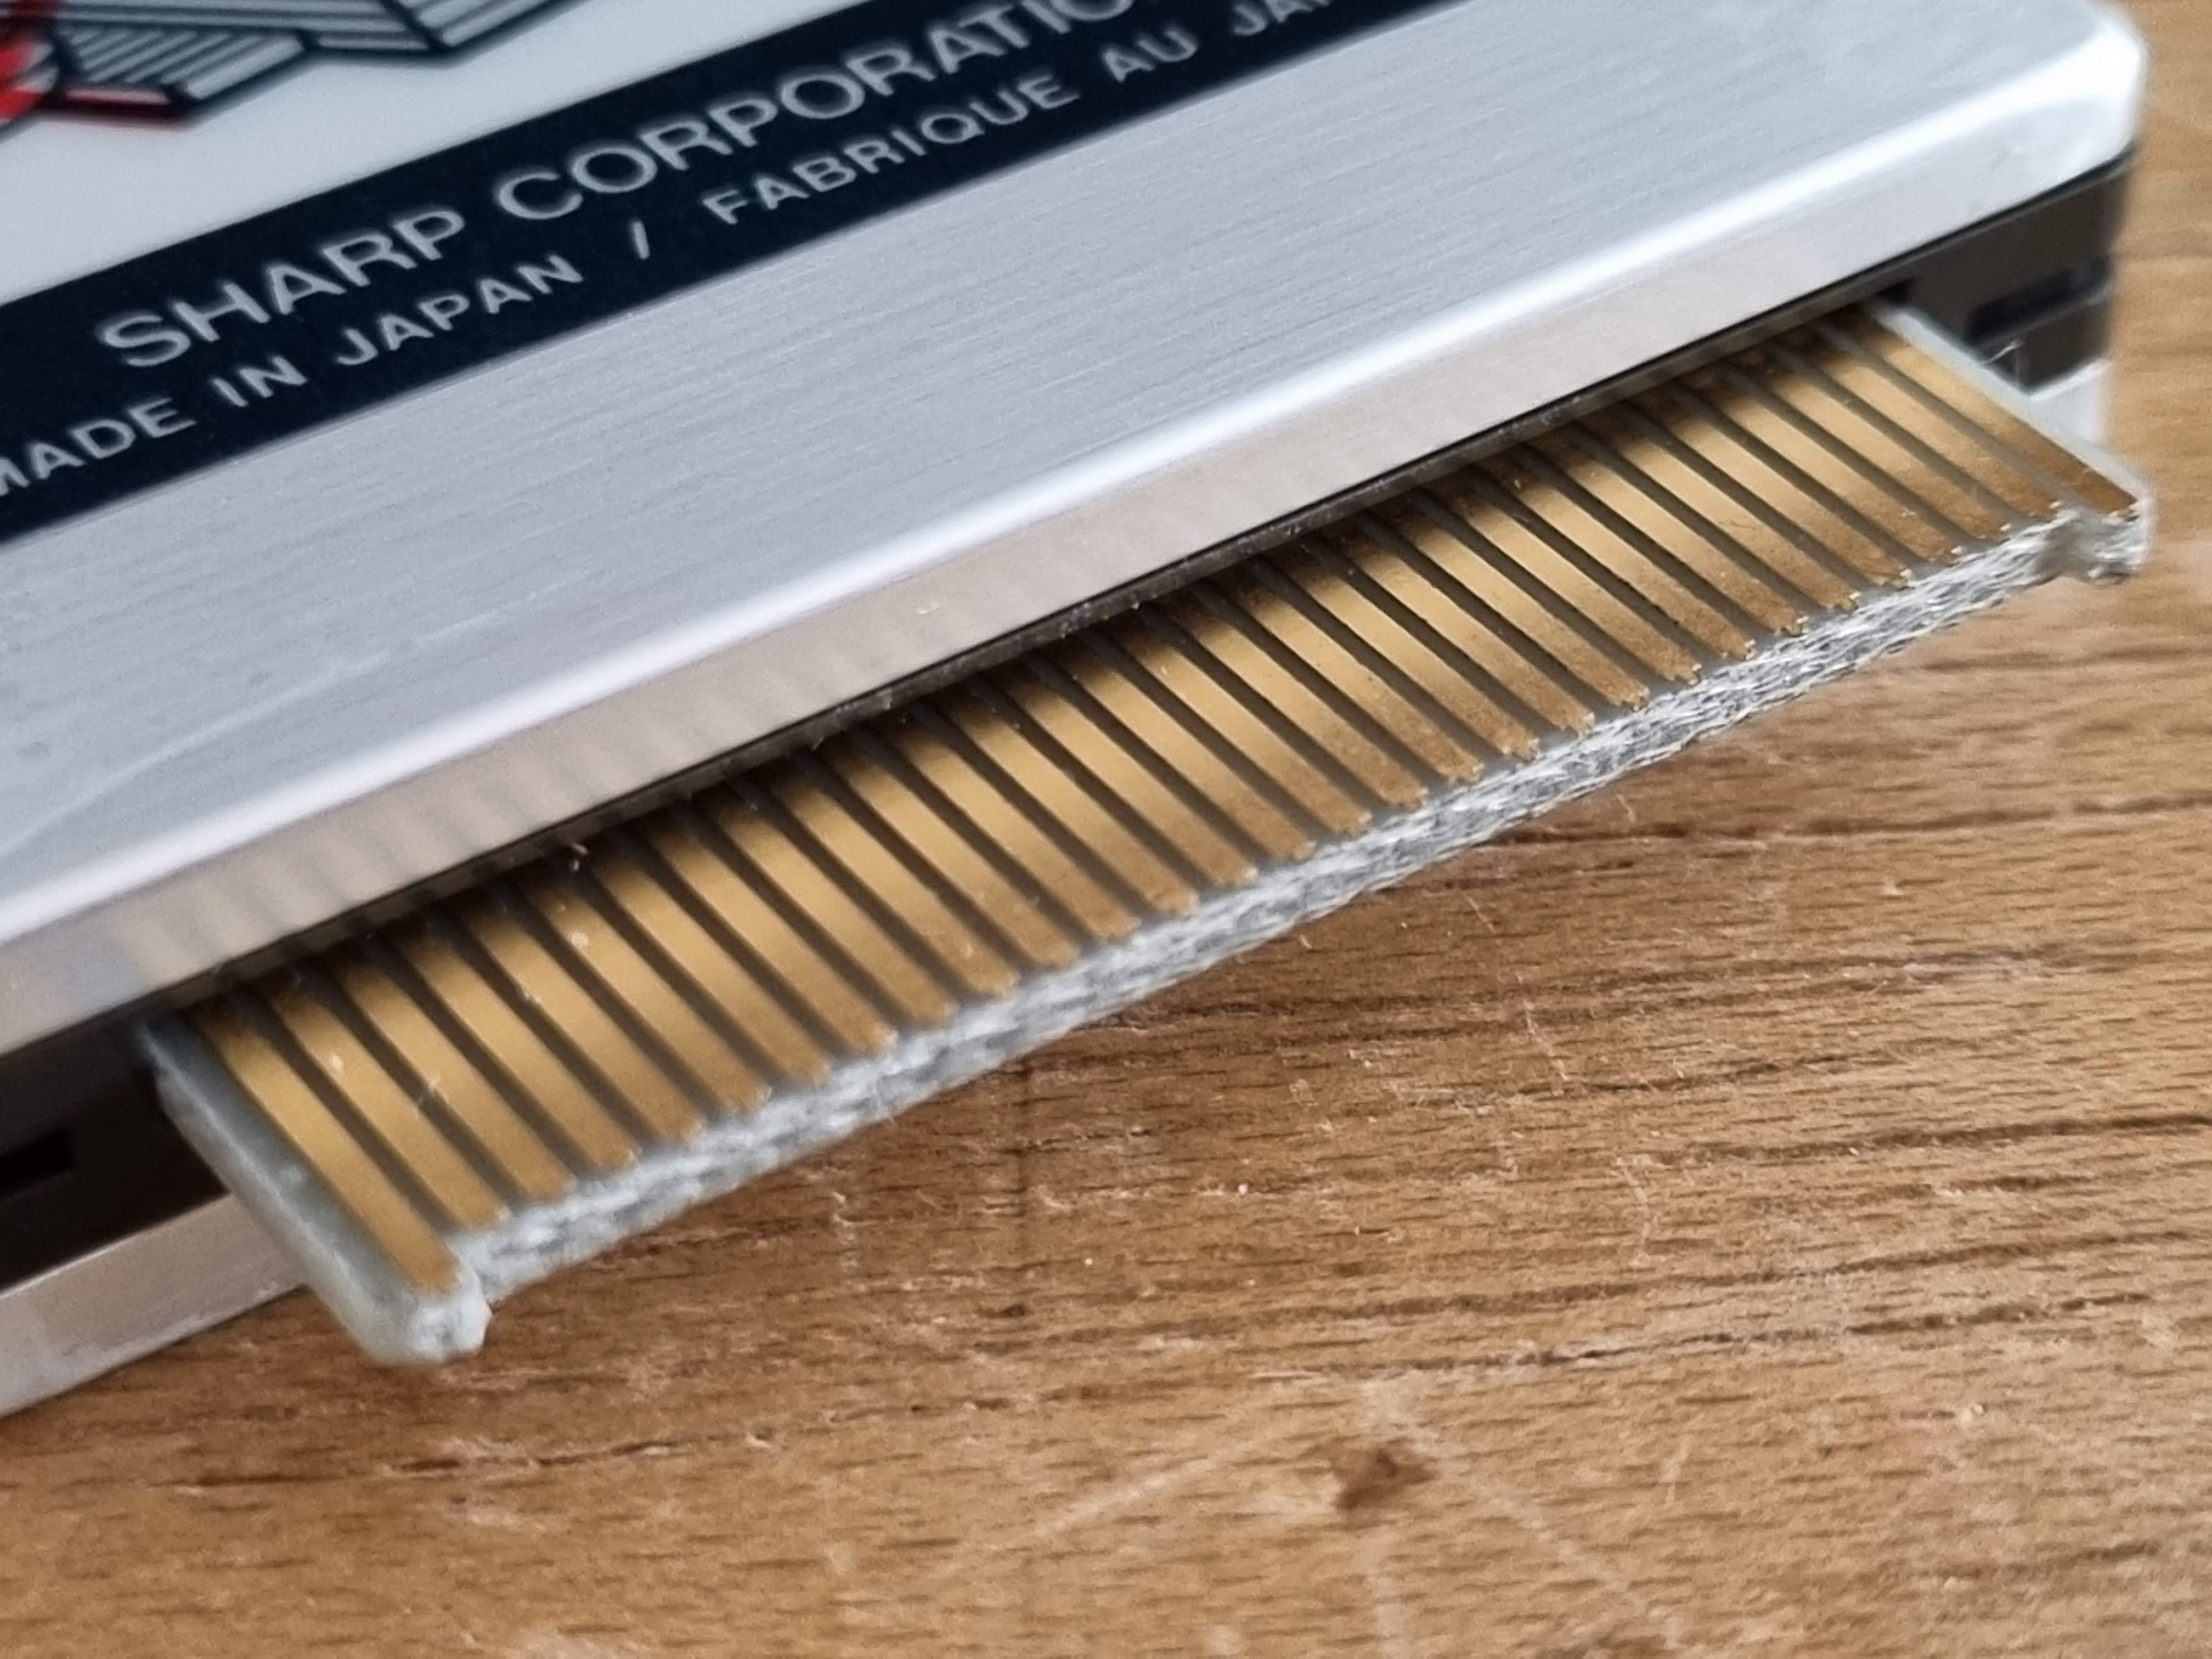
CE-100M connector
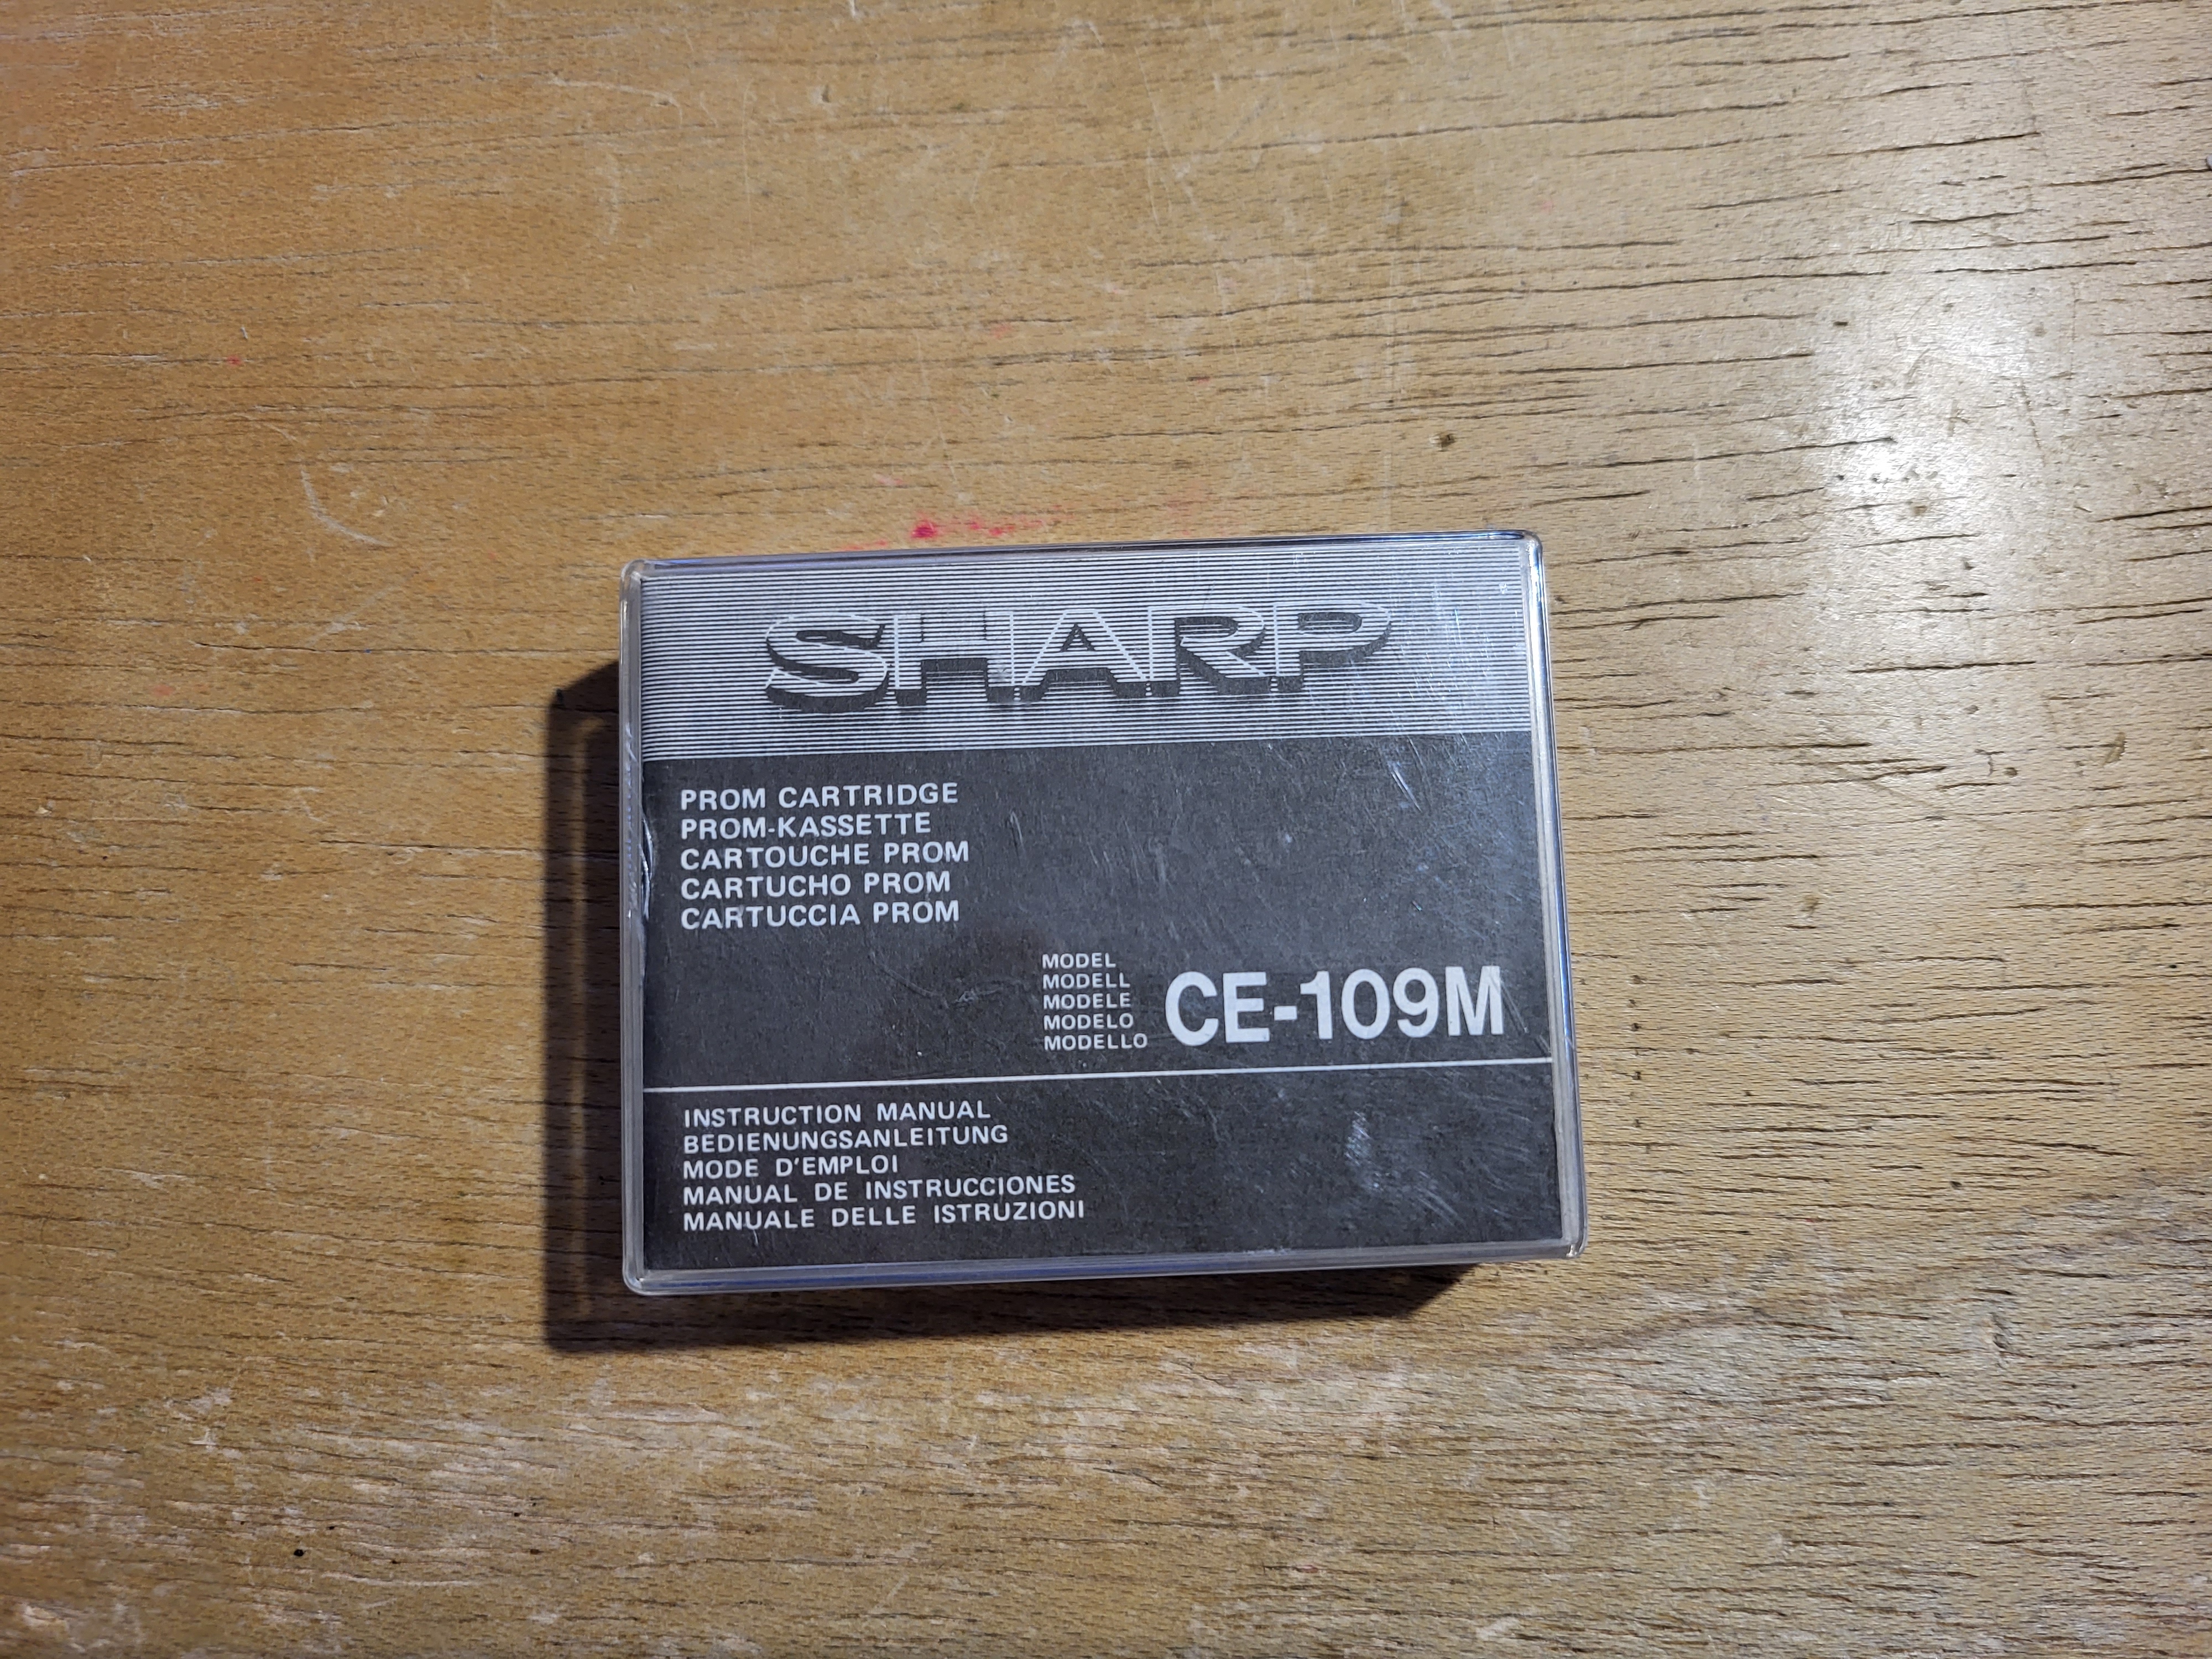
CE-109M
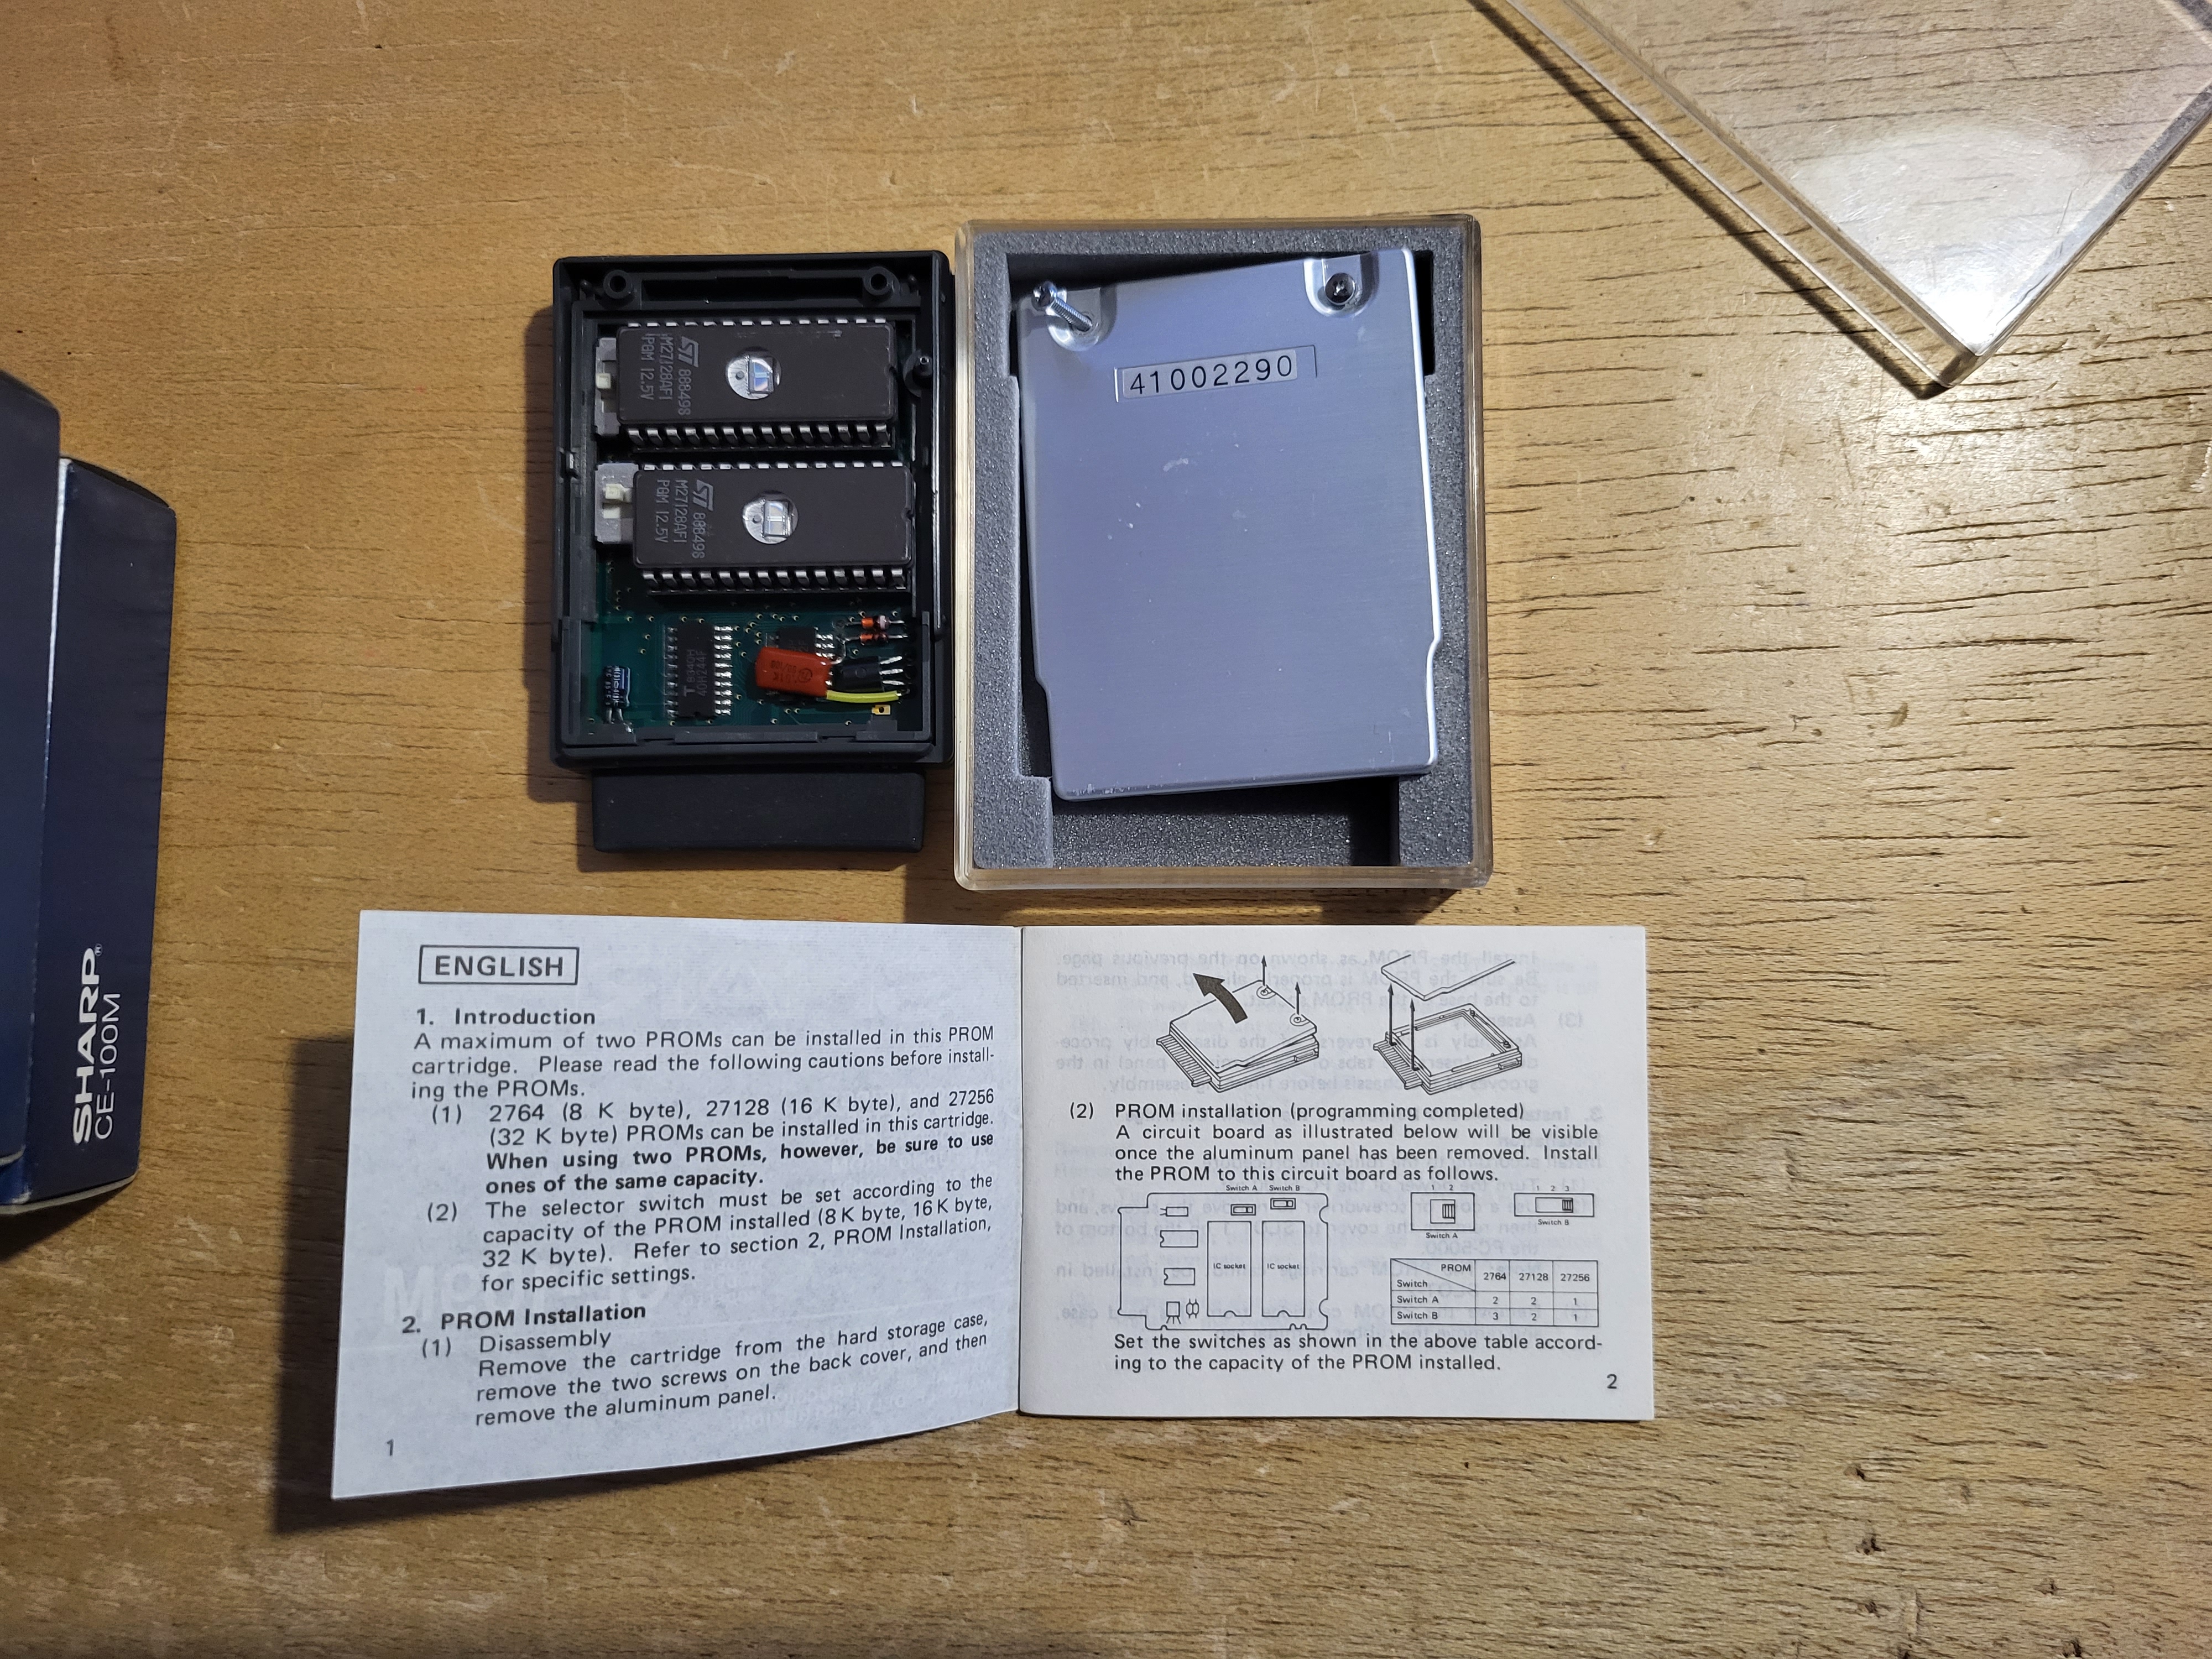
CE-109M opened
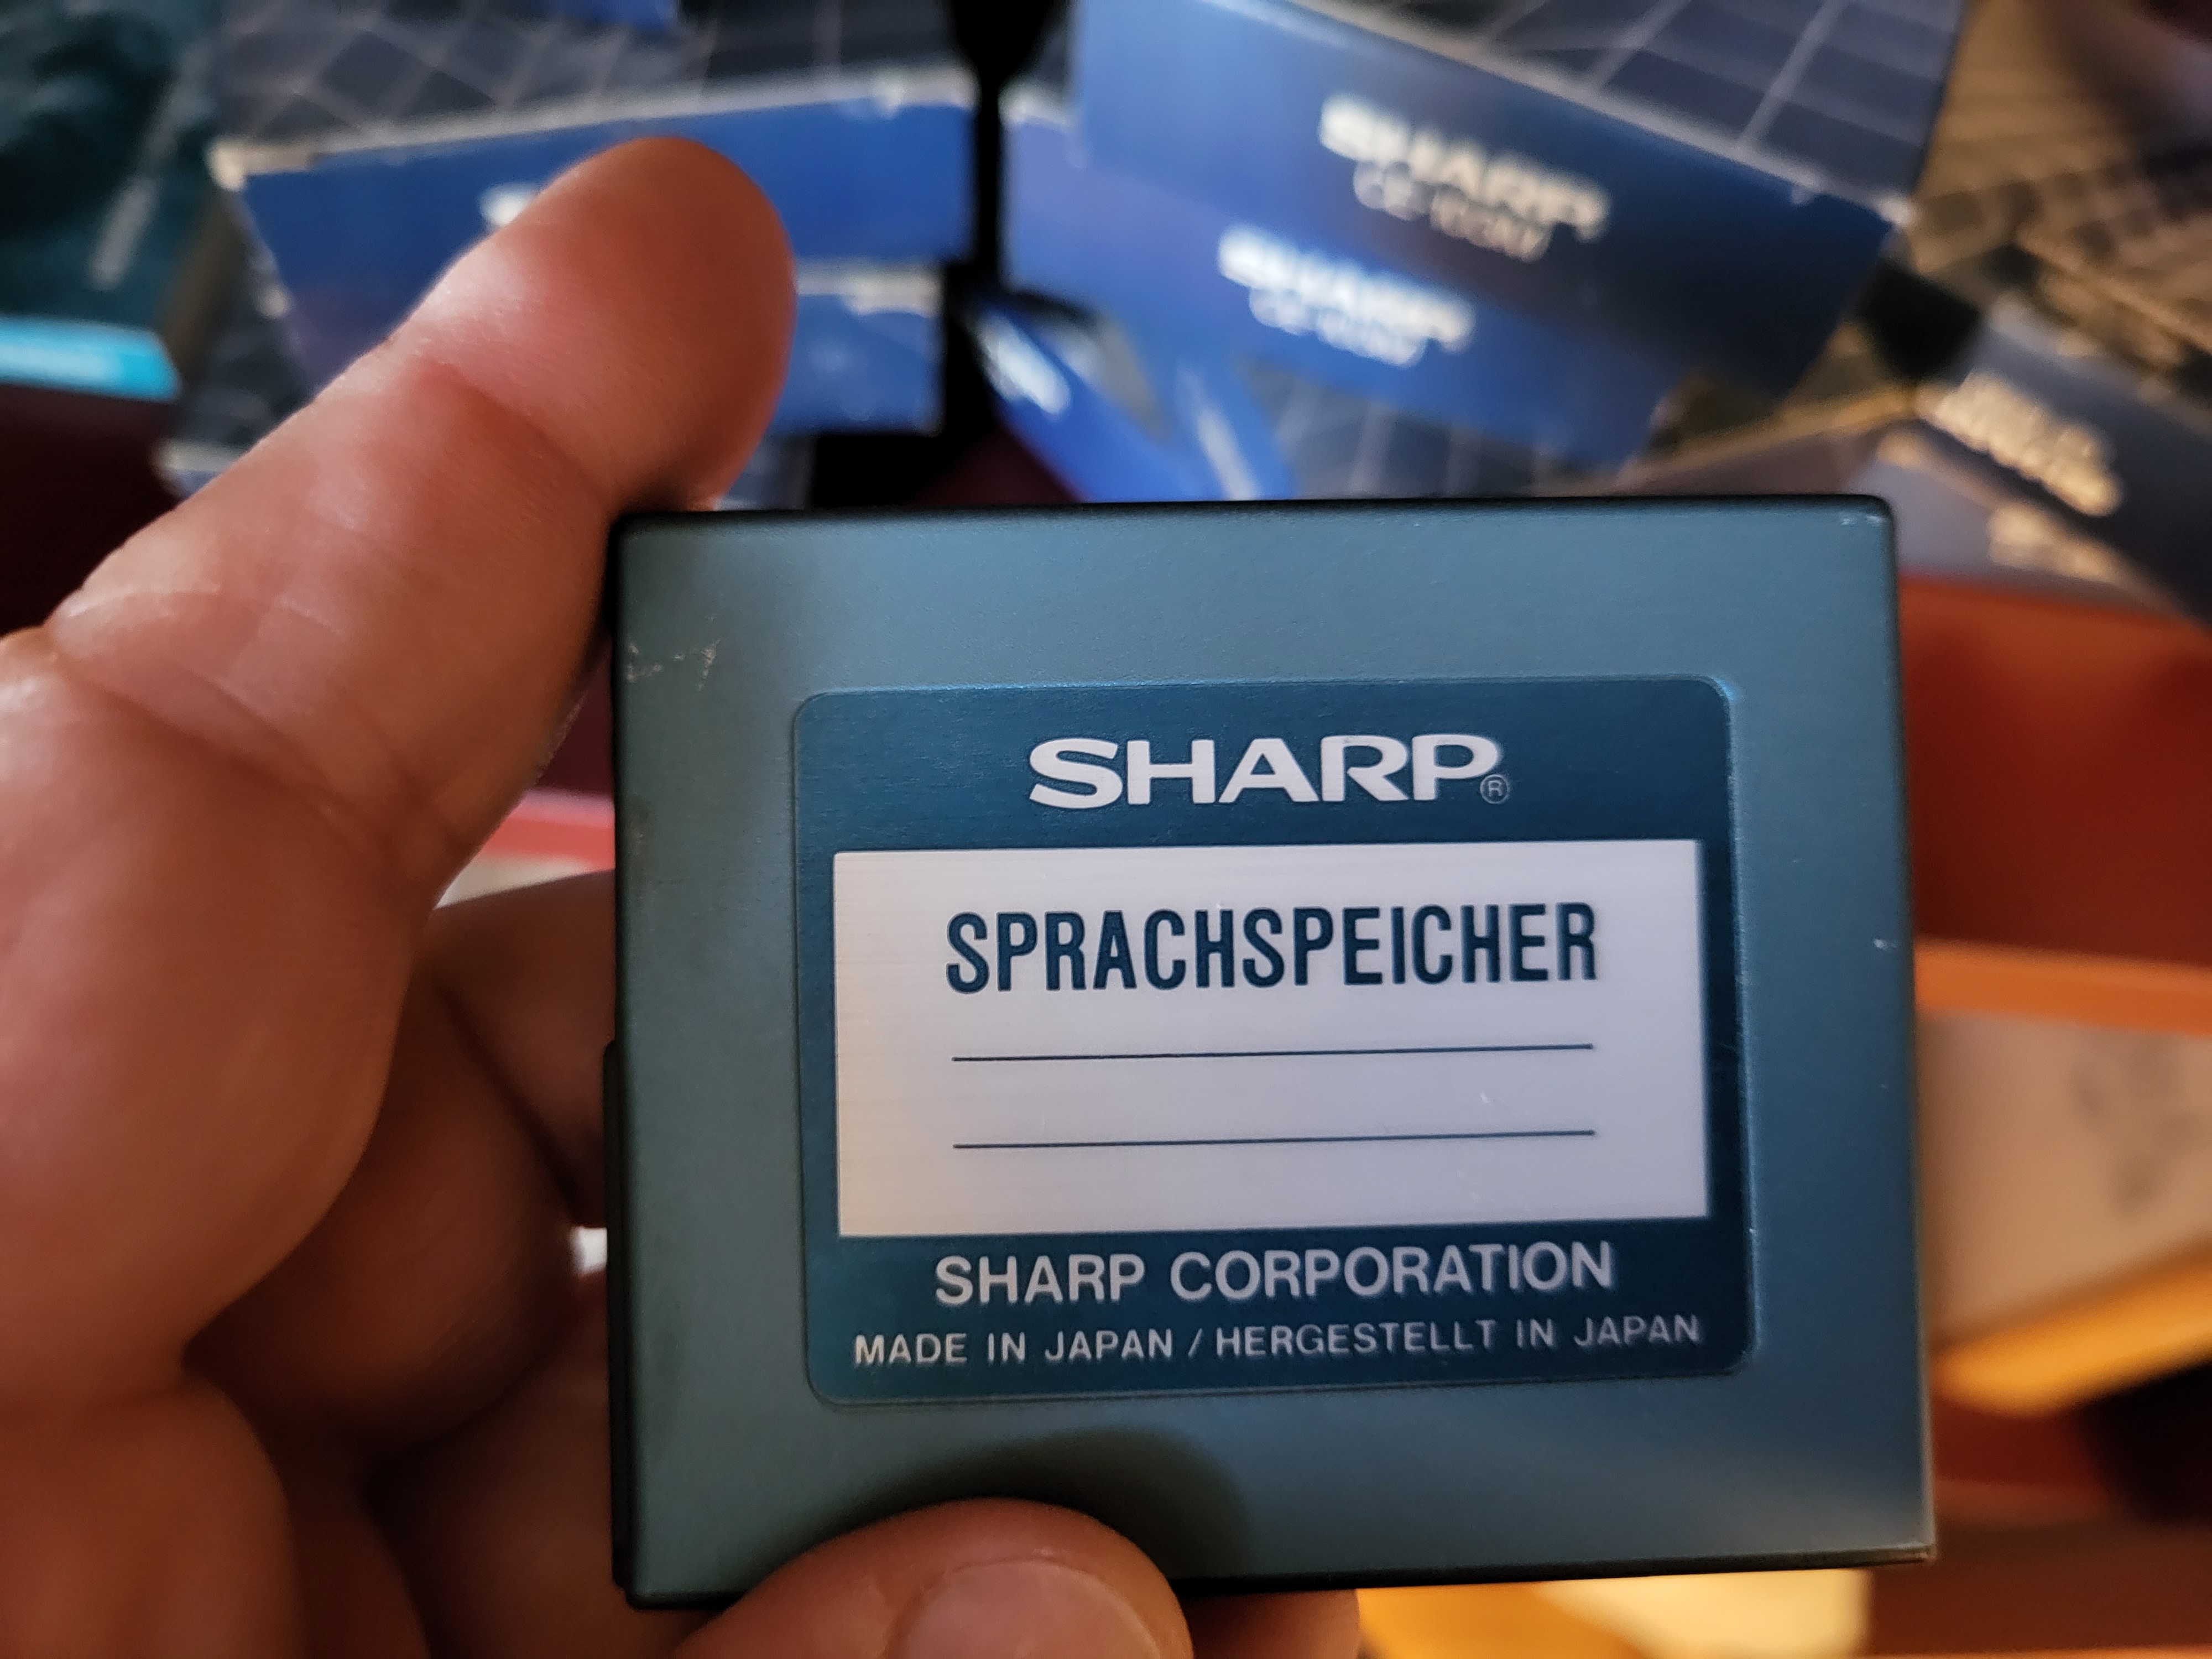
The rather obscure "SPRACHSPEICHER" cartridge
Motherboard et cetera
I took some photographs that might be of interest for others:
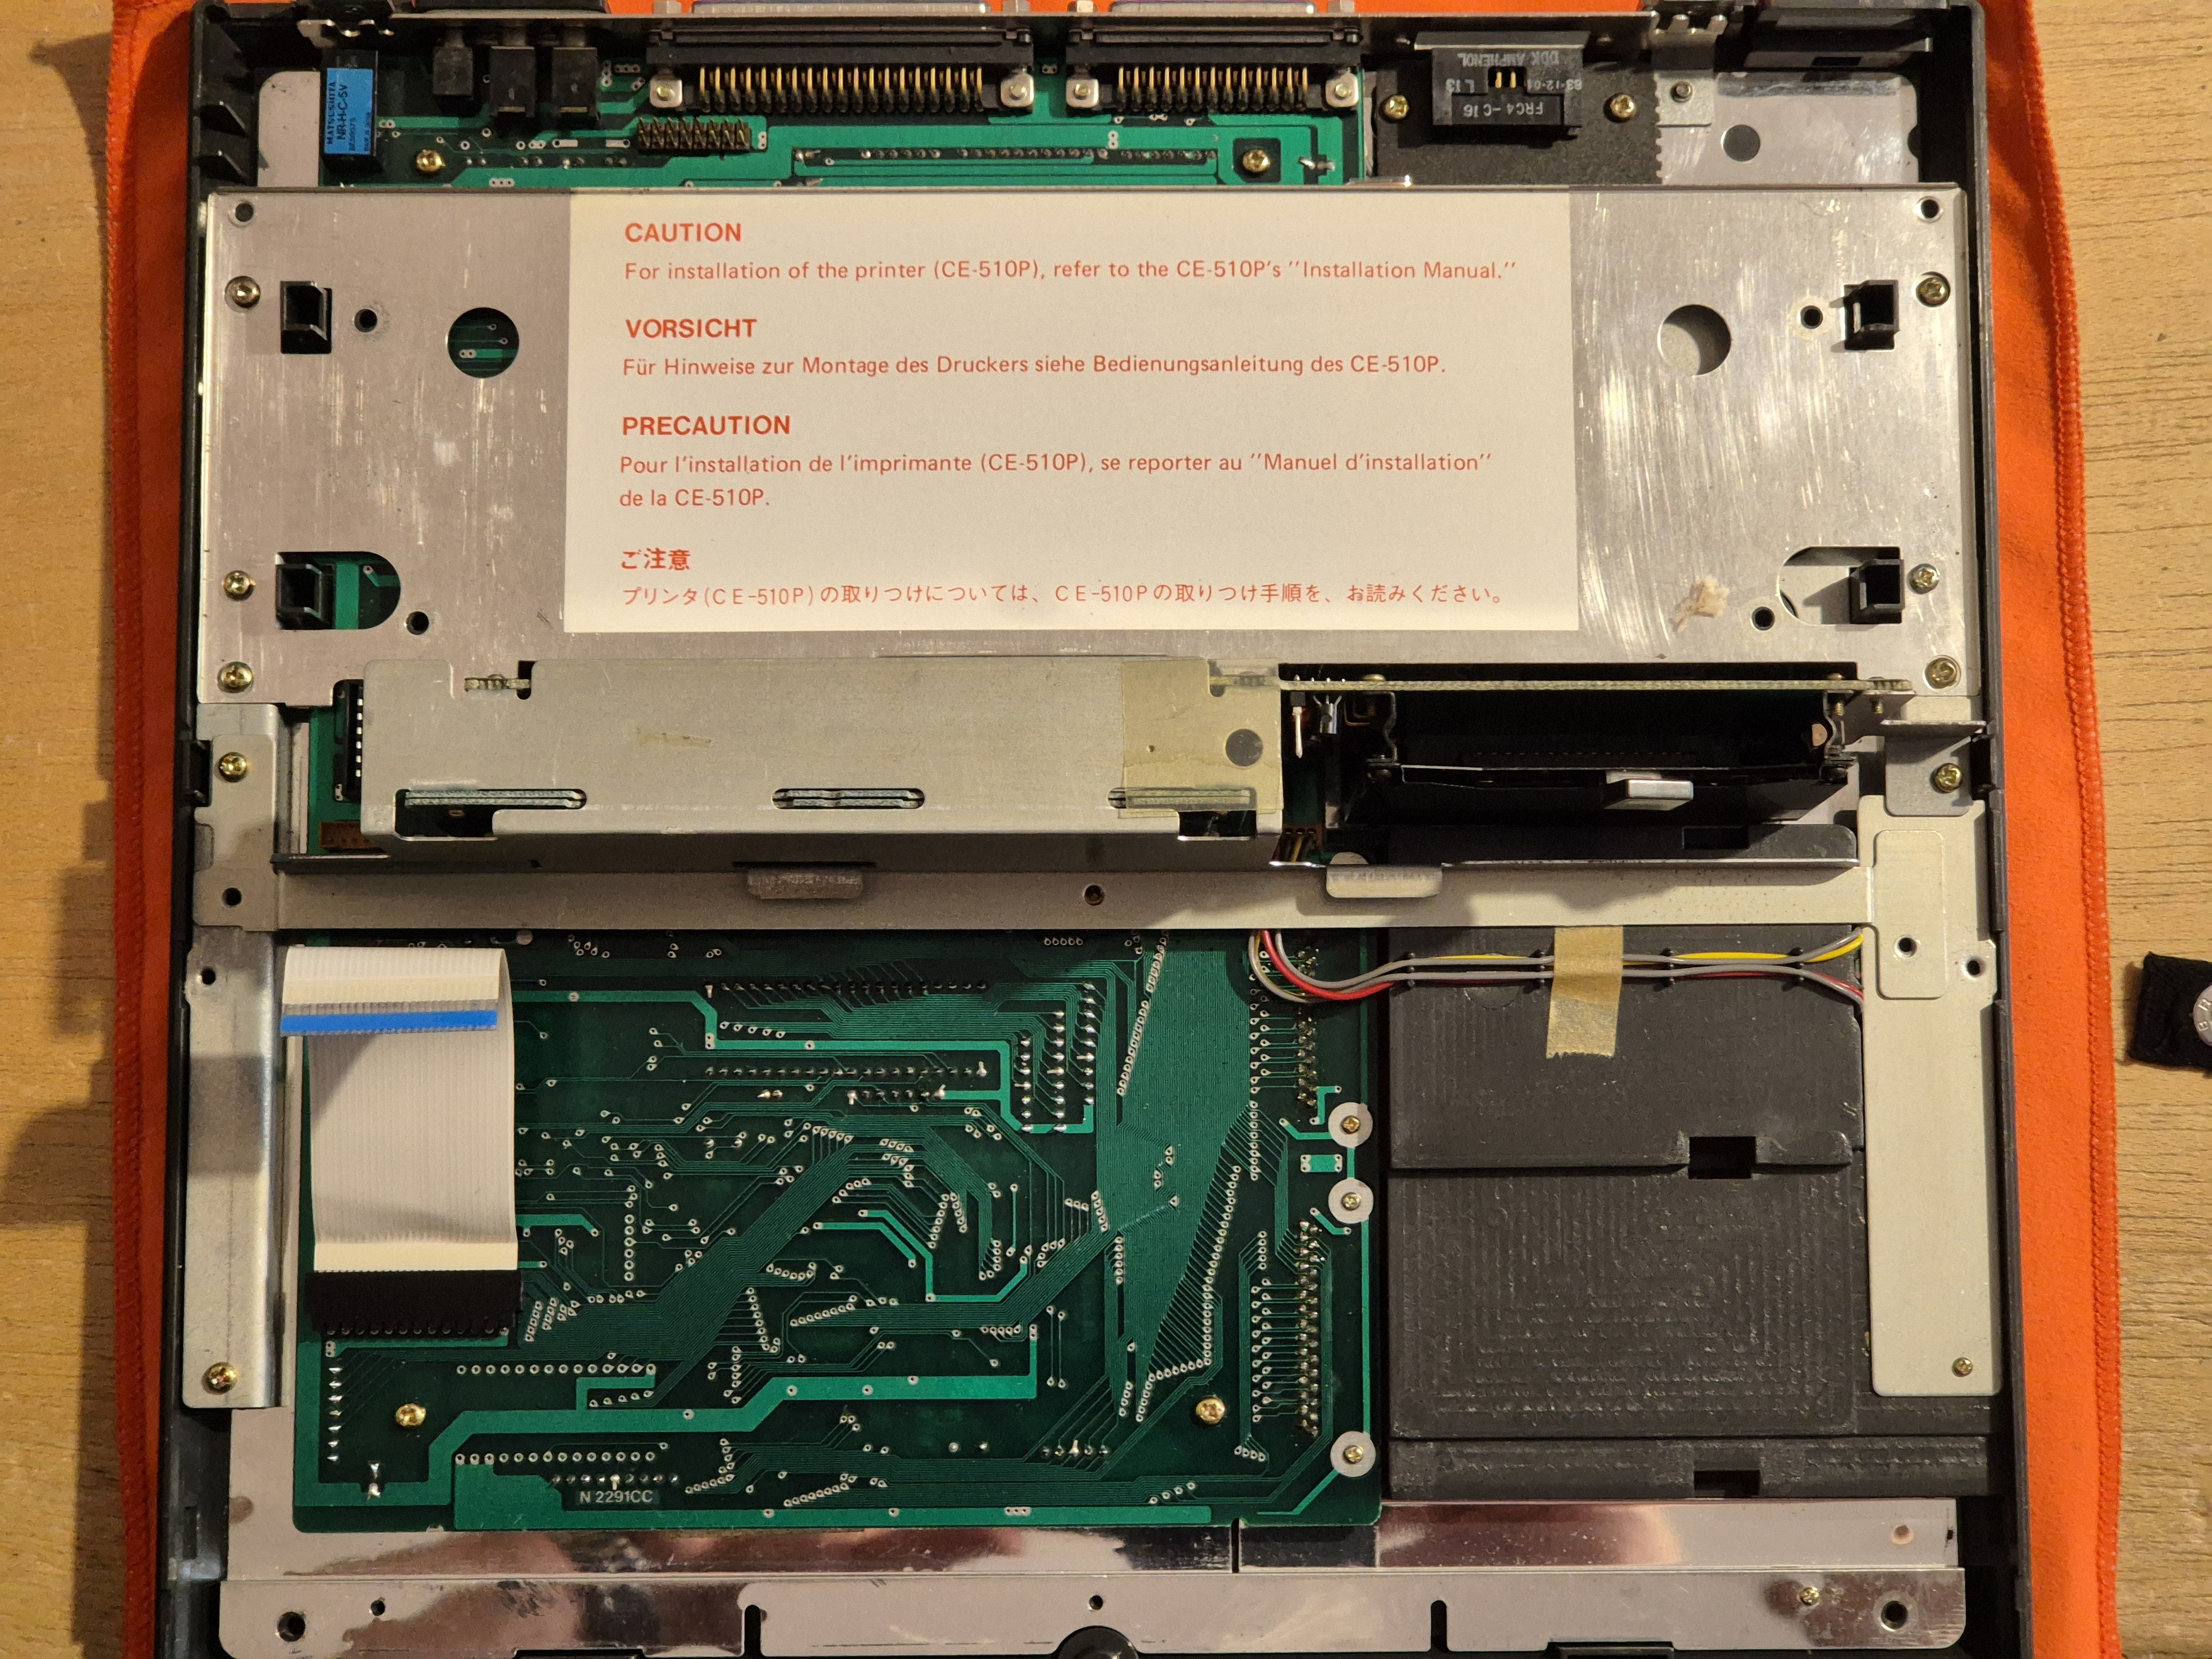
Top view of the motherboard, with printer und bubble memory interface installed
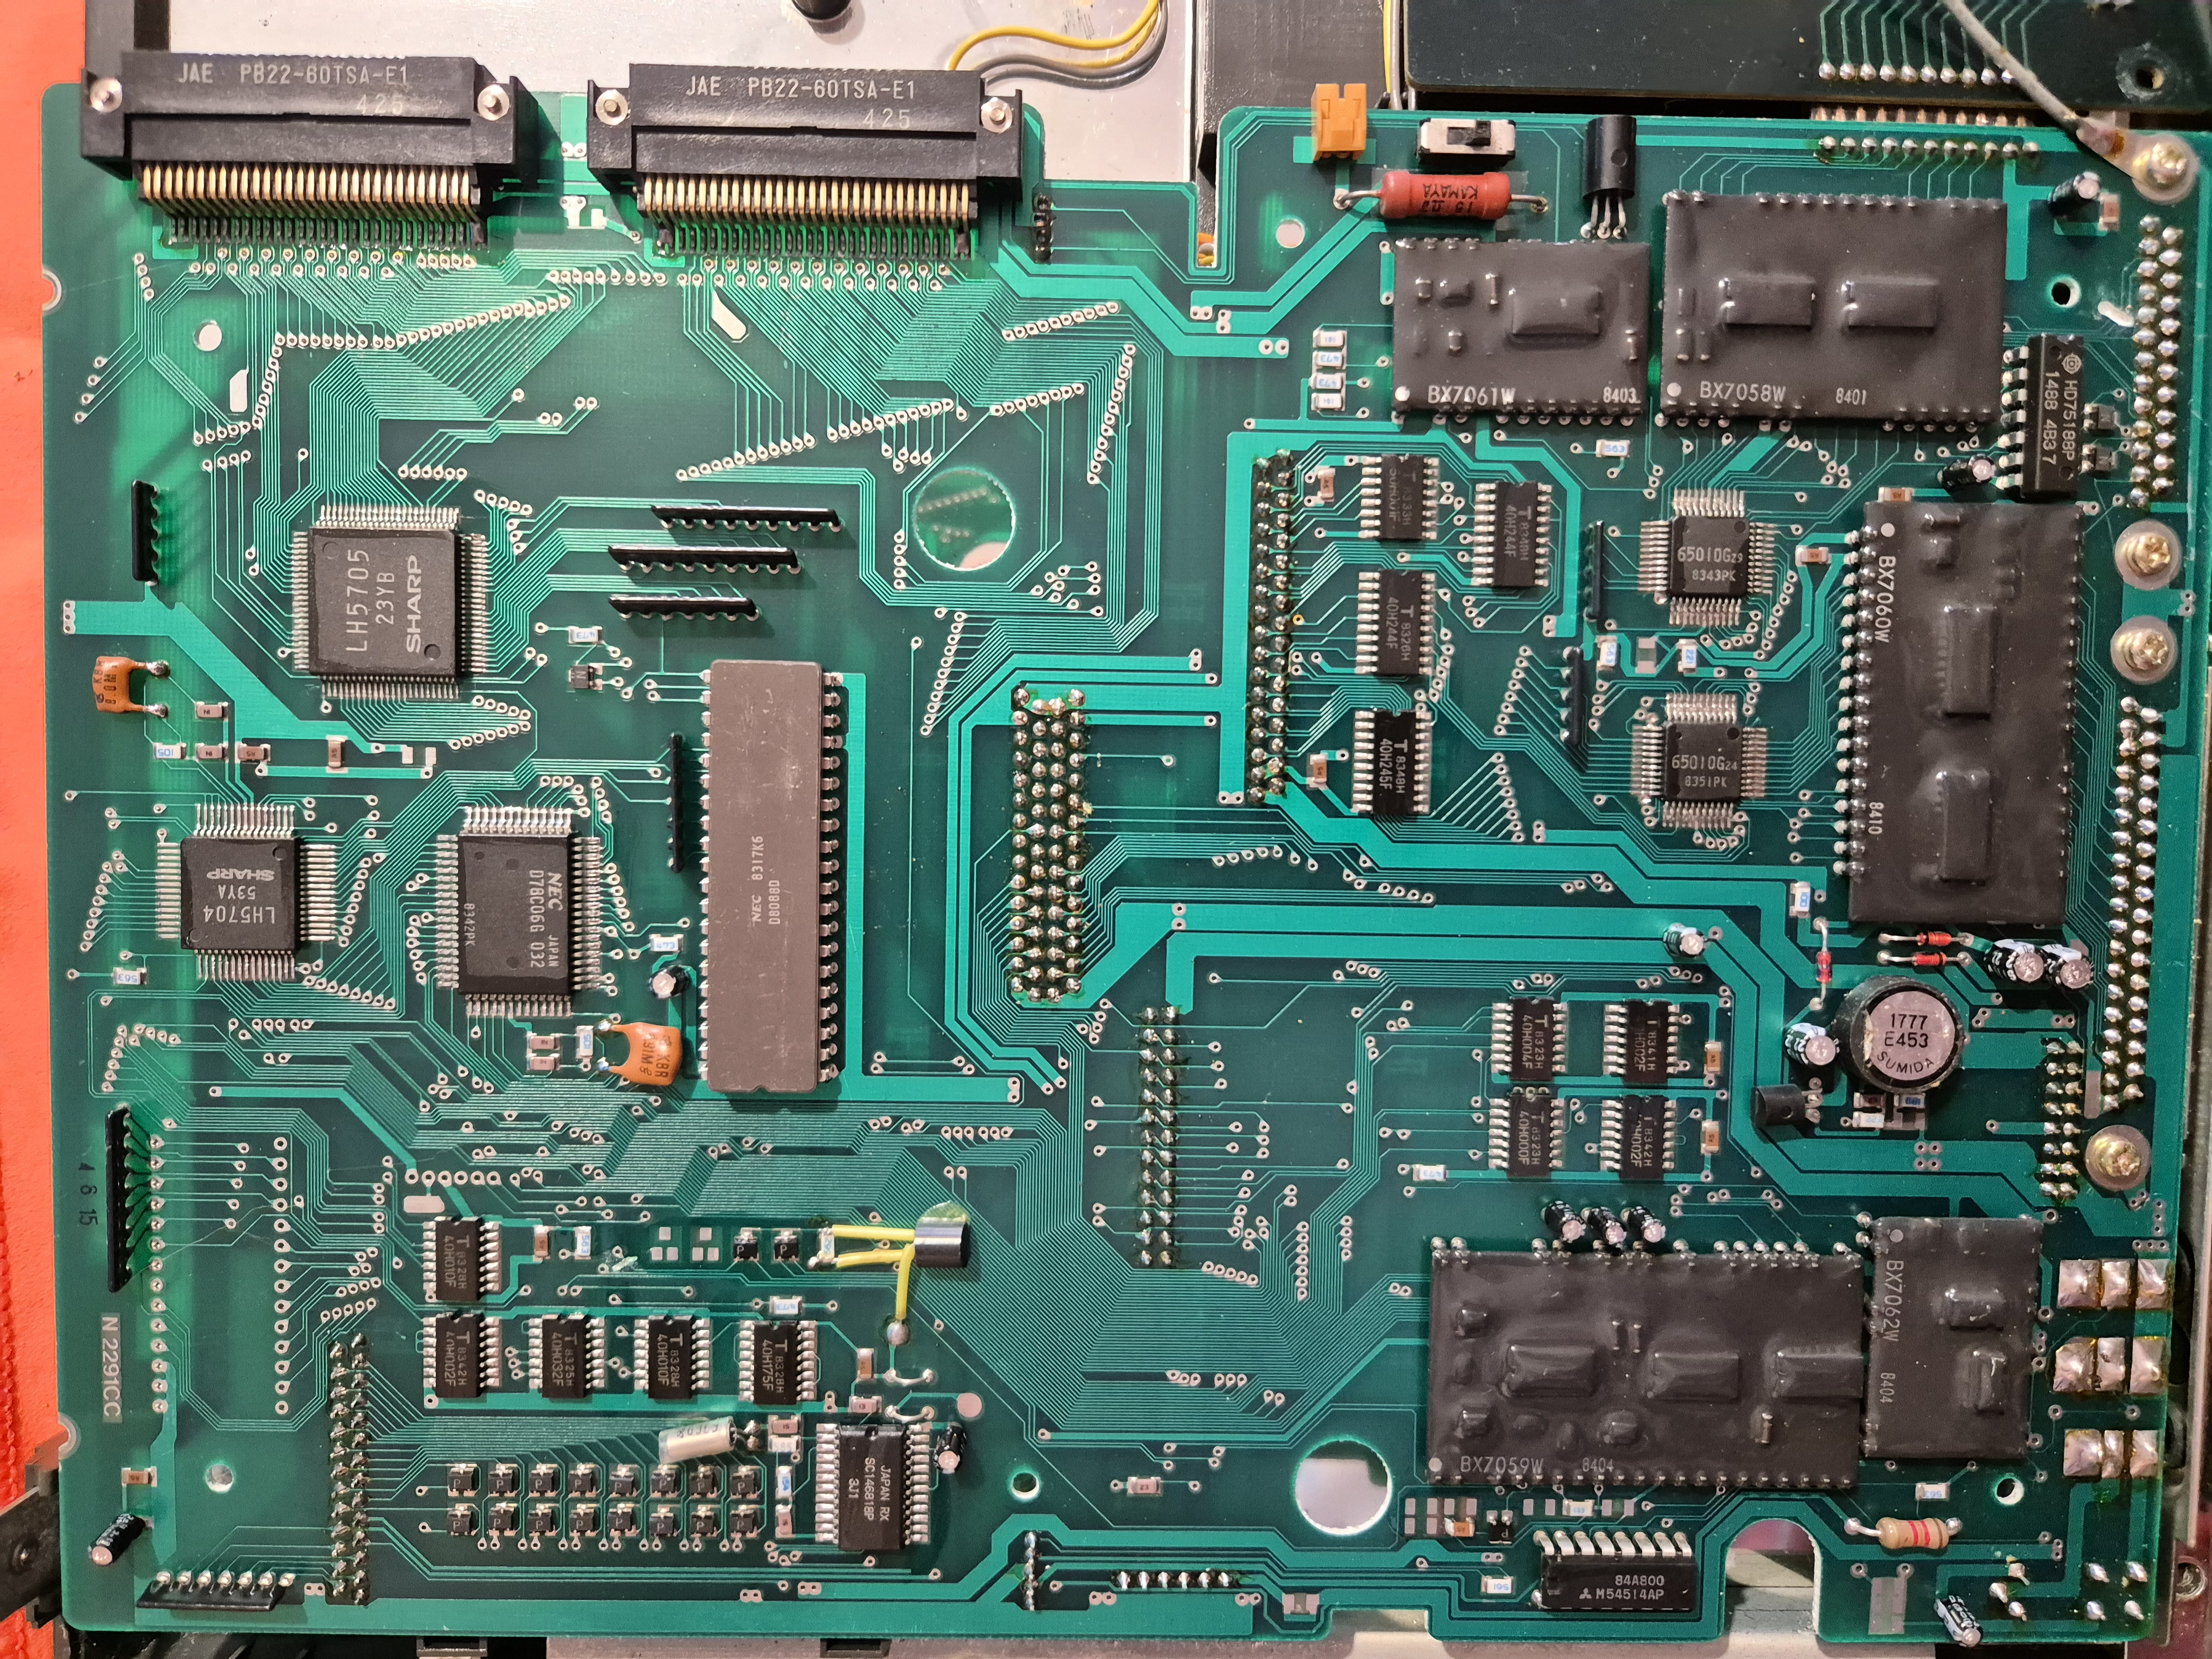
Motherboard, parts side
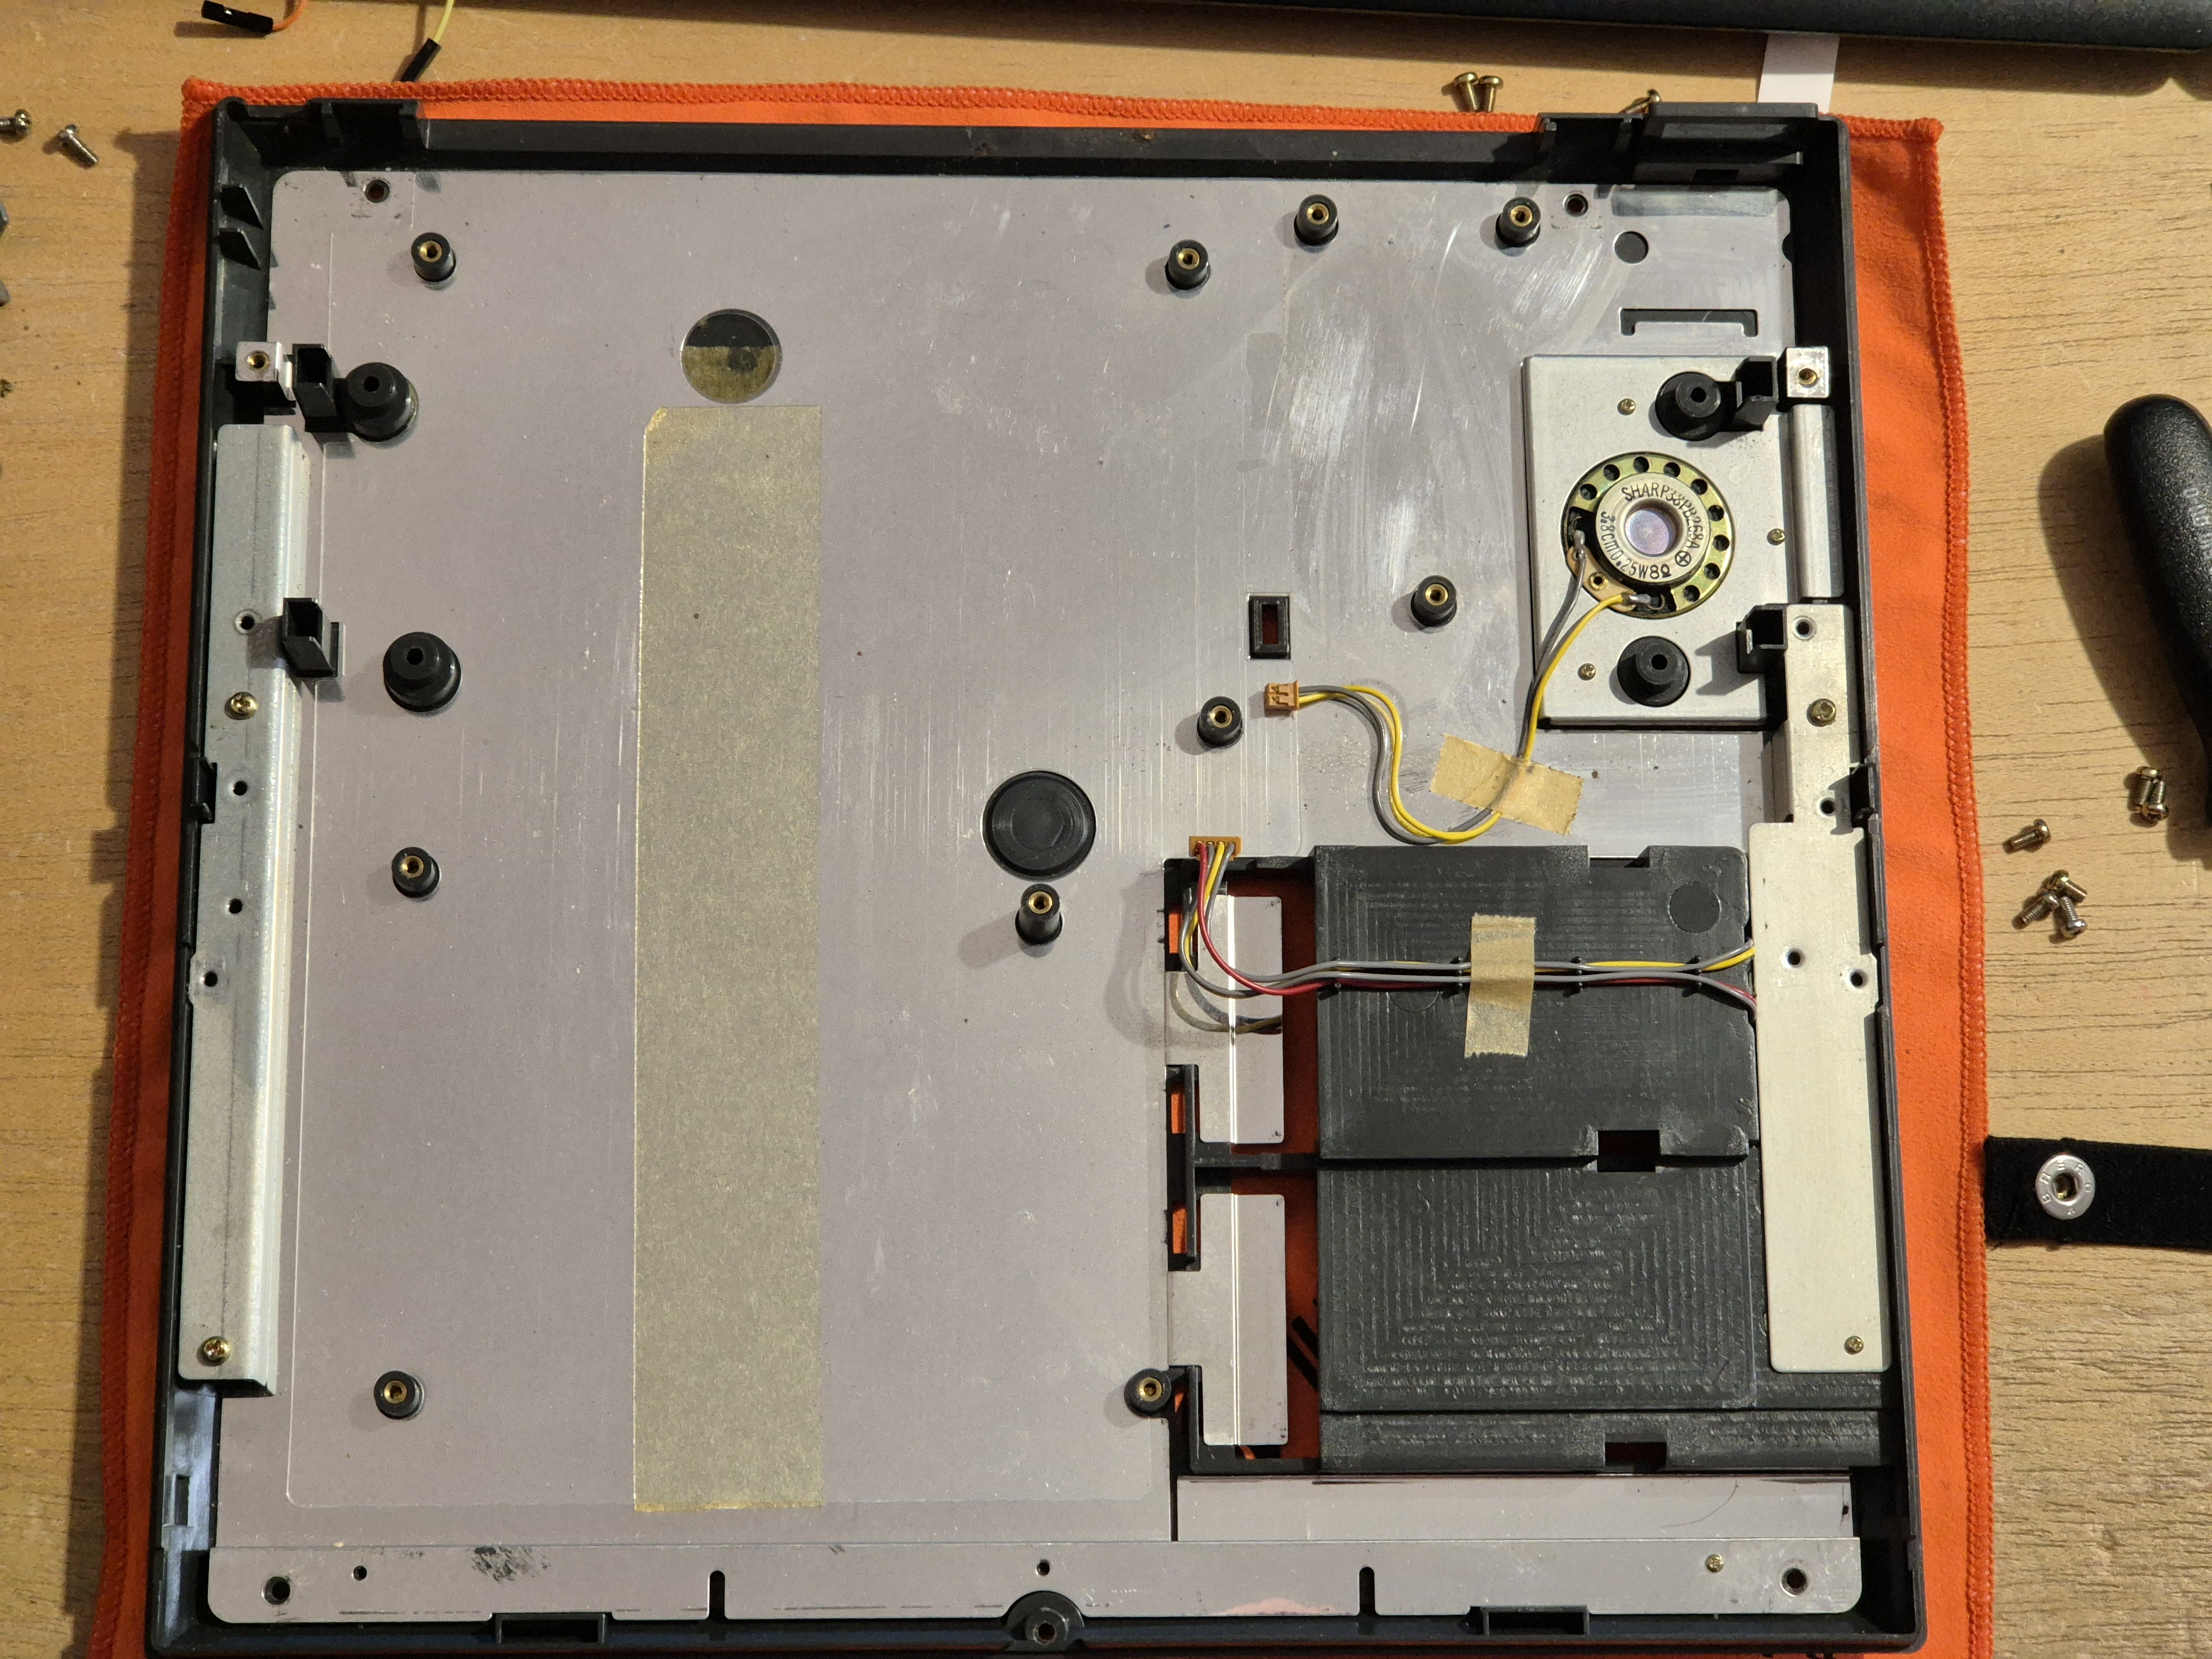
Case bottom, with speaker, volume and contrast potentionmeters

Bubble memory interface PCB view
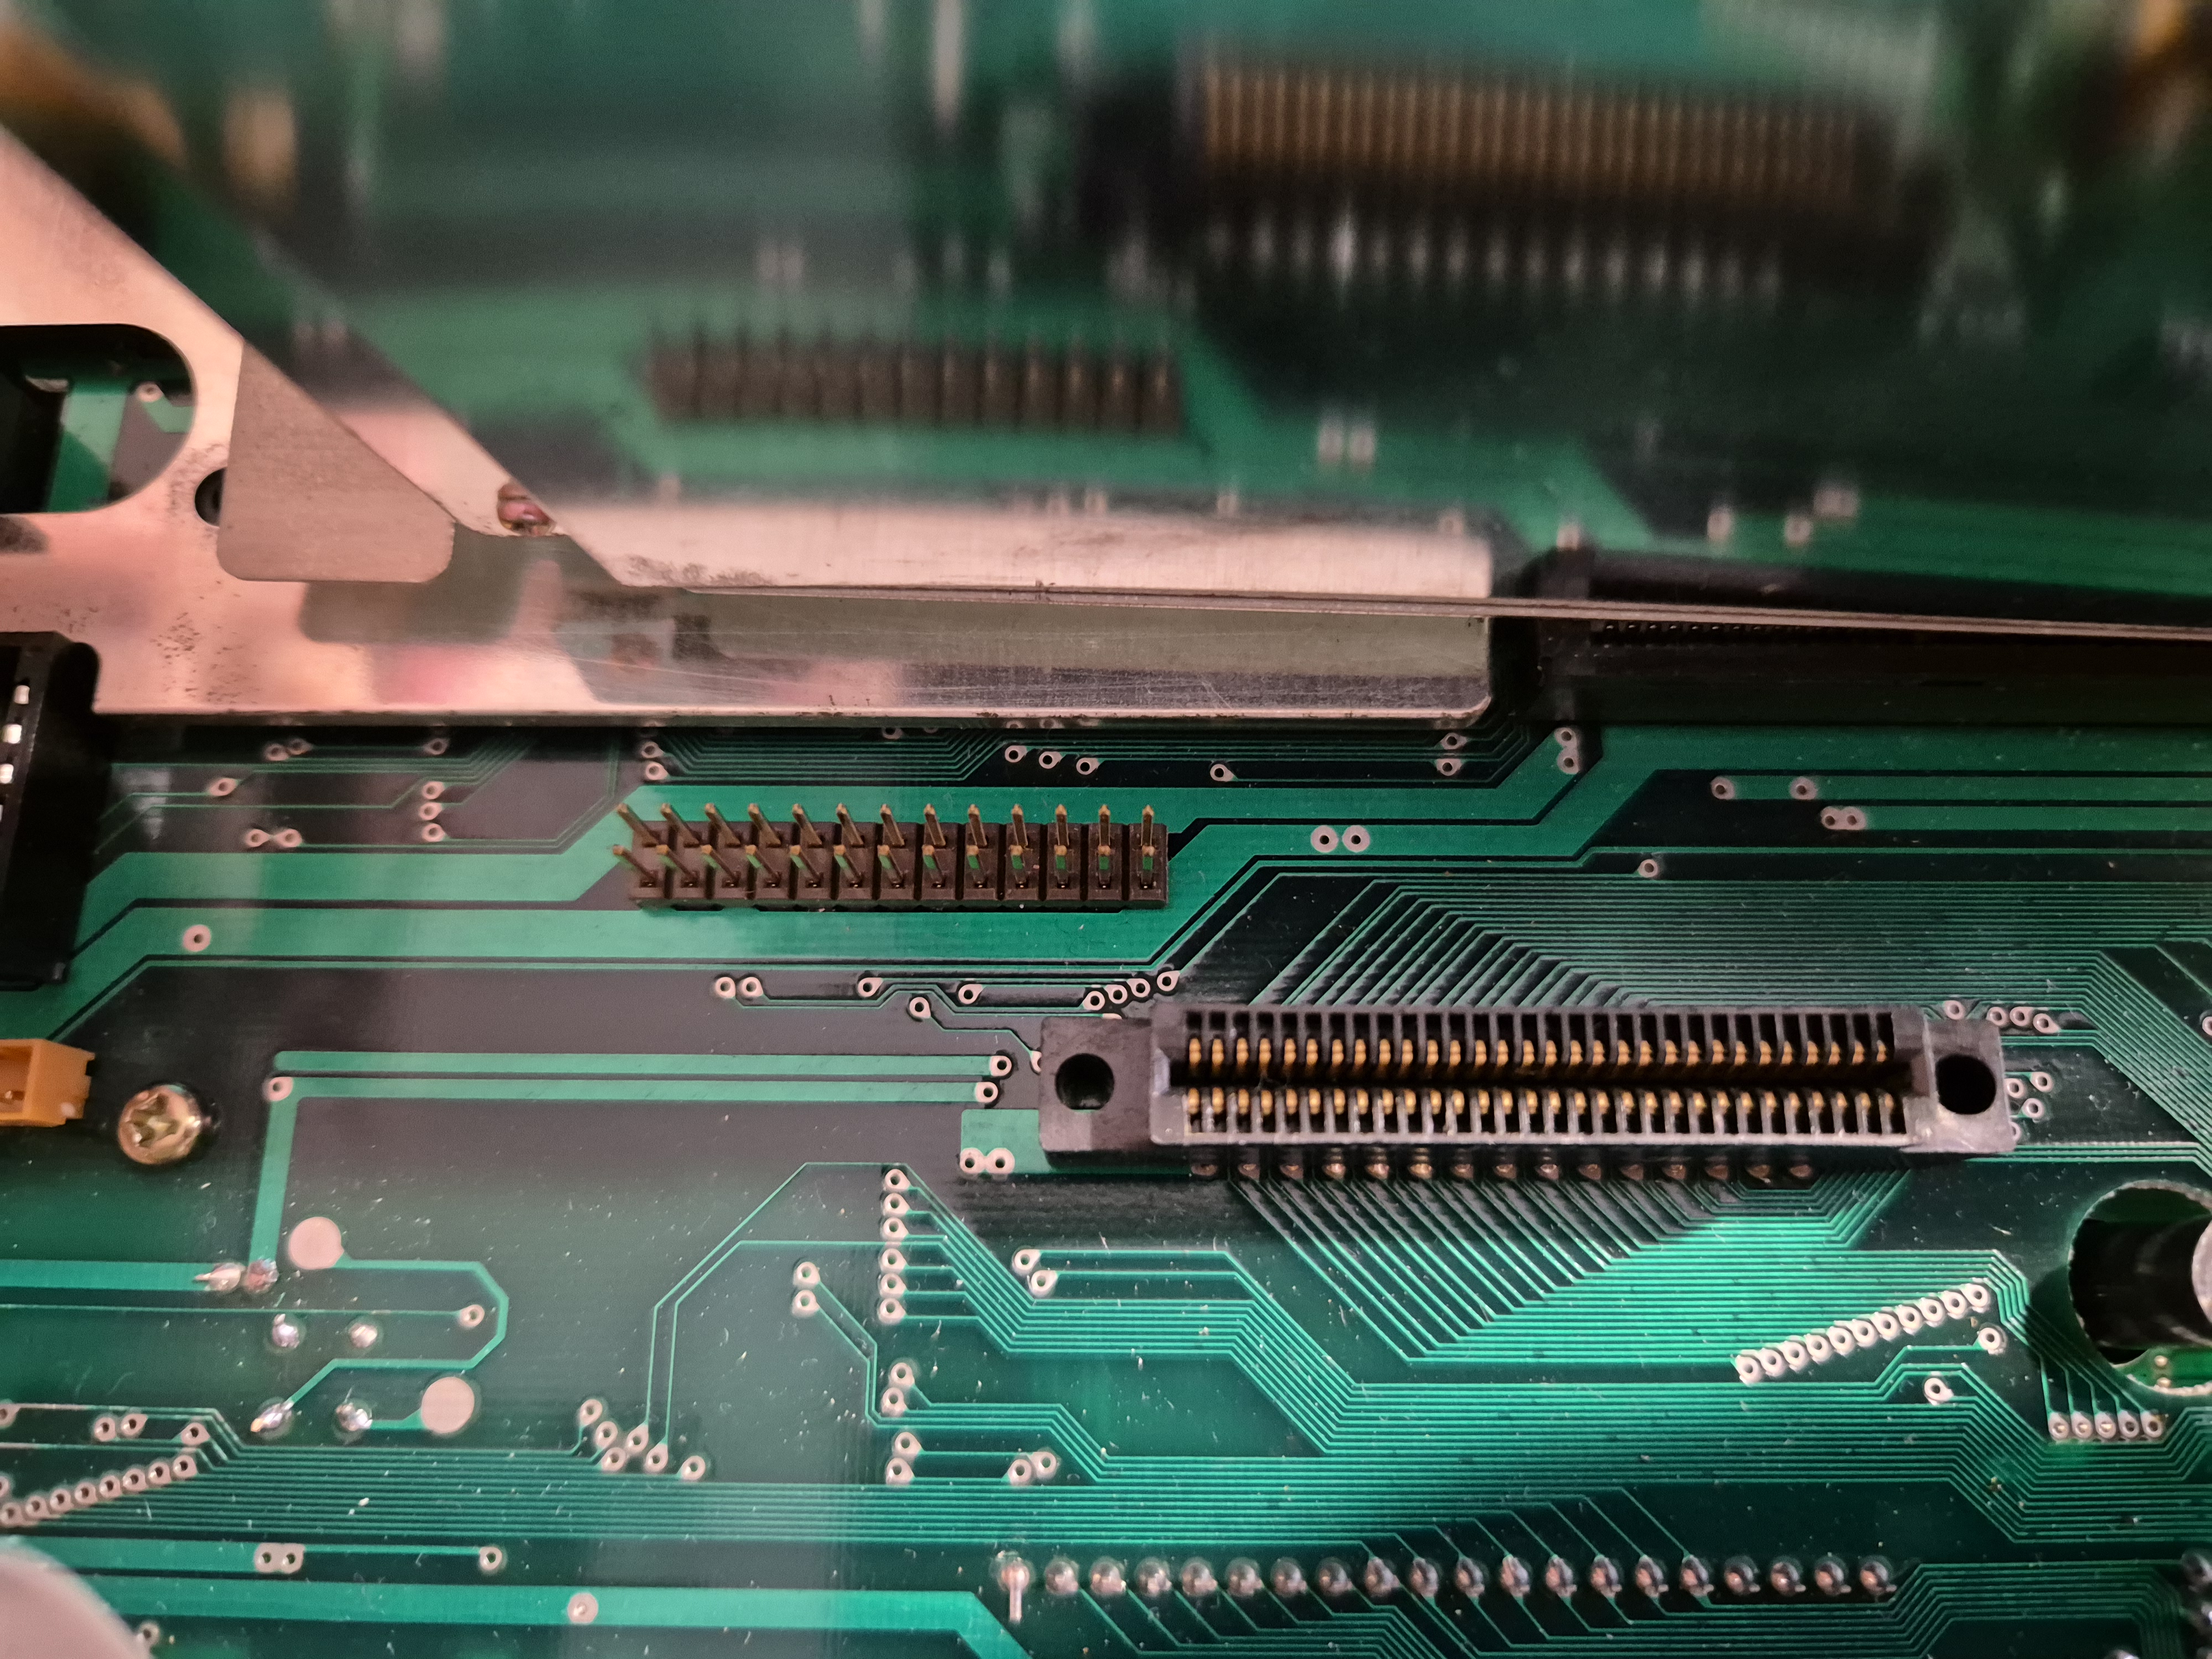
Bubble memory interface connector view
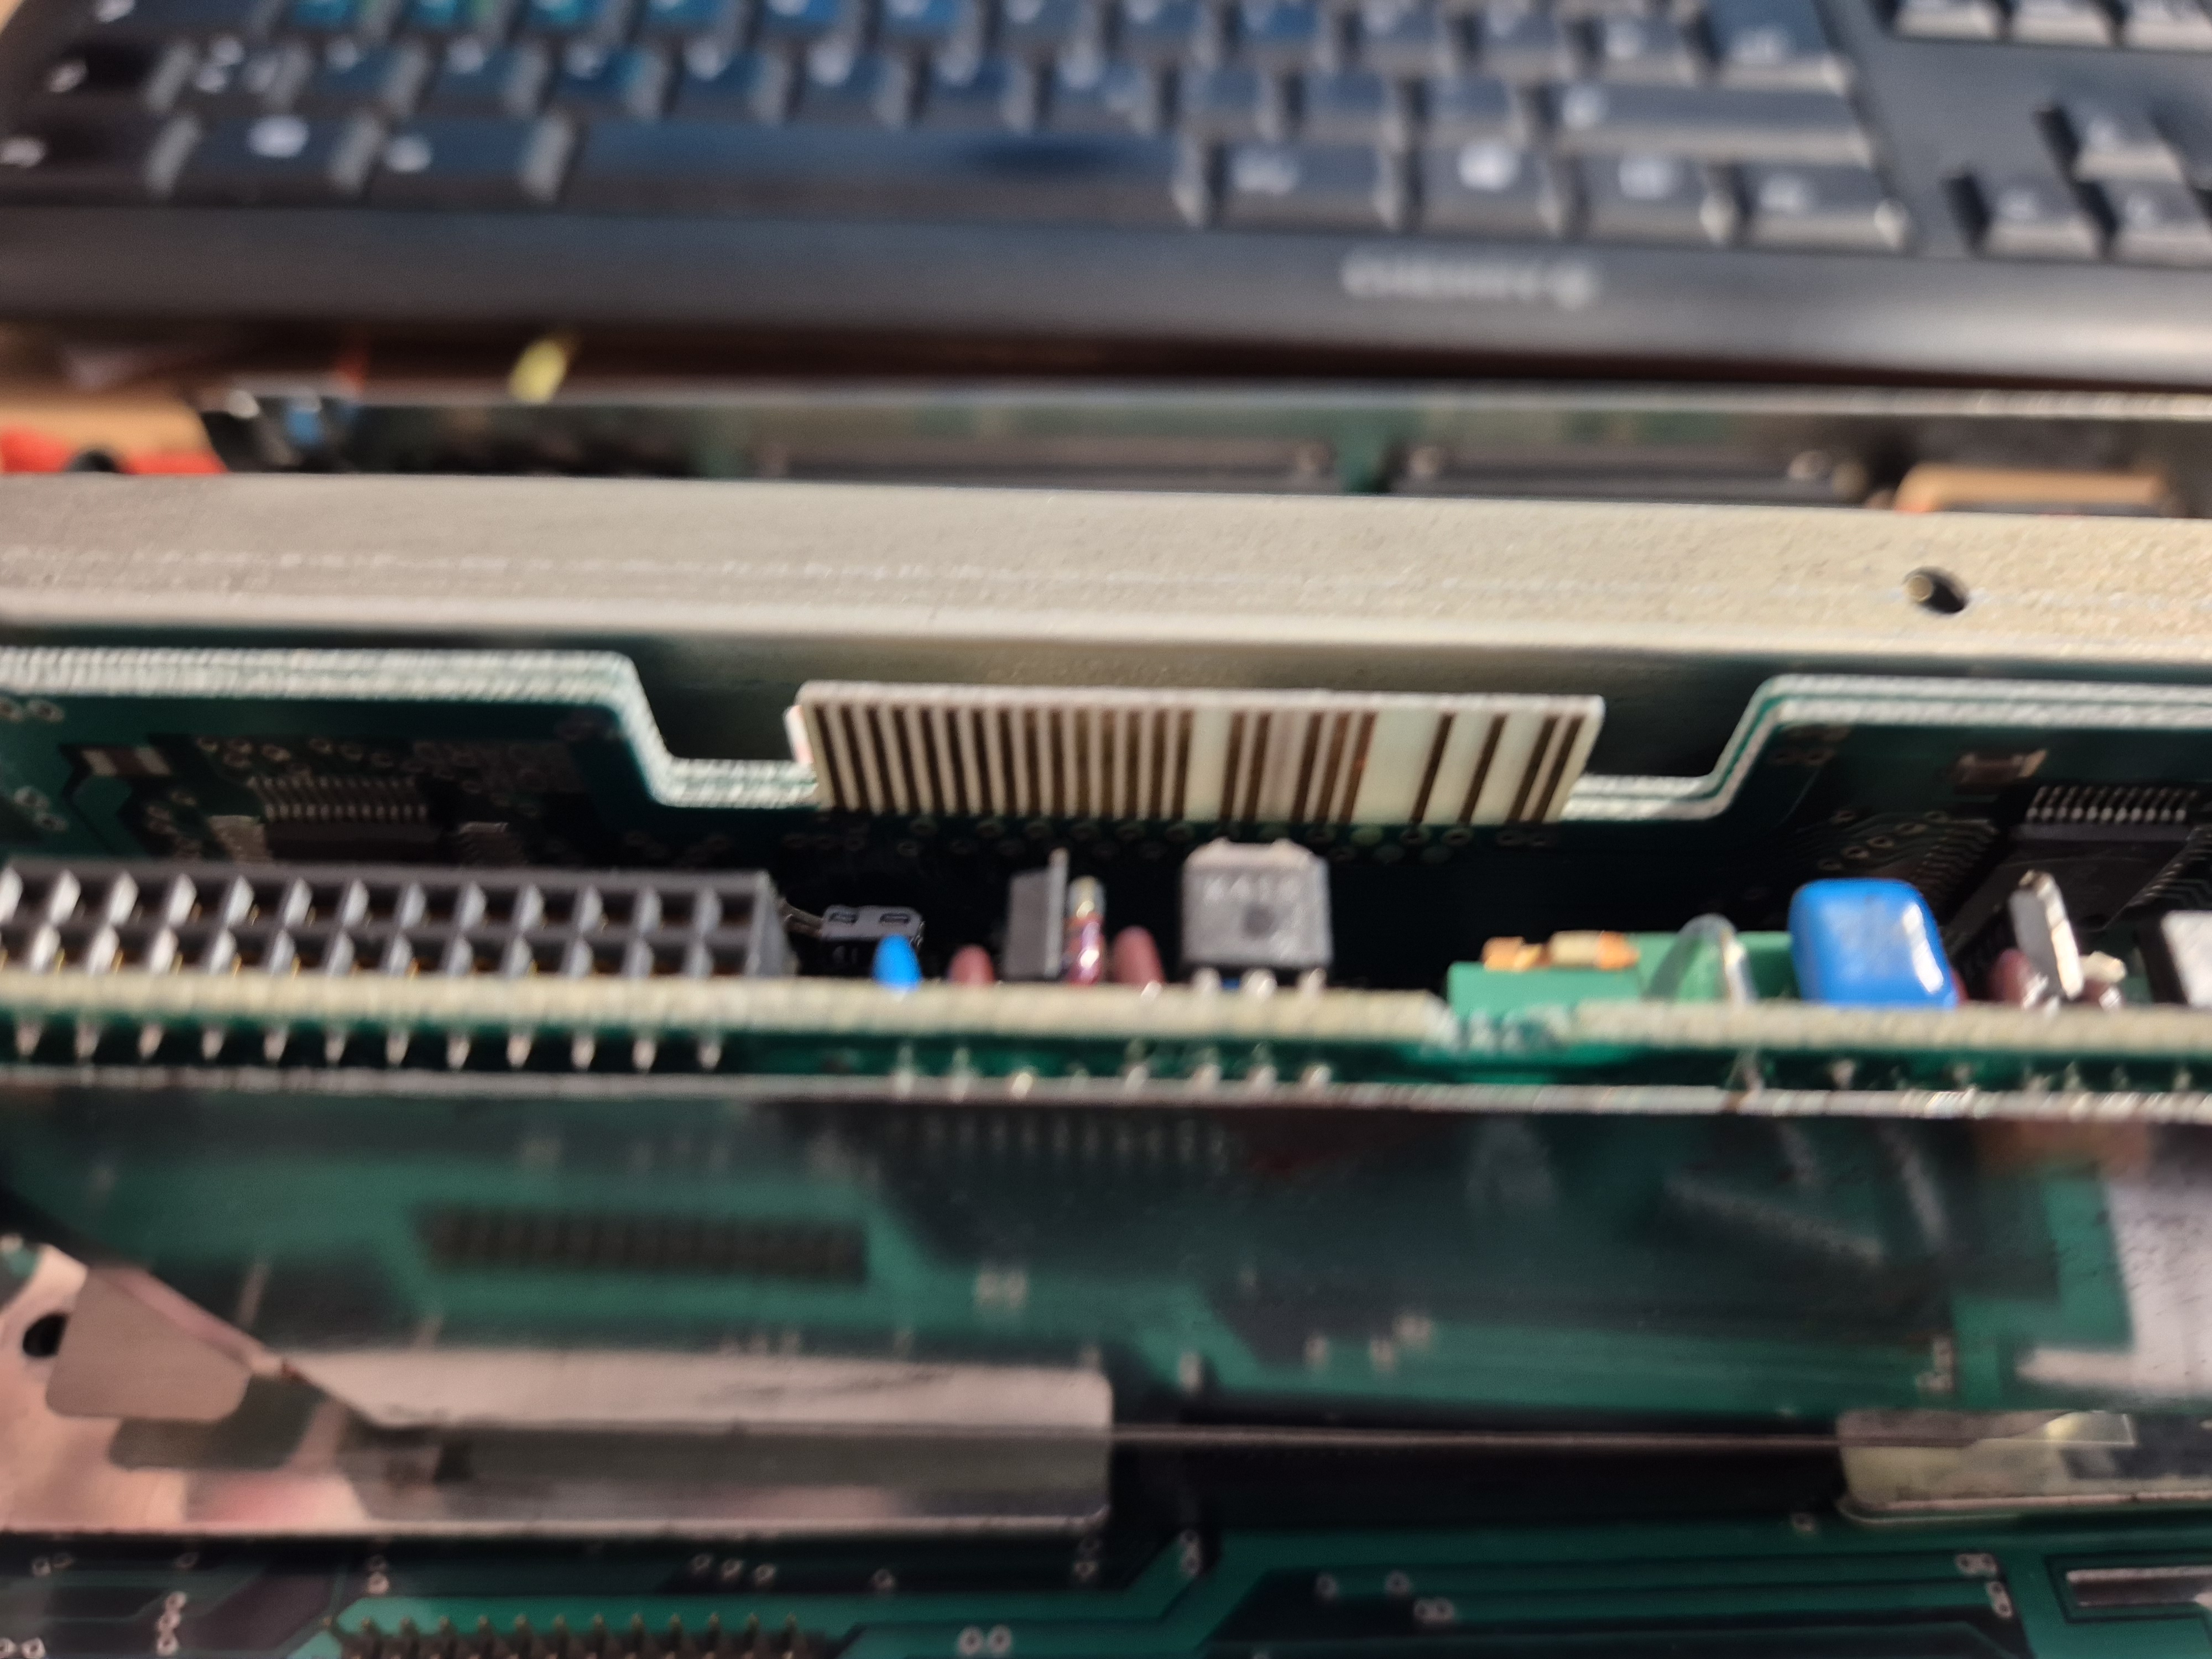
Motherboard, bubble memory interface connectors
Display holder/bezel disassembly
HINT: Taking the display holder apart is something I would not recommend, if not really needed. The flexible PCB that connects the display with the motherboard is very easy to destroy and the mechanics, that allow the display to adjust its position, very complicated. In case you want to try yourself, here are the steps I took before stopping :-). There are 2 connectors to remove near the upper left of the keyboard, which has to be removed as well as the bubble memory interface (be very careful with the keyboard cable, as its contacts may not stick to the flexible substrate anymore). Also the bezel is held by to bolts on the sides, that look like screws. Turn them gently 90° to the left and push them from the other side, to remove them:
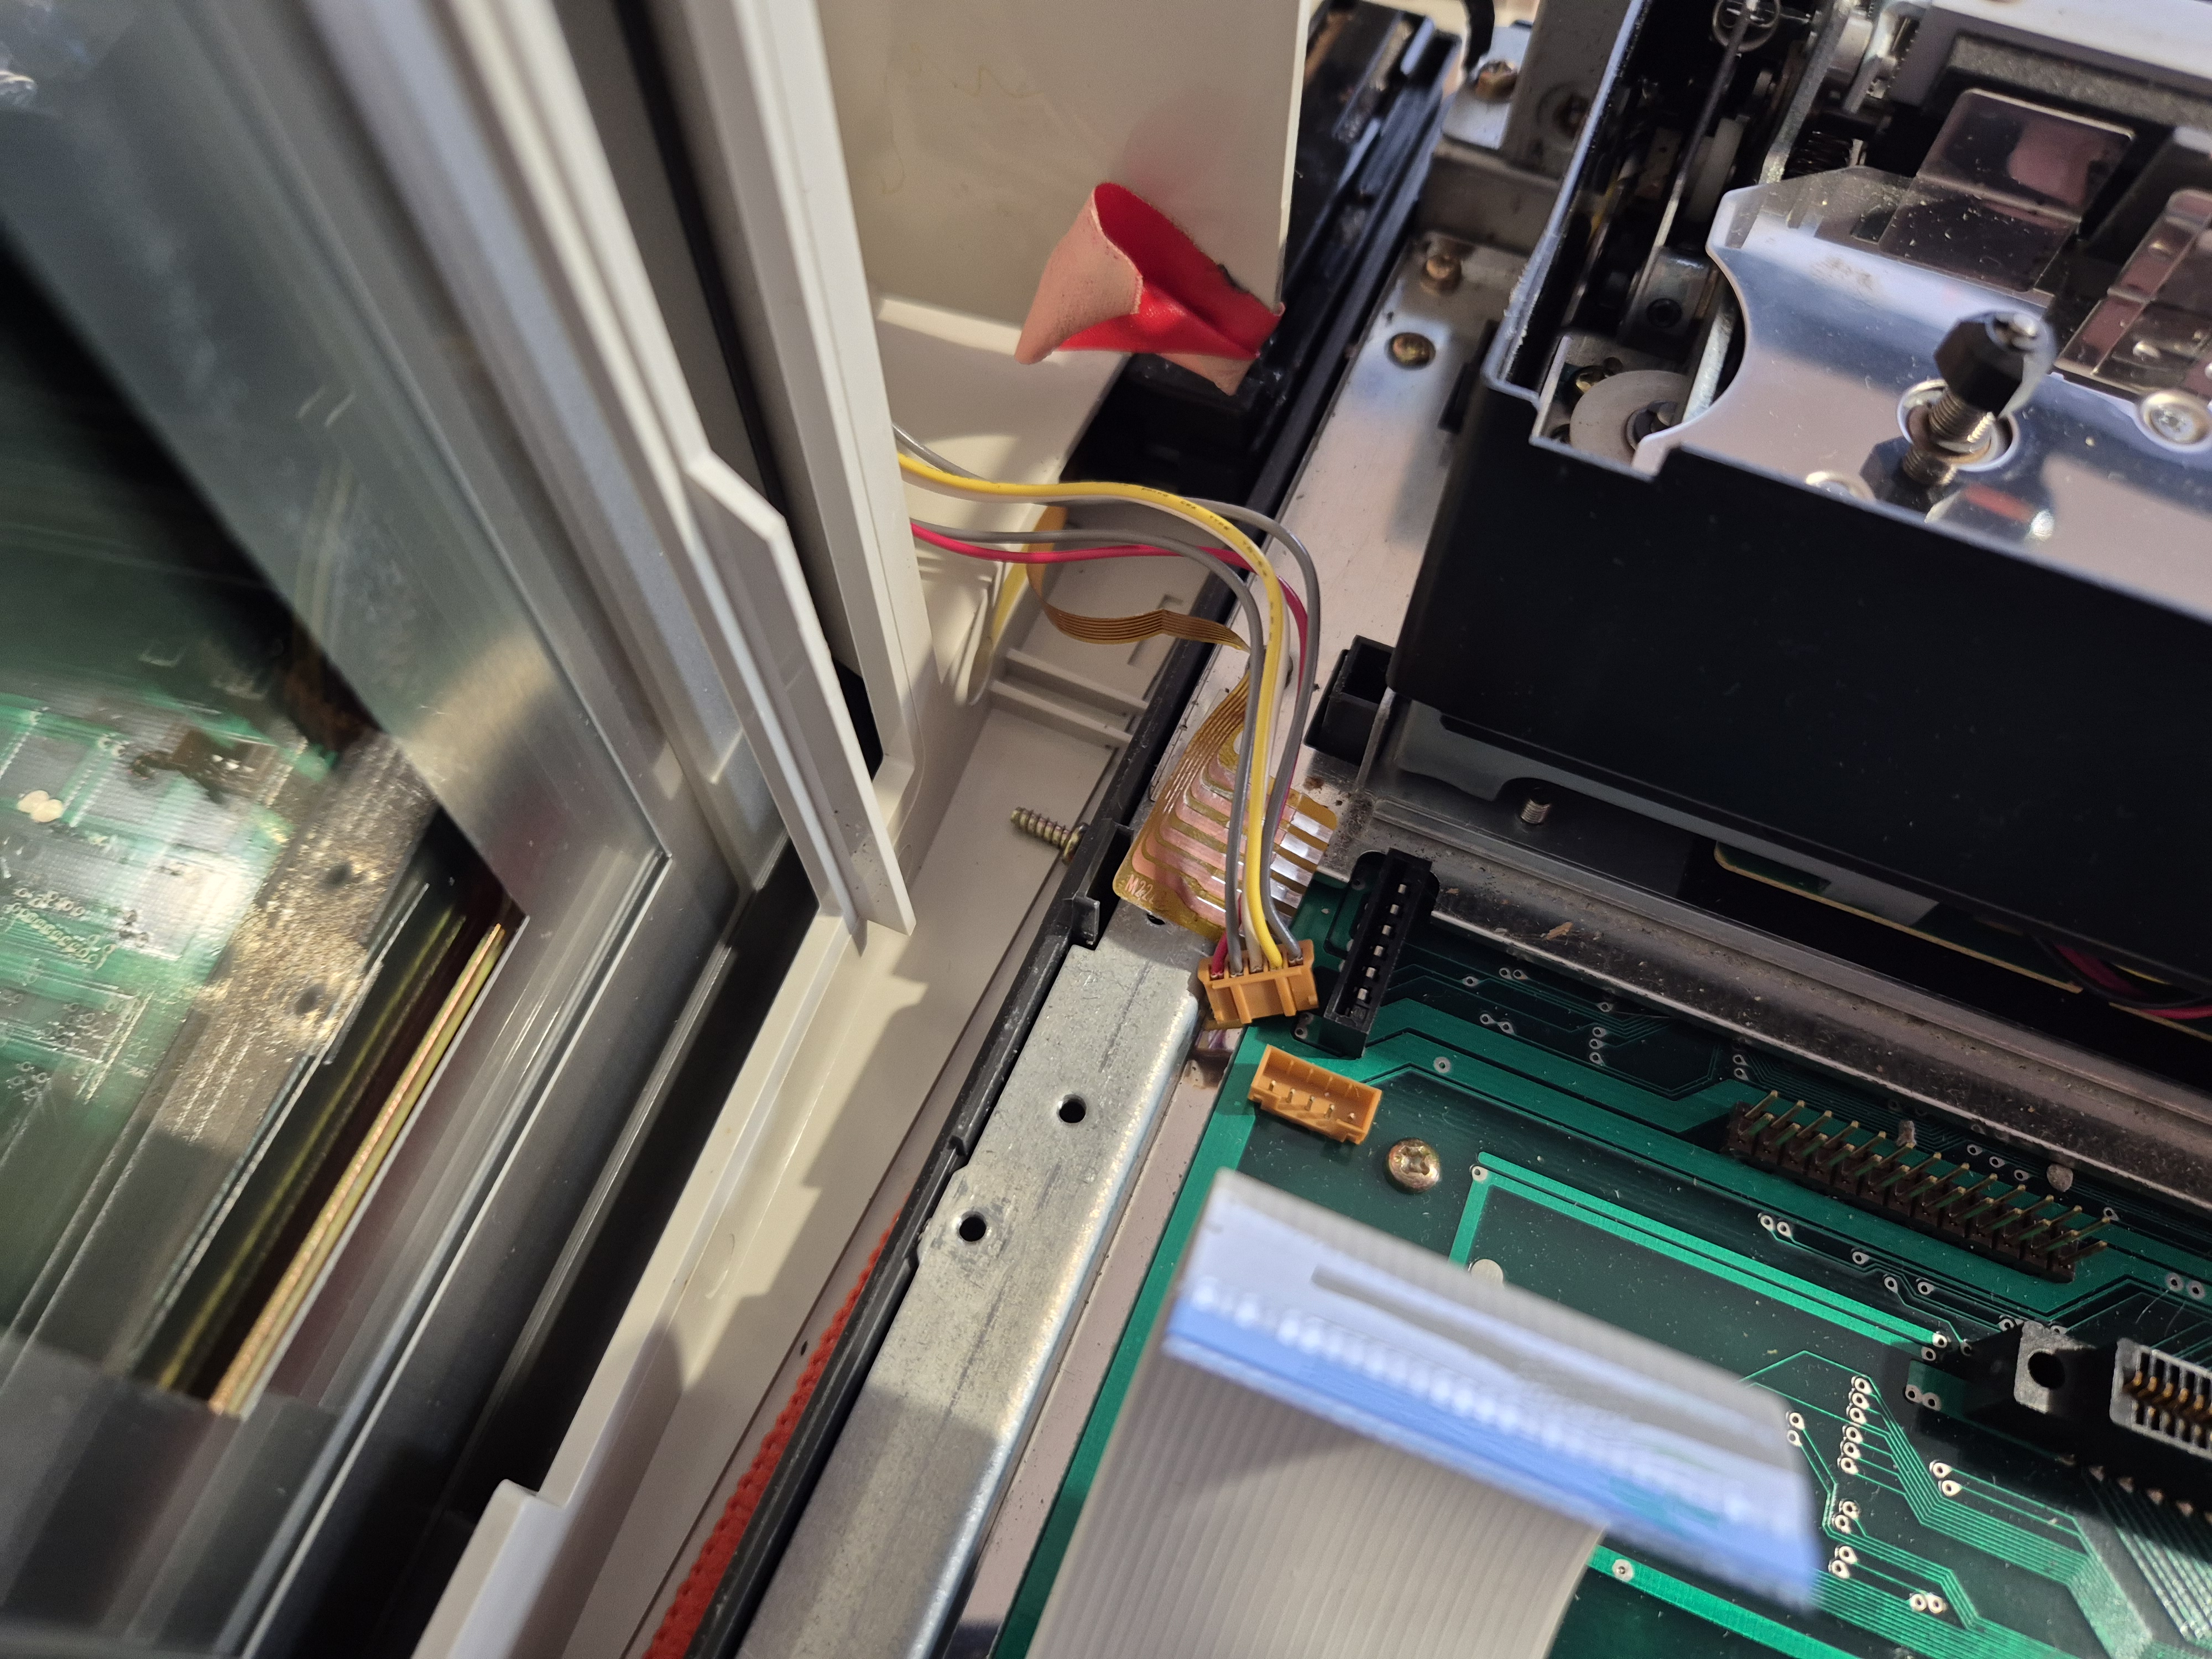
Display connectors
Display bolts